Blood Orange Marmalade

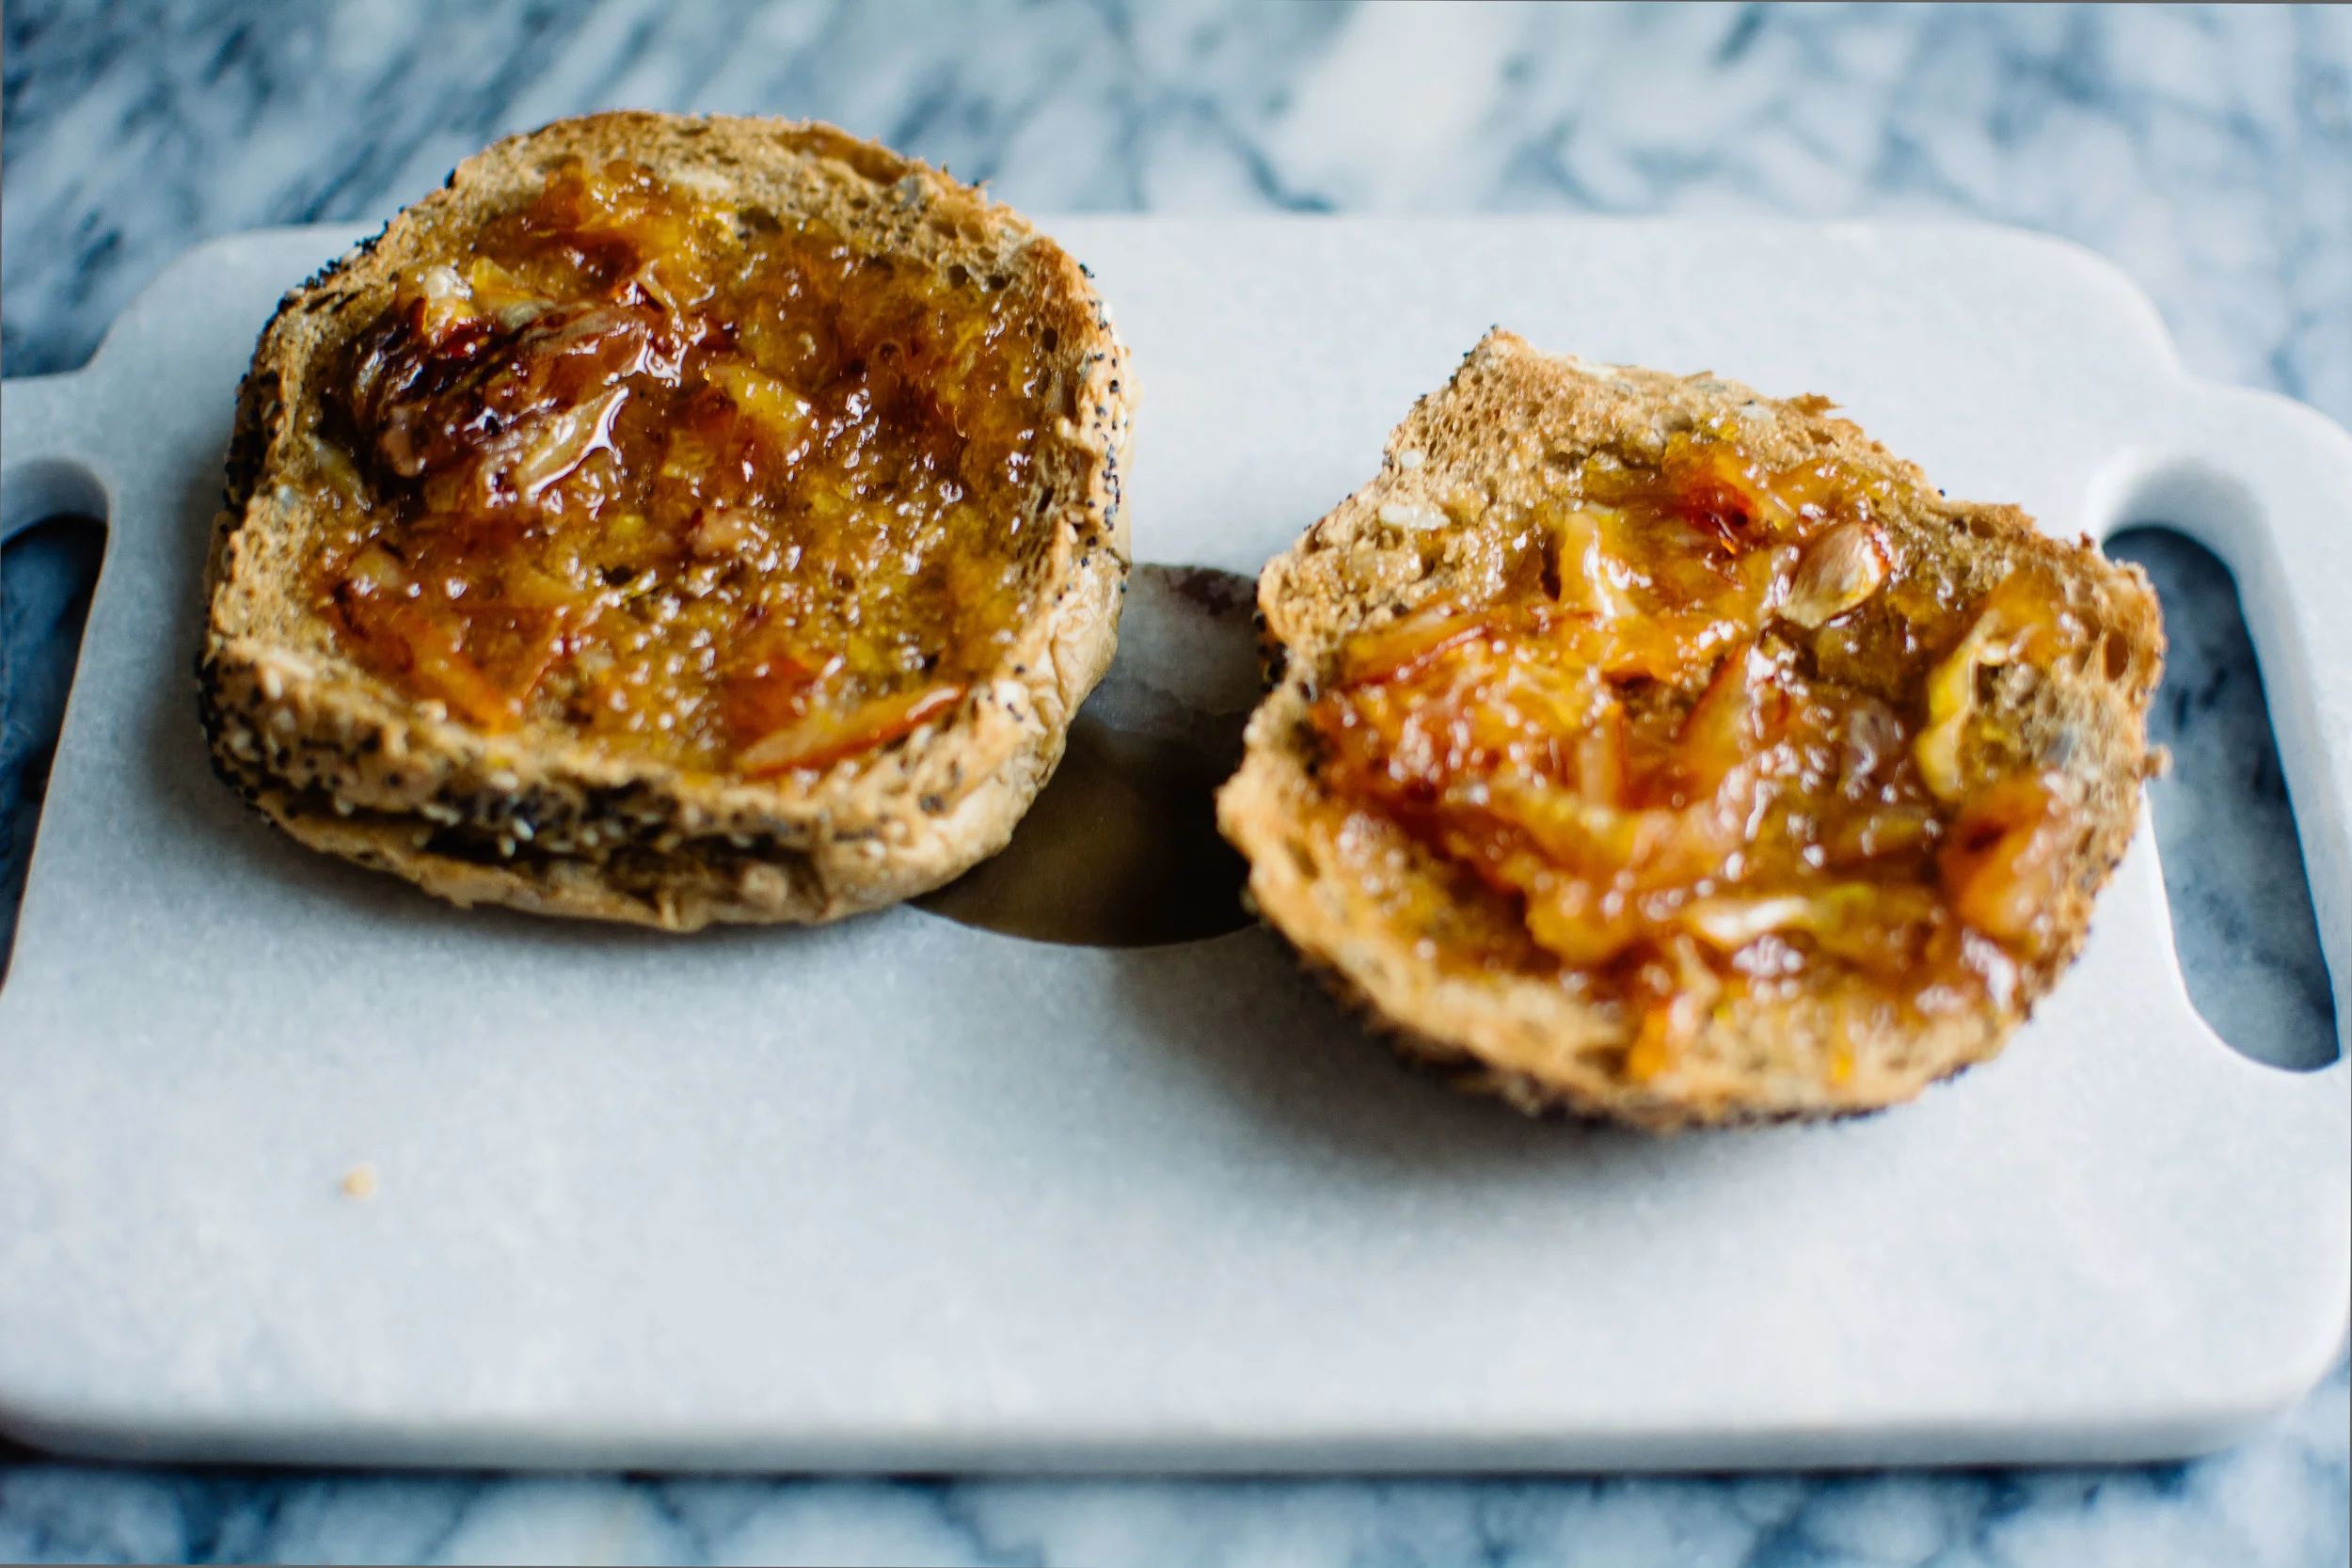
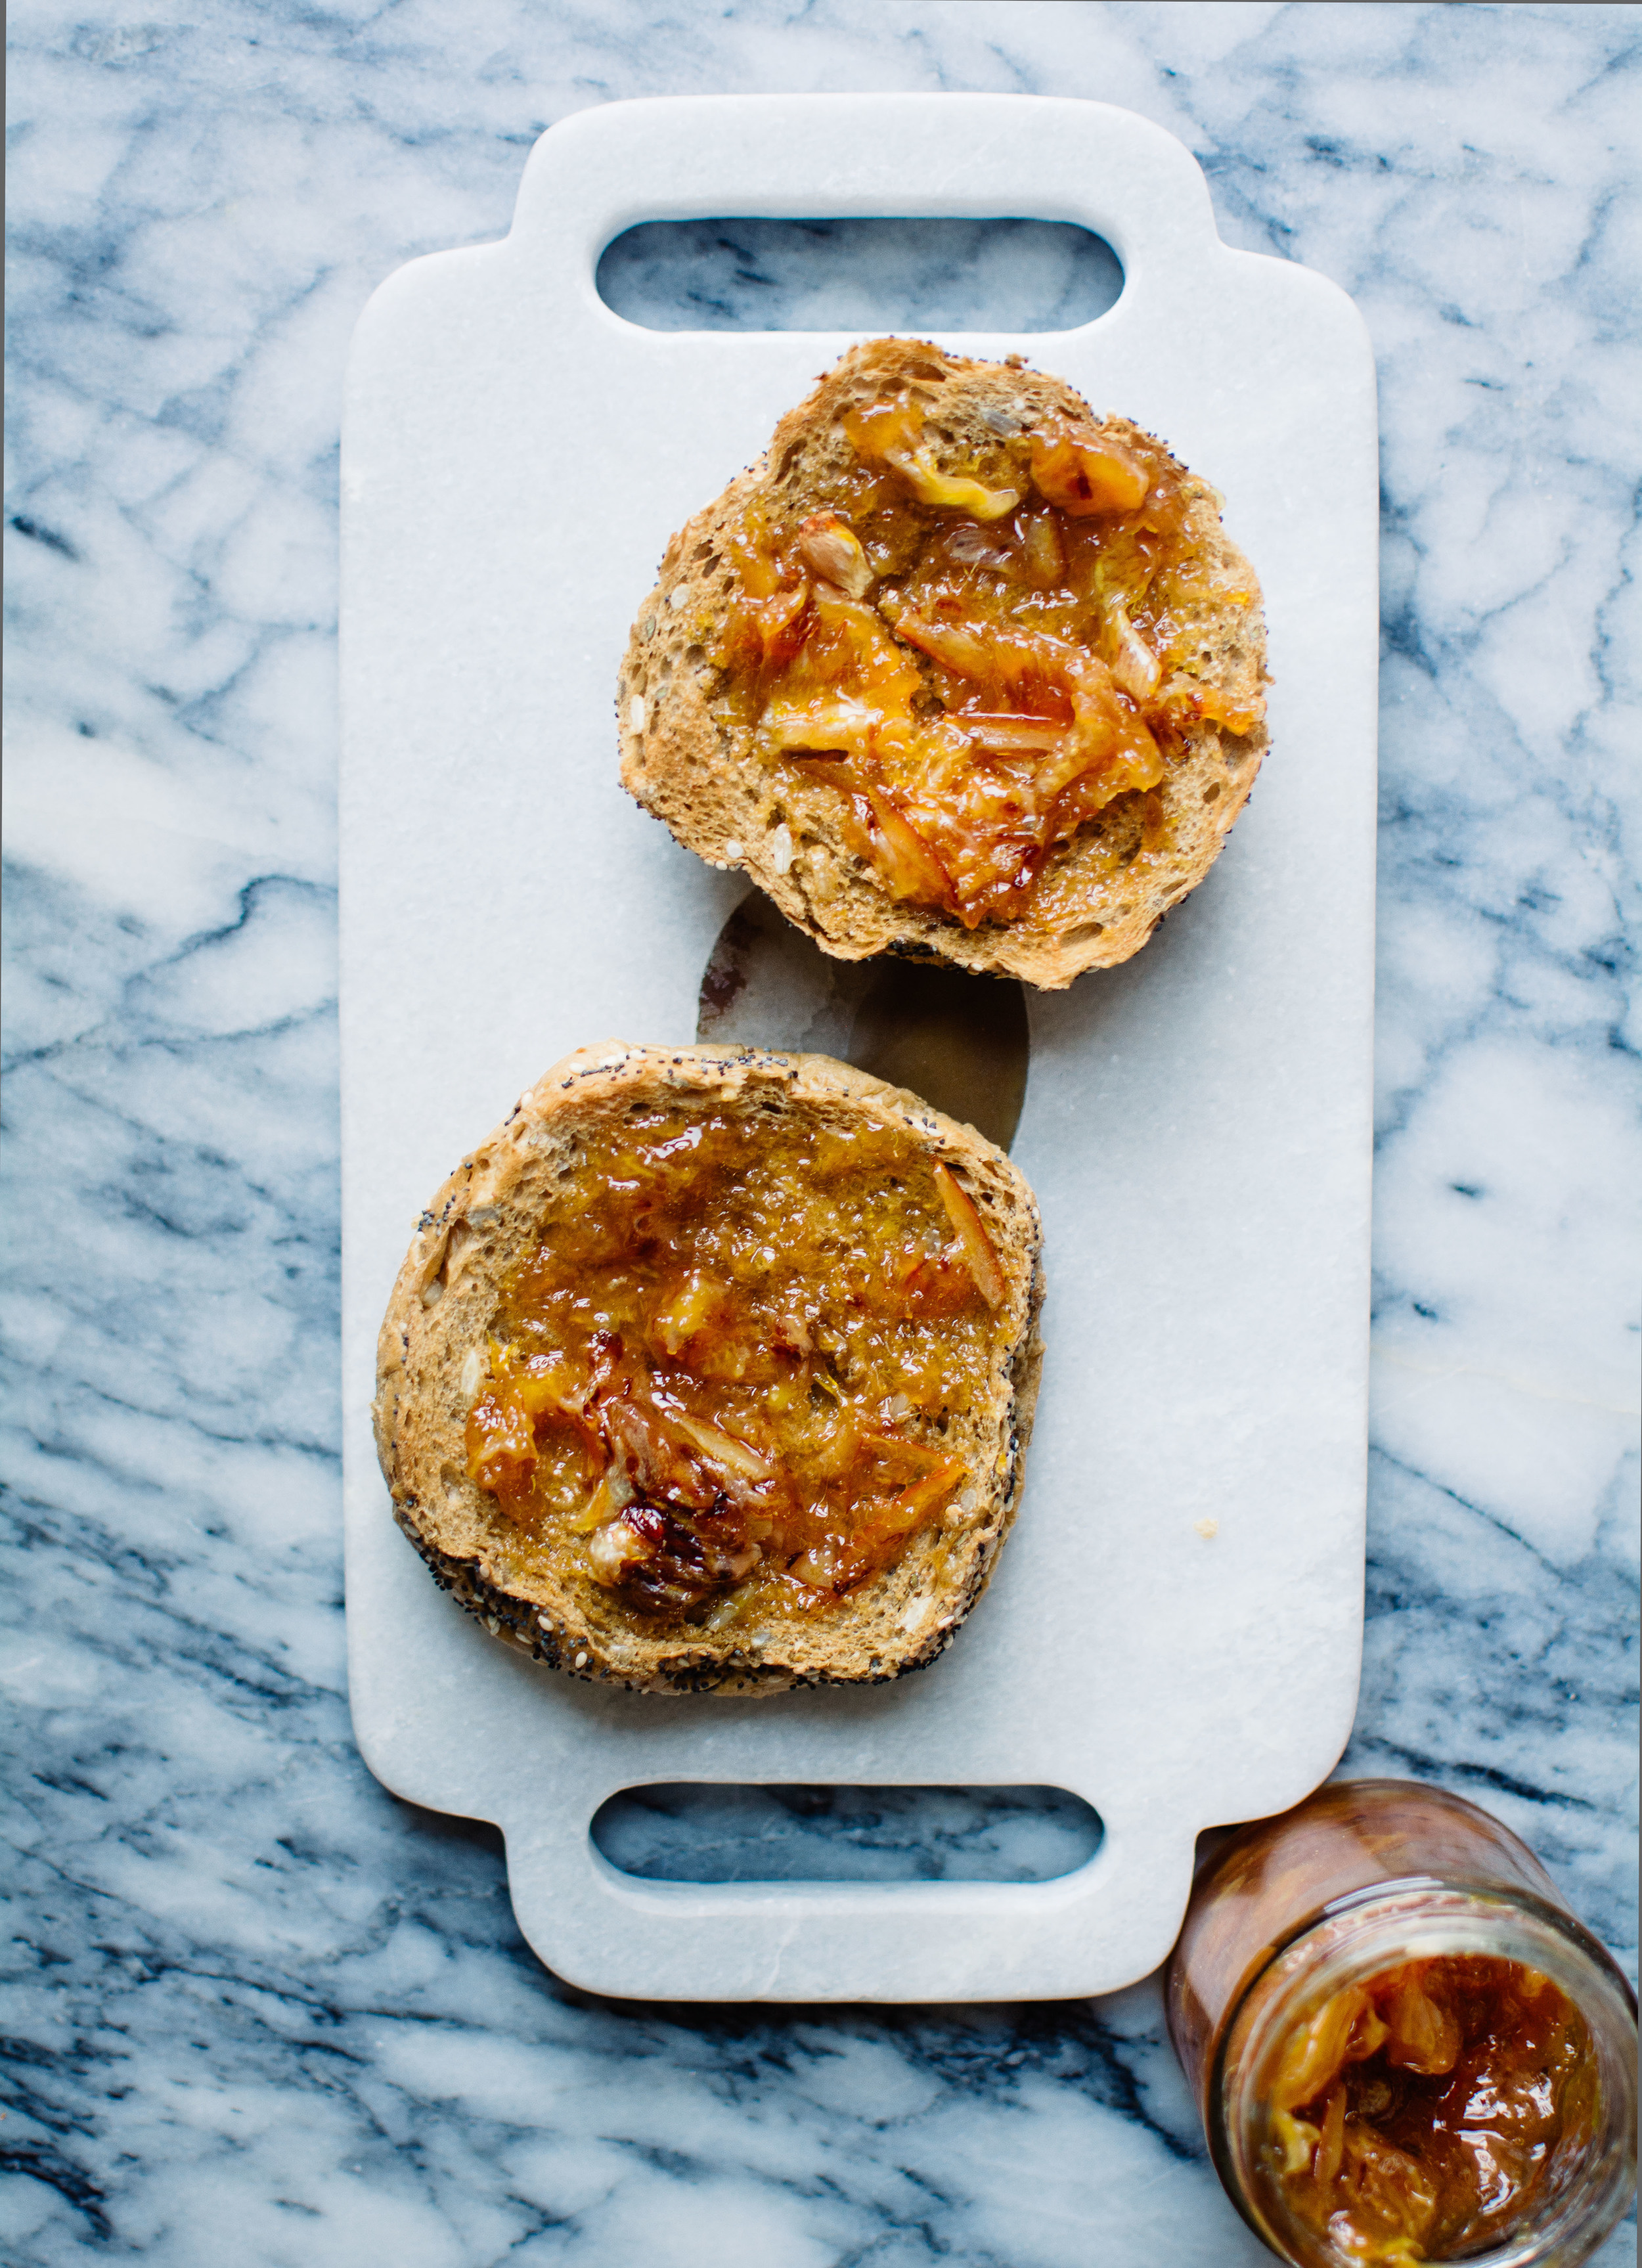
Today is one of those days where I find myself just looking forward to the next. Maybe it's because today is probably one of the most miserable days this year, and fittingly I've spent the majority of it either caught in the rain, or staring at it from within the warmth of my flat. Or maybe it's the fact that I'm still mourning the end of blood orange season that's putting me in a particularly bad mood. All I know for sure is that I'm finding a little slice of happiness in the memory of this sweet, citrus marmalade.

Blood Orange Marmalade | Thyme & Honey

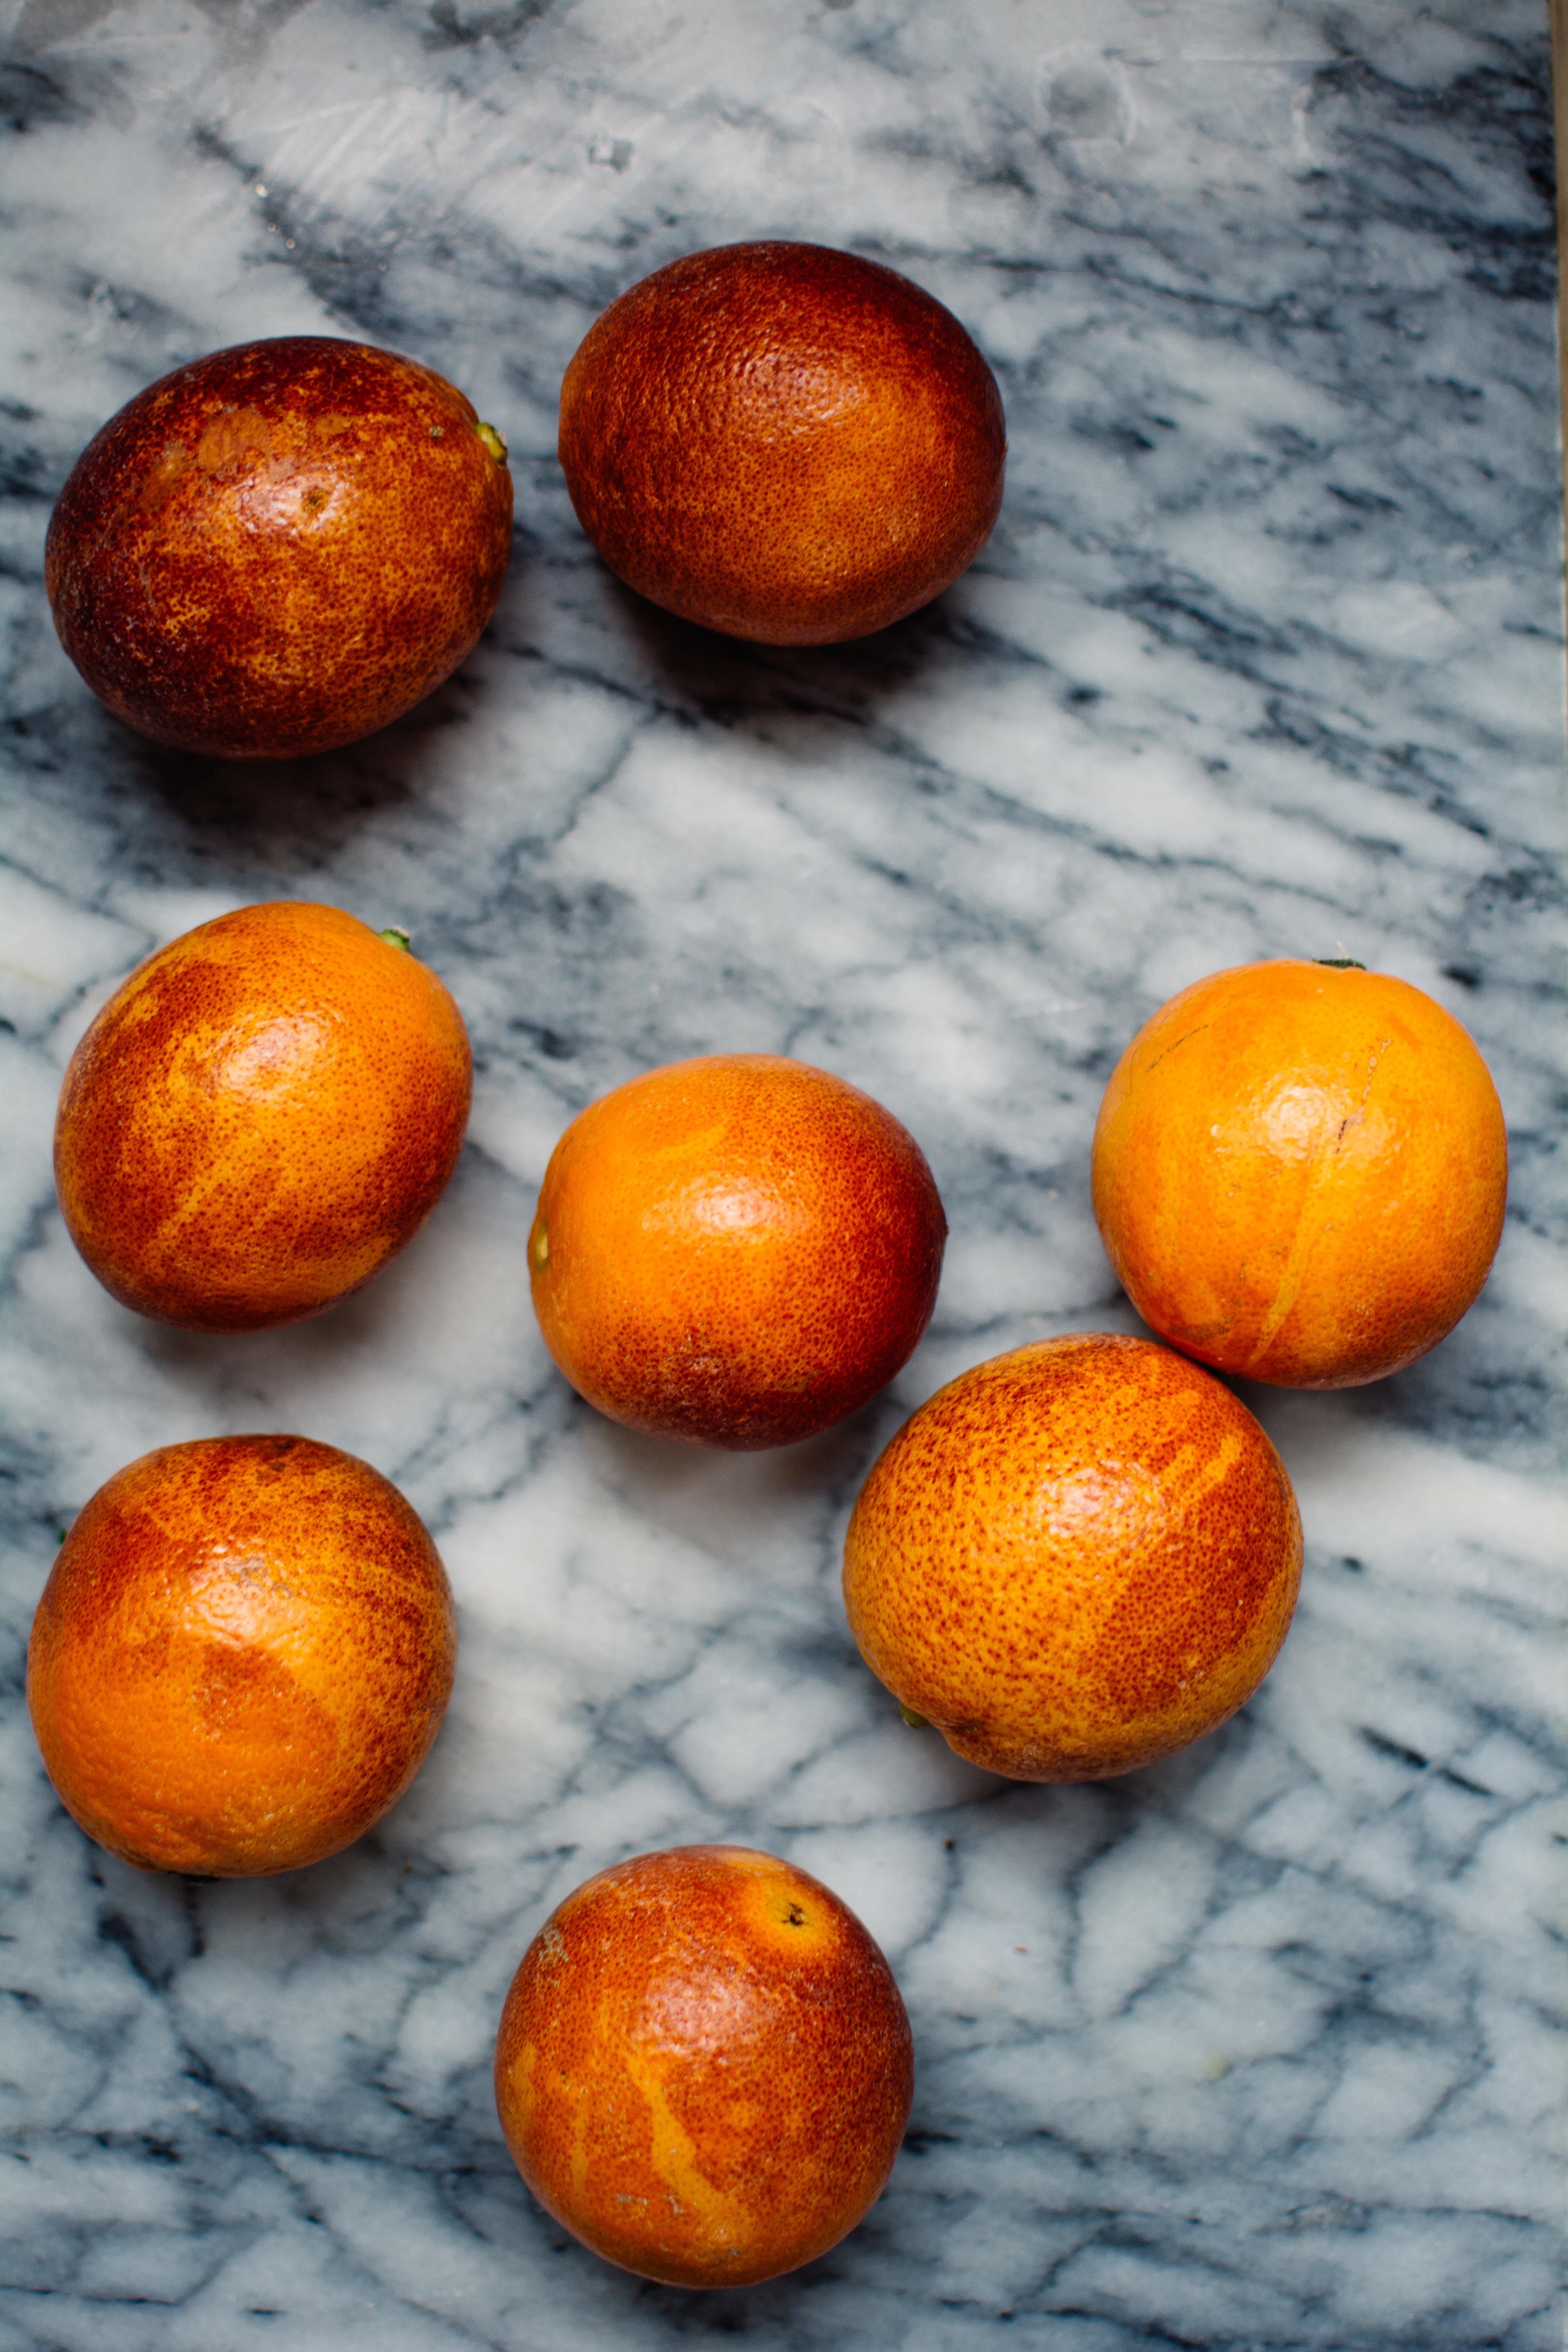
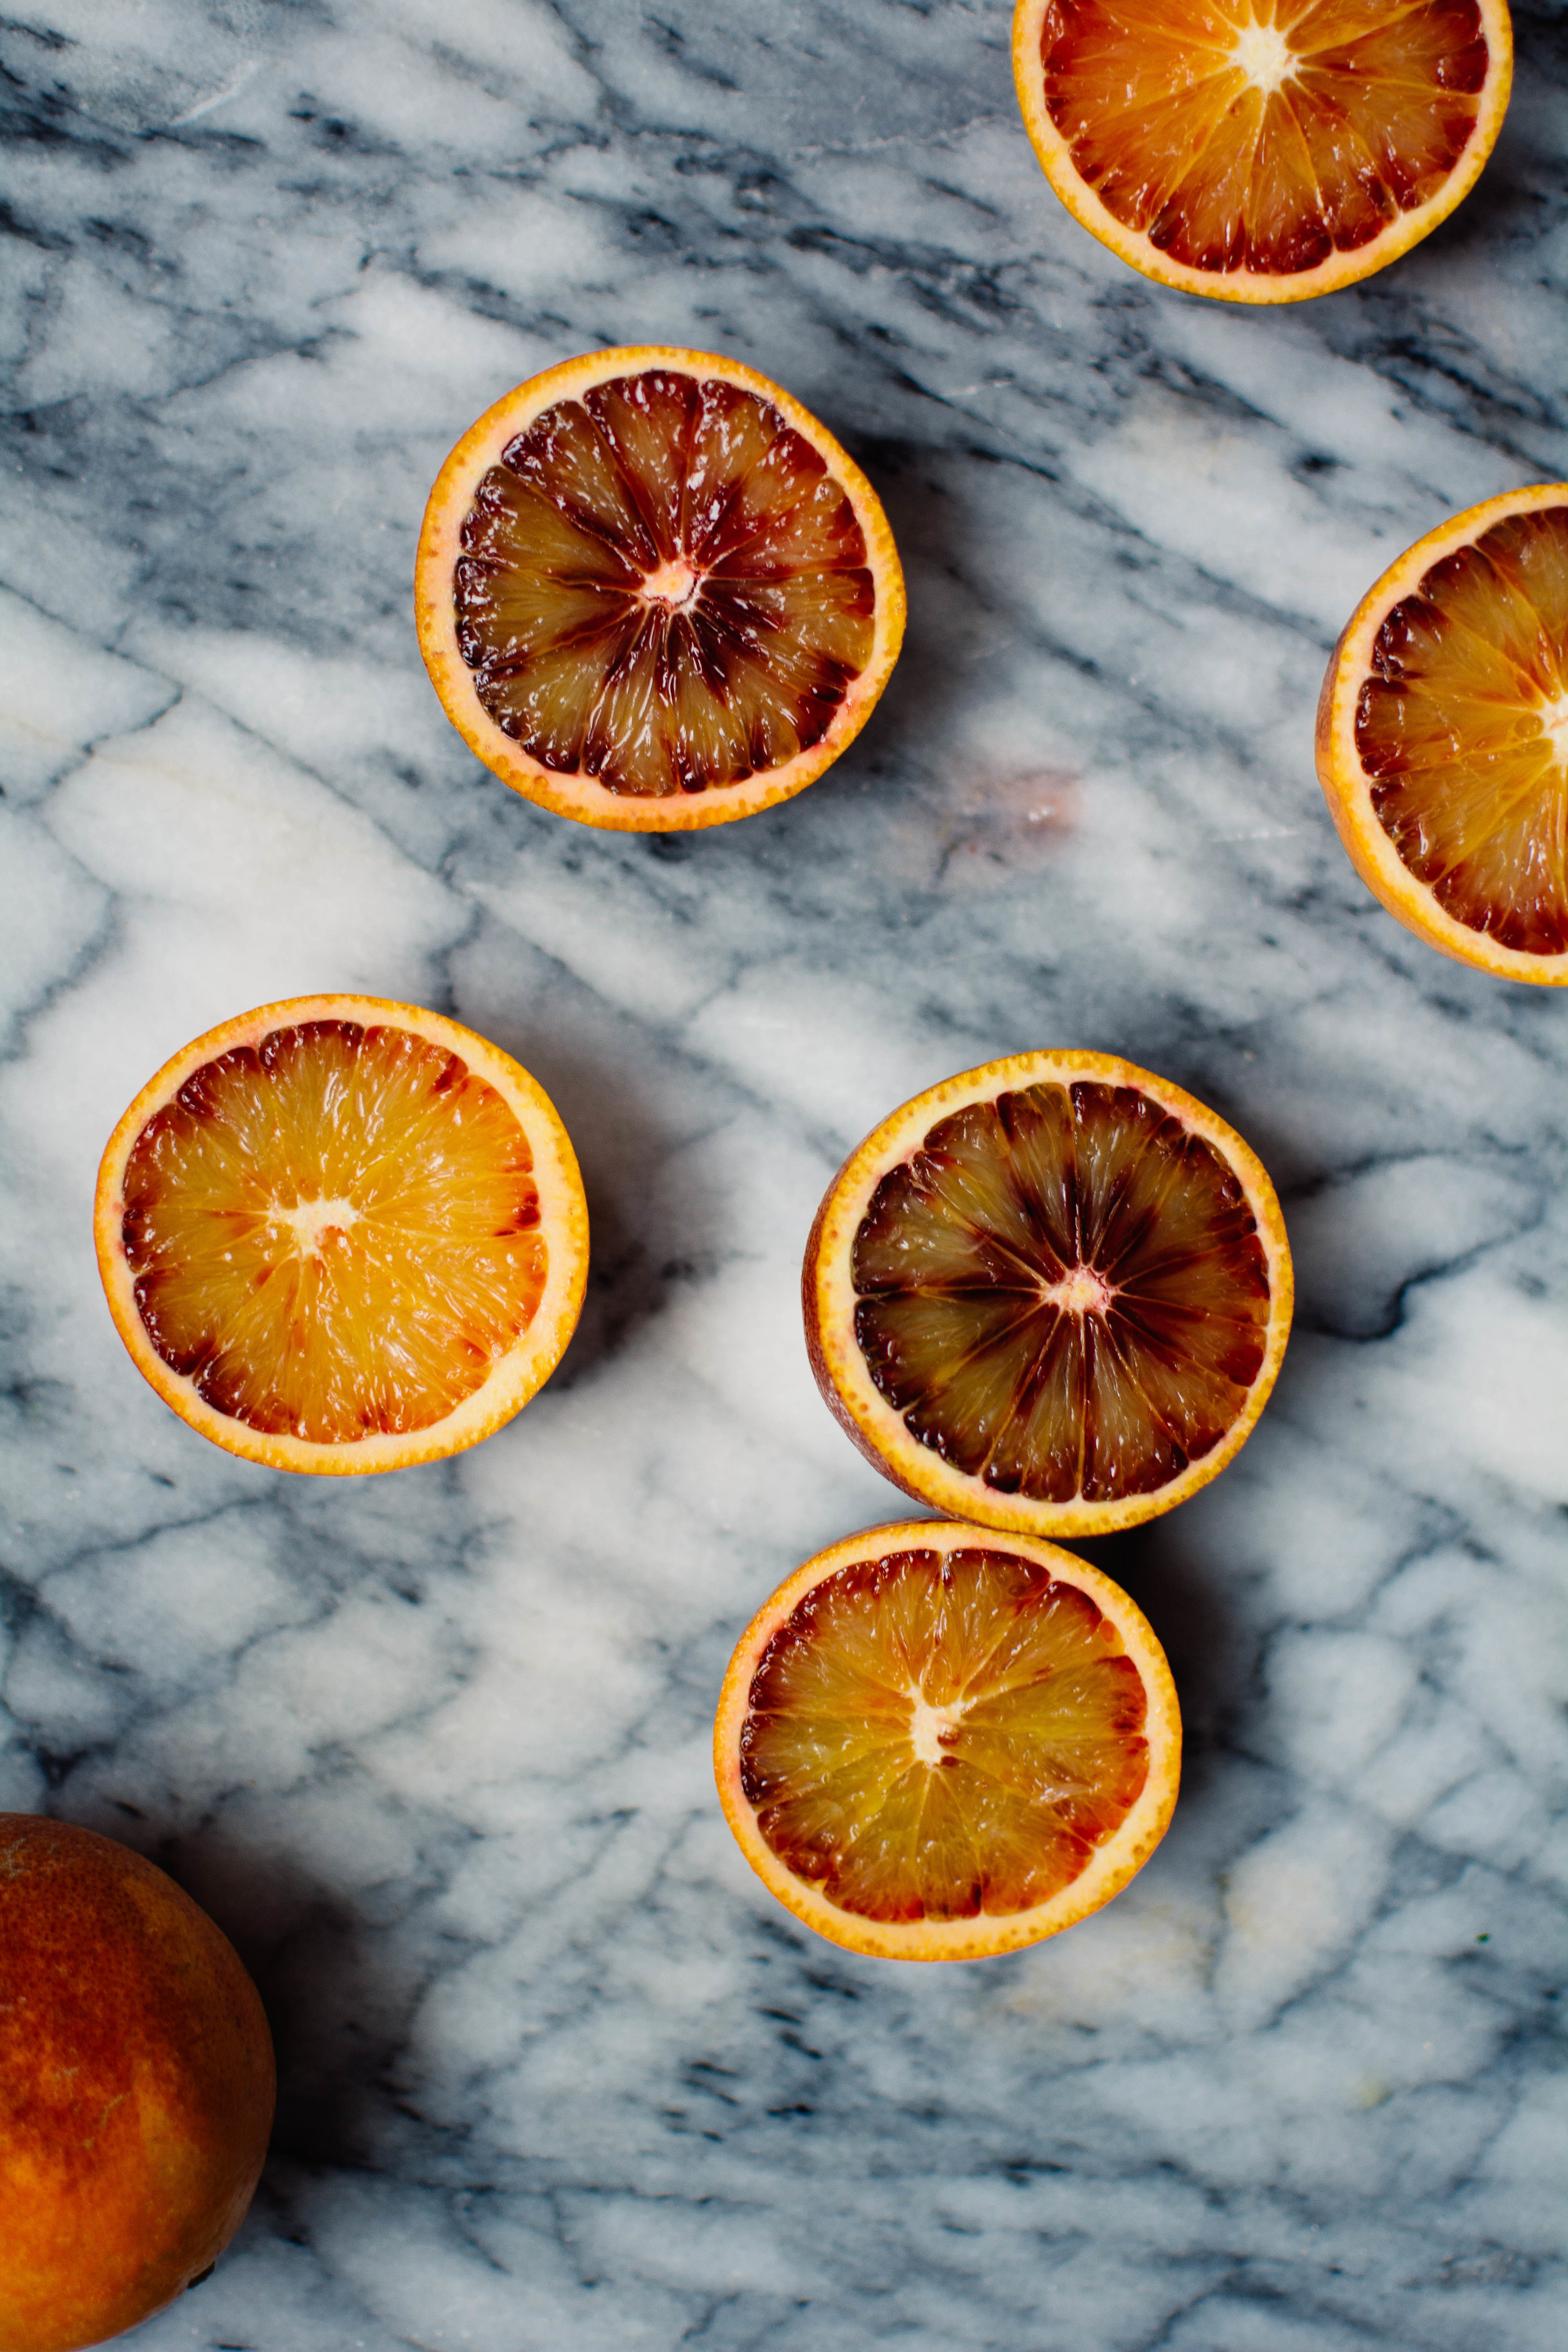
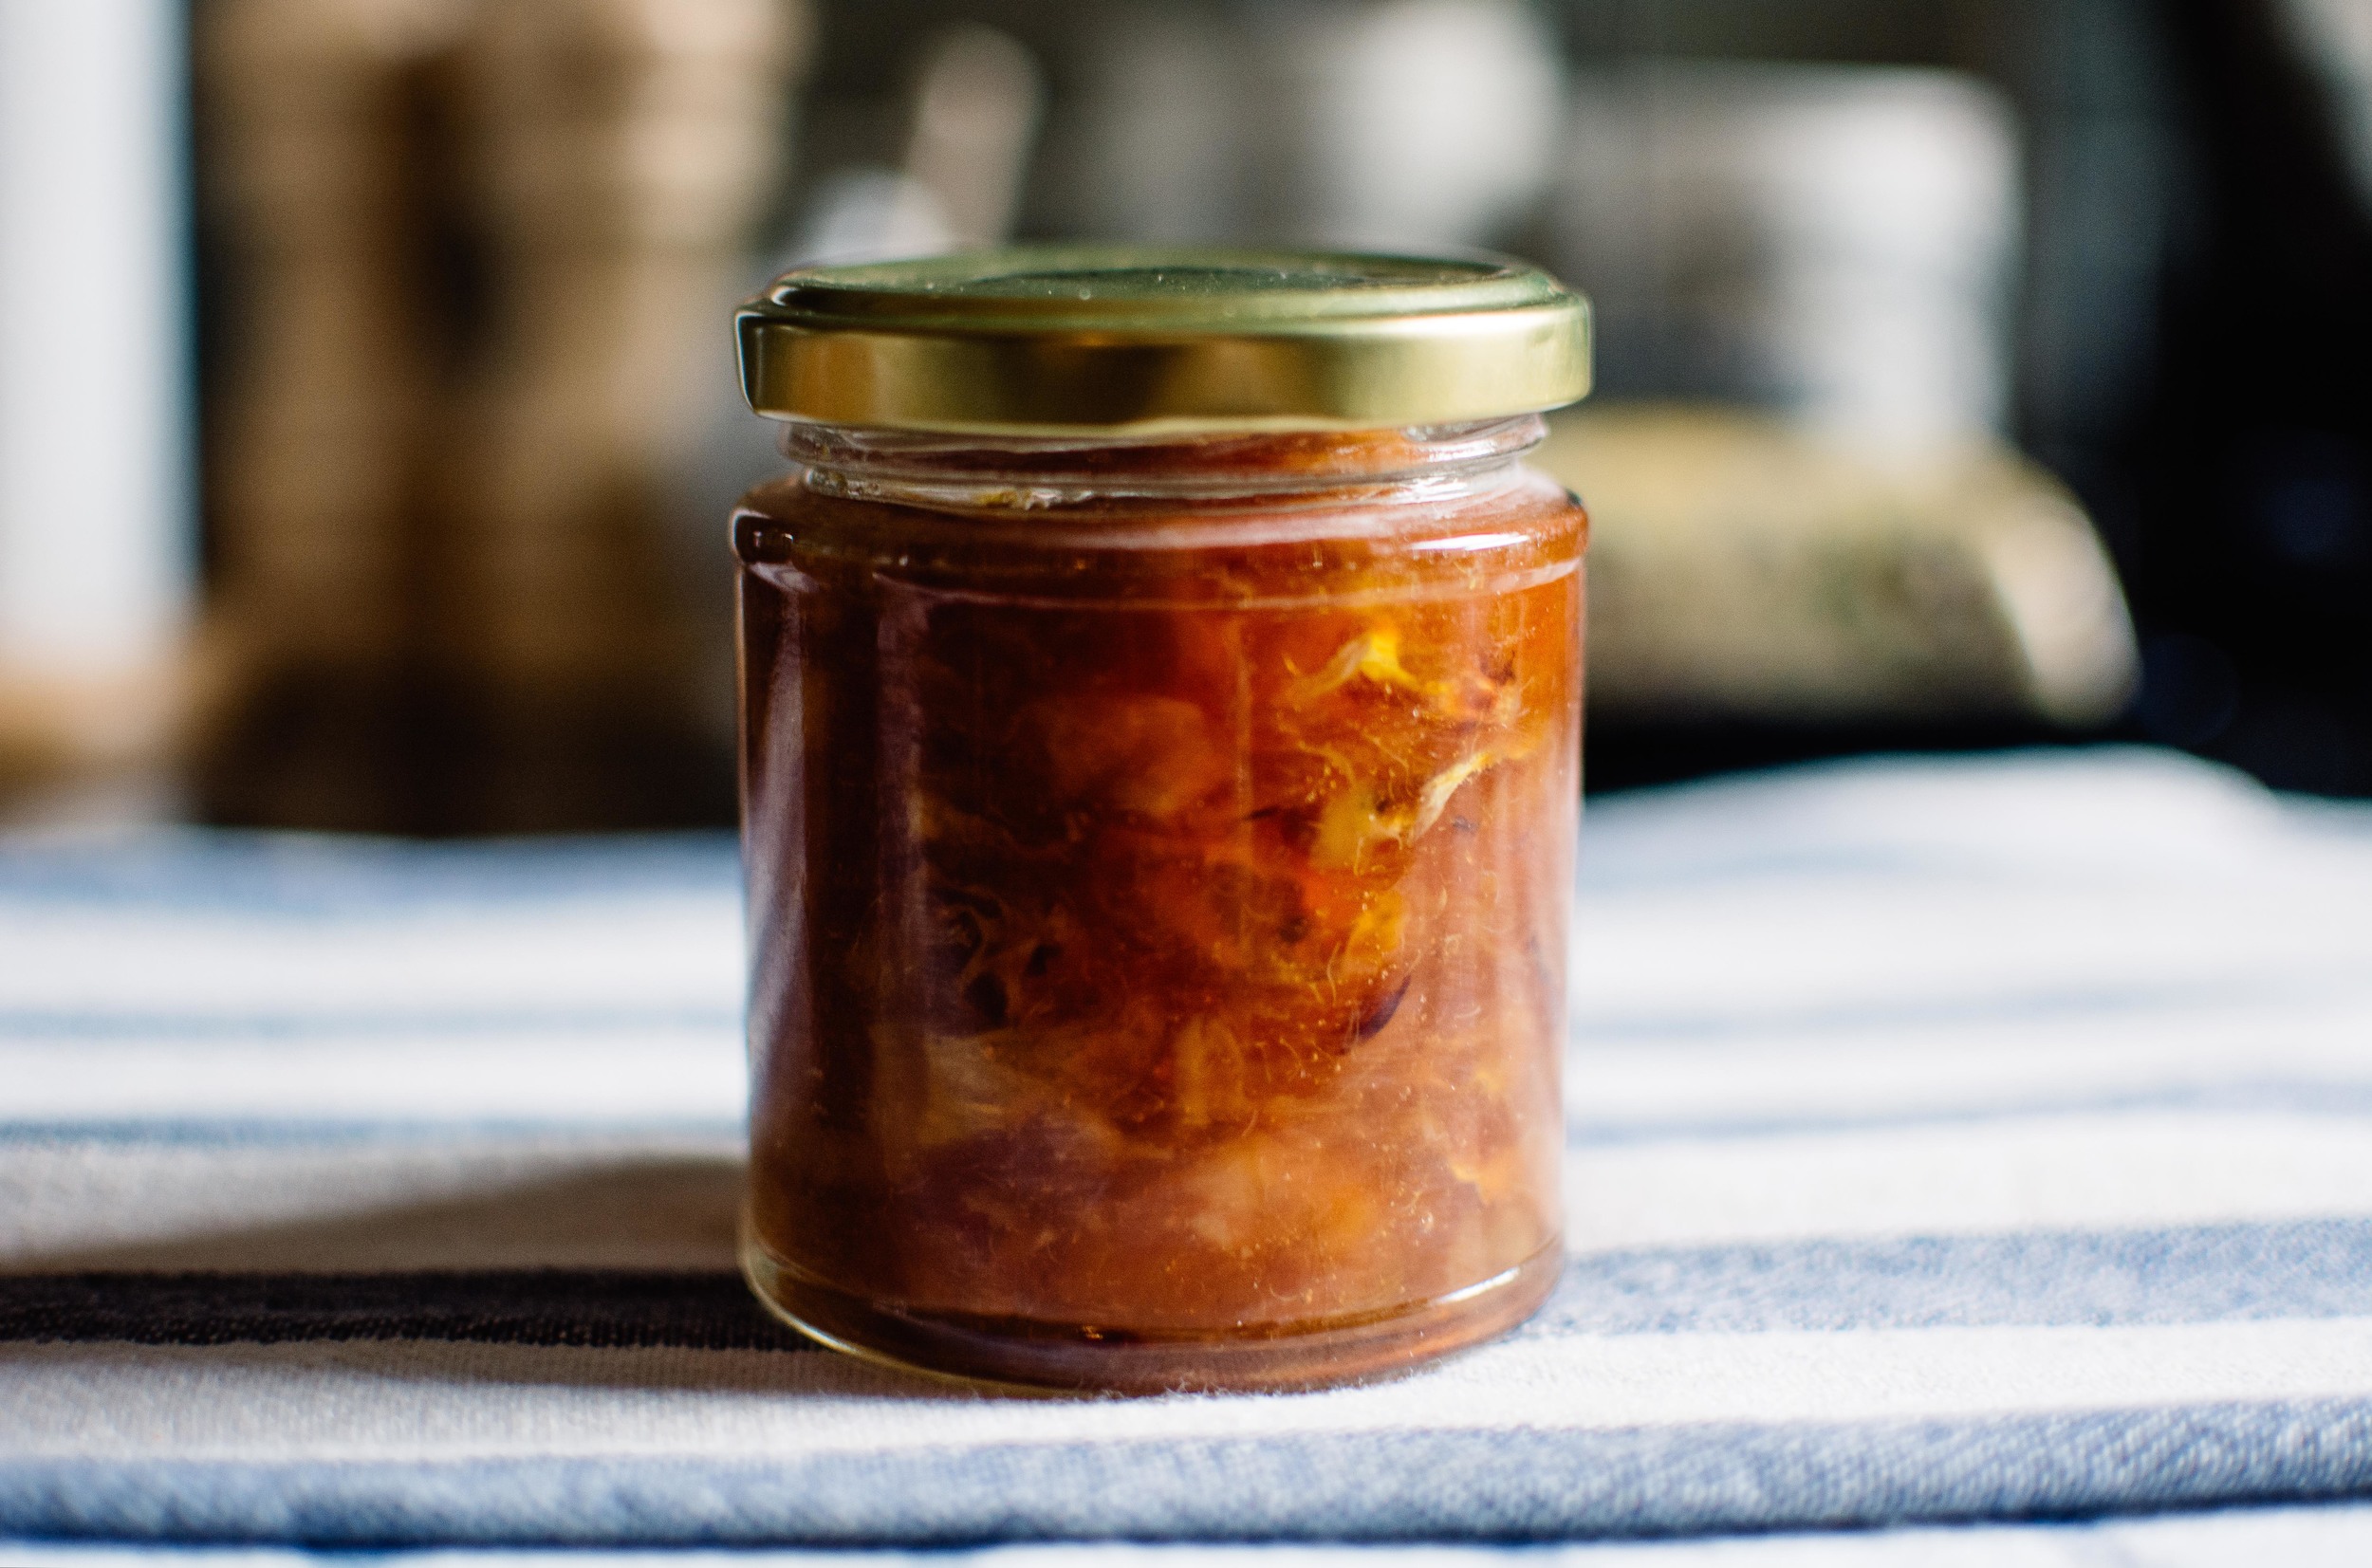
Preserving fruit when it's in its prime is the best way to guarantee enjoying it when it's out of season, and I find citrus works particularly well in that respect. Blood oranges have a more intense flavour than their plain Jane cousins, and make for a pretty lip smacking marmalade. All you need to do is add a touch of lemon, a hefty amount of sugar and prepare not to burn yourself on hot jars after canning like I did. 

Just a note on the consistency here; I like to keep this marmalade quite chunky as I love that extra burst of flavour it gives, however you can get yours more jam-like if you cut the oranges up into smaller chunks. 

Blood Orange Marmalade | Thyme & Honey

*when blood oranges are out of season, you can substitute for regular oranges for an equally delicious marmalade.

Blood Orange Marmalade

Makes 2 small jars (roughly 340g)

Ingredients

8 medium-sized blood oranges

2 tablespoons fresh lemon juice

500g caster sugar


Method

  1. Remove the peel from the oranges, being careful to also remove any white pith. Using a sharp knife cut the peel into very thin slices and set aside. 
  2. Remove any membranes from the orange segments and cut into rough pieces. Place the oranges pieces, lemon juice and sugar into a heavy-bottom pan. 
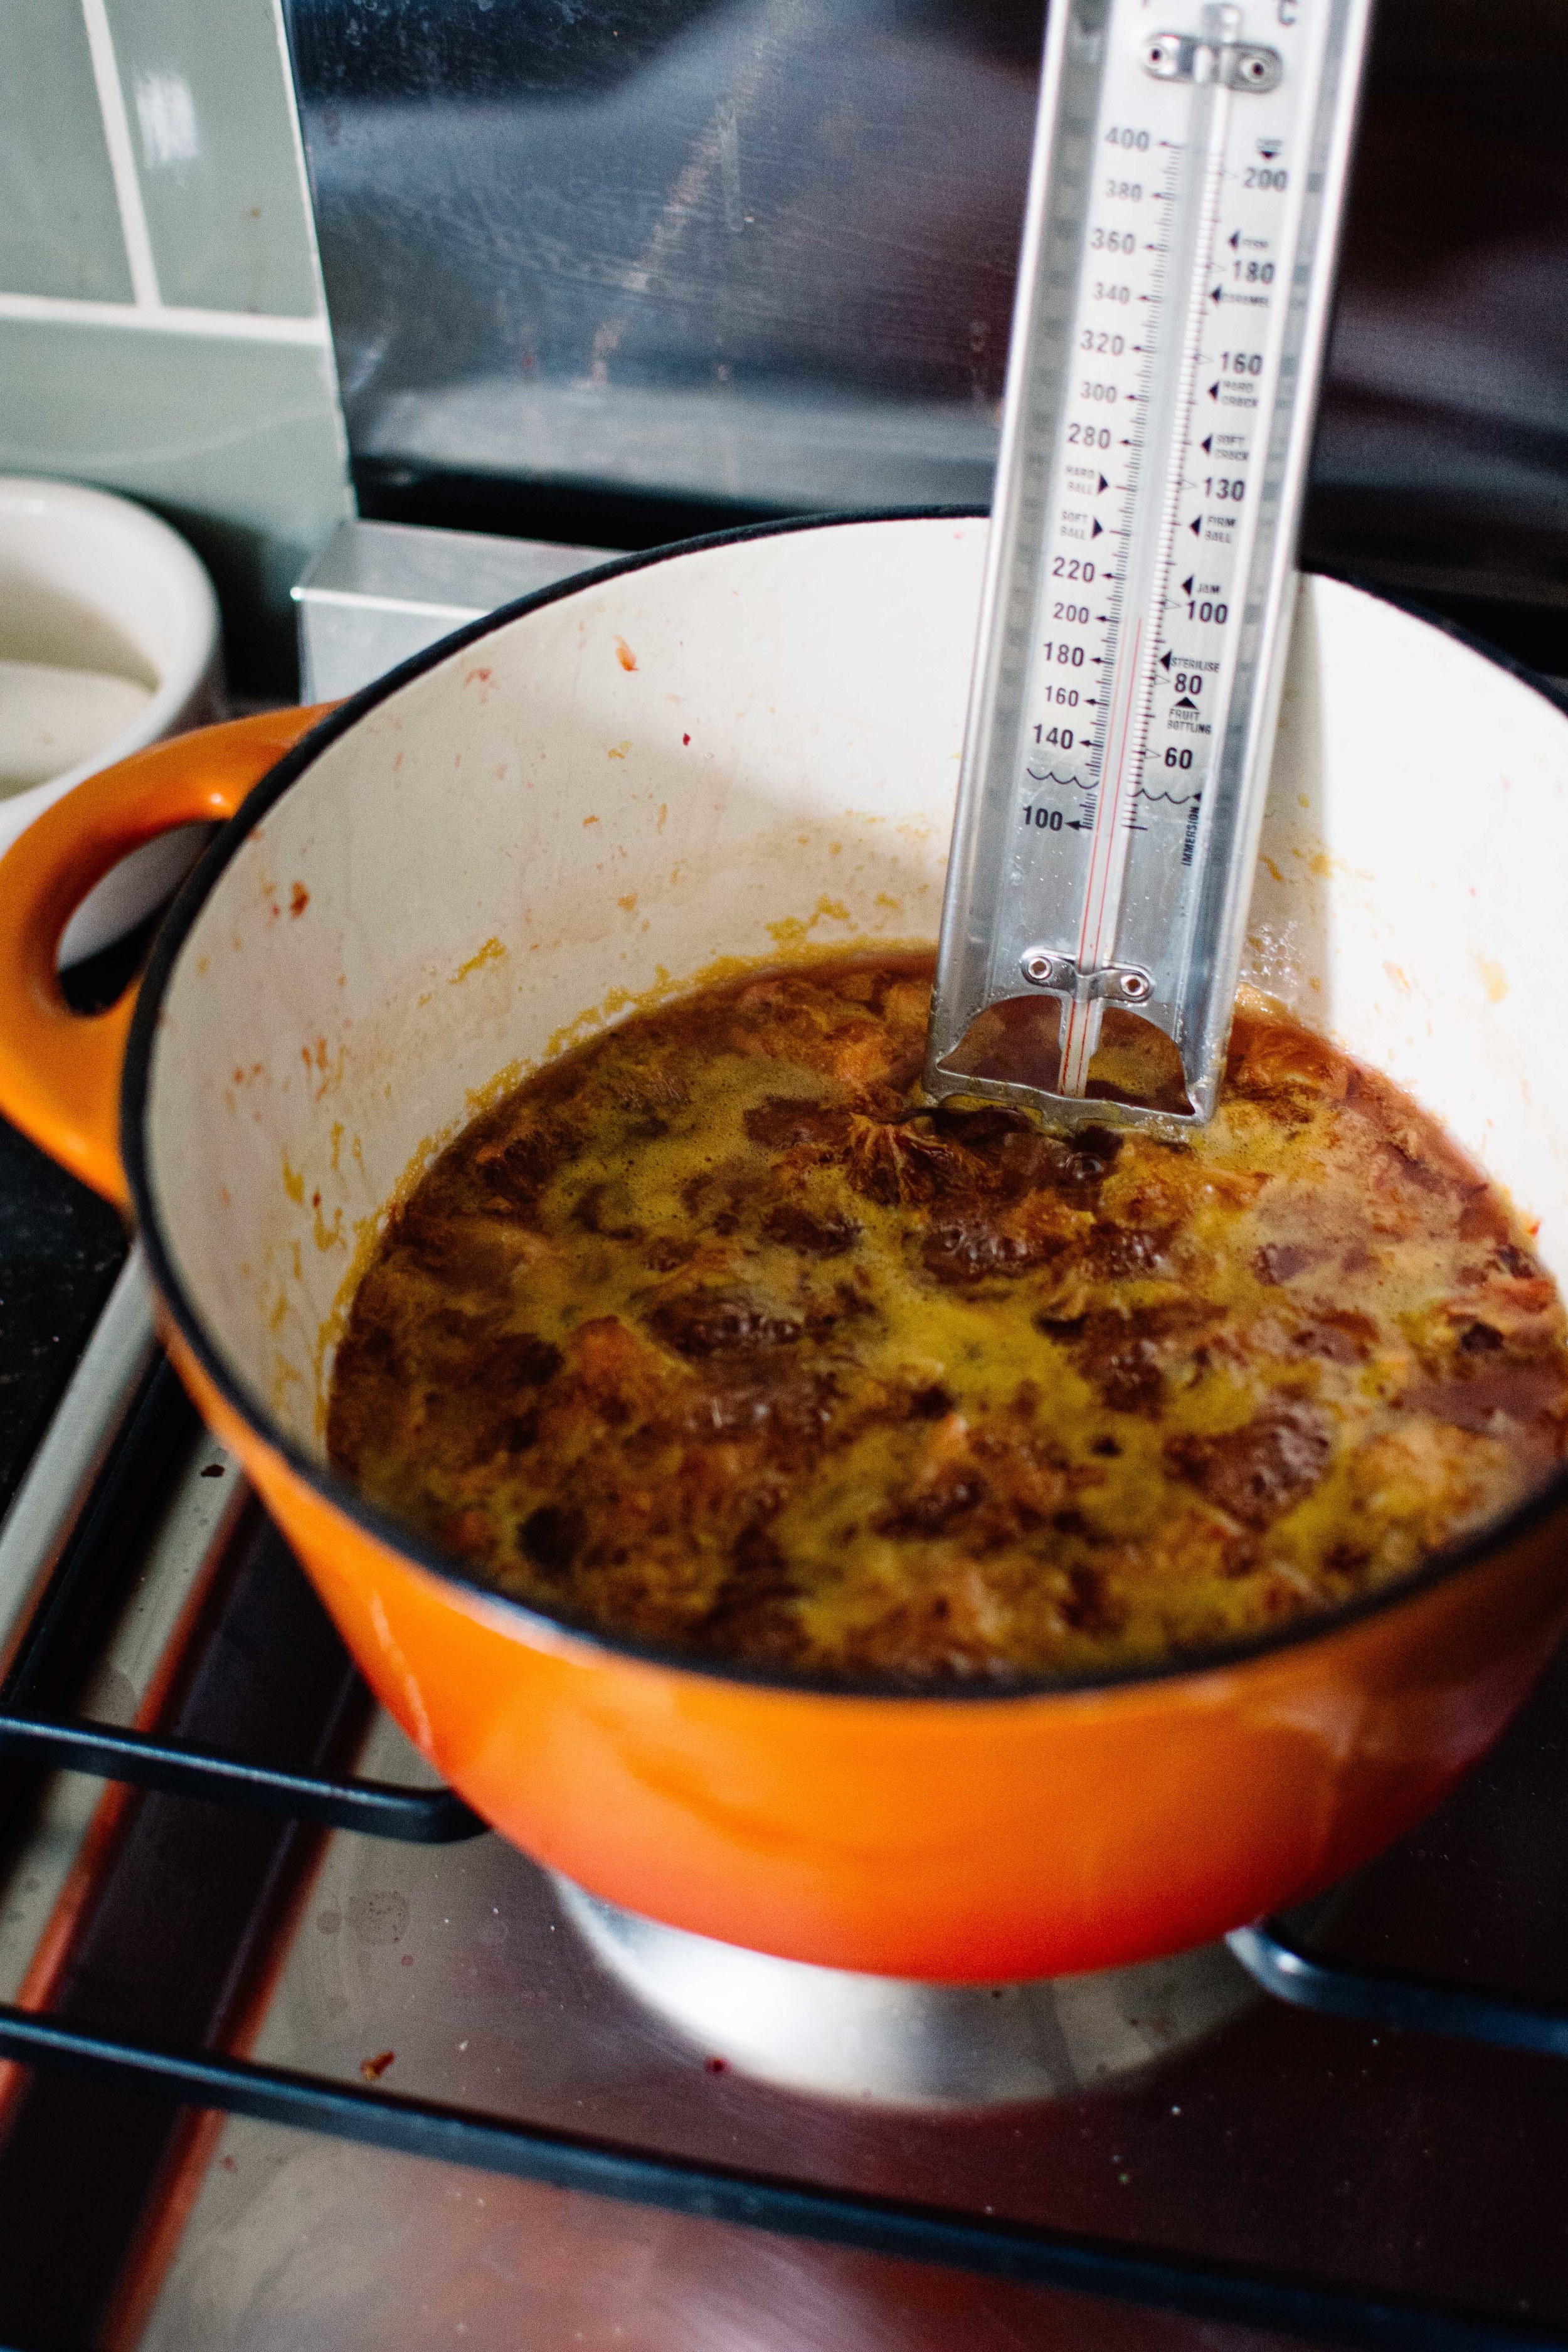
  3. Bring to a boil over a medium heat, stirring often. Then reduce to a simmer and continue to cook for 45 minutes -1 hour until a candy thermometer reads 225°F. 
  4. Meanwhile, place around 2 tablespoons of the sliced peel (you can discard the rest or add more if you like) in a saucepan, cover with cold water and bring to boil over a medium heat. Reduce to a simmer and cook for around 5 minutes, then drain and set aside ready to stir into the marmalade in the last few minutes of cooking. 
  5. Spoon the marmalade into sterilised jam jars fitted with sterile lids. 
  6. Place the jars in a deep, heavy-bottom pan filled with boiling water. Keep the jars in the water bath on a medium heat for 10 minutes, or according to canning-pot instructions. 
  7. Carefully remove the jars from the water bath and place on kitchen towel - make sure the jars don't touch one another and have enough space. 
  8. Once cool you can store the marmalade in a cool, dark place for up to a year, but you'll need to refrigerate once opened. 


Mexican Street Corn [Elotes]

Where do I start with this one? There are so many great things about this grilled, creamy, spicy Mexican street food staple that attempting to put it all into words is no easy feat. 

Mexican Street Corn | Thyme & Honey

I mean, just look at them. Yellow as the sun with a cheeky bit of char, lathered in a completely unnecessary yet more than welcome chilli mayo dressing, topped with crumbled super creamy queso fresco (or feta works just as well), finished with a few zesty sprinkles of lime, a blessing of chopped coriander and a dusting of chilli powder for that all important kick. I'll let you digest all of that for a sec. It's kind of magical, right? 

A bite out of one of these beauties and you'll wonder why you have ever bothered eating corn another way. Seriously, what is the actual point of grilled corn on the cob with a bit of butter when you can eat them like this? That Clover advert depicting a grown man crying over a bit of butter rubbed half-arsed onto boiled corn has been selling lies to this nation for far too long. I am hoping that this recipe will put a stop to crap corn. 

So here I am, shouting it from the goddam rooftops of South West London! Banish the butter! Say no to bland, boiled corn! And get loco with your otherwise completely mediocre yellow knobbled large grain plant (apparently not actually a vegetable...?). 

PS. it just so happens to be Cinco de Mayo on, funnily enough, the 5th of May. If you know a better way to celebrate Mexican Independence, a historic event that most likely has nothing to do with you, than with these elotes then I challenge you to Mexican fiesta dual, your dish vs. mine. Sombreros, compulsory.


Mexican Street Corn

Serves 4

Ingredients

4 sweetcorn cobs, husked

65g mayonnaise

1 teaspoon Sriracha sauce

Zest and juice of half a lime

30g queso fresco, or feta

Chilli powder

Bunch of coriander, roughly chopped


Method

  1. Wrap each corn cob in aluminium foil and bake in the oven for 35 minutes at 200°c
  2. Meanwhile mix together the mayo and Sriracha and set aside.
  3. Once the corn cobs are done, finish them off by removing from the foil and putting under the grill for 5-10 minutes in order to char slightly. You can also do this on the BBQ. Keep an eye on them so they don’t burn, and remove them from the oven/BBQ once you’re happy.
  4. To serve, brush the corn with the mayo mixture then top with some lime zest and juice.
  5. Crumble over the queso fresco and shake a bit of chilli powder on top.
  6. Garnish with the chopped coriander, serve and devour.
Armenia in Pictures

The familiar smell of ethanol that I had picked up earlier that day when stopping for gas was at first overwhelming when we entered Yerevan. We were staying almost an hour outside of the capital in Ujan, a village in the province of Aragatsotn, and until this point aside from my travel companions I had enjoyed the solitude of the mountainous landscape. The contrast between the city and all that's outside of it was notable; after the collapse of the Soviet Union vast resources have been poured into building a cosmopolitan city out of Yerevan, and with tree-lined avenues and grandiose buildings like those found in Republic Square, you can see the Parisian streets the city's architects were trying to mirror. It's only when you venture away from the quaint squares and trendy cafés and into the district of Nor Nork, the last remaining Soviet housing projects, that you get a true understanding of how life once was here.

Outside of the capital city improving the standards of infrastructure, health and social care seem to have been overlooked, resulting in around one million Armenians, many of whom are from the poorer regions, leaving for pastures greener - even if that means without legal immigrant status. Our temporary home in Ujan was a world away from Yerevan and its traffic-filled streets. 

However, despite the economic disparities Armenia certainly shares one heart. The people who we encountered throughout our travels were full of life and with an incredible sense of generosity and kindness. Food was a central theme: an offering, an act of celebration, moments to break bread and share stories with one another. Traditional sharing plates comprised of khorovats, fresh salads, lavash, dolma, cured meats and pickles, and pouri havov pilaf (roast chicken with rice) adorned tables and would become quickly devoured in between the ongoing clink of glasses filled with local cognac as we'd say cheers for various things - a practice I myself know well from my own Armenian family.

Maybe it was this familiarity, the unexplained understanding of a place where I was a stranger yet connected by history, that made me feel welcome wherever I went. After all this was my ancestral homeland, and even though my family had left 100 years before I could still feel a part of them and their story in this now not so alien land. 

Ujan, Armenia | Gabriella Simonian ©
Celebrations in Ujan | Gabriella Simonian ©
Khor Virap | Gabriella Simonian ©
Prayer candles, Khor Virap | Gabriella Simonian ©
La bestia | Gabriella Simonian ©
Traditional khorovats | Gabriella Simonian ©
Lavash | Gabriella Simonian ©
Republic Square | Gabriella Simonian ©
Outskirts of Yerevan | Gabriella Simonian ©
Laundry | Gabriella Simonian ©
Old men playing Narde | Gabriella Simonian ©
Kitten in the street | Gabriella Simonian ©
Baklava | Gabriella Simonian ©
Canned | Gabriella Simonian ©
Lavash | Gabriella Simonian ©
Mer Taghe | Gabriella Simonian ©
Yerevan | Gabriella Simonian ©
Baba Ghanouj

Baba ghanouj, with its distinct smoky flavour and creamy texture, is up there with the best of Middle Eastern food in my book. Along with  hummus it holds a certain nostalgia for me, forever being on the table alongside fresh saj and soujouk when we'd sit down to eat with family in Cyprus. We'd usually keep a tub of it on hand back at home in London, but up until recently I hadn't really tried making it myself. 

Baba Ghanouj | Thyme & Honey

This was in part due to the fact I didn't have a gas range at home, and also because the purist in me remains stubborn on charring the aubergines instead of the simpler (and cleaner) process of baking them, but once I moved into my flat last year, equipped with a gas range cooker, I couldn't resist trying it out.  

There is a fair amount of debate concerning what makes the 'perfect' baba ghanouj, and writer Felicity Cloake tackles this quite well in her column for The Guardian. Like Felicity, I like researching and testing different takes on a recipe to get the perfect version, and among other resources I used her article as an aid in my quest for the ultimate creamy, smoky and garlicky dip. 

Personally I like enough lemon to taste but not enough to make the flavour obviously citrusy, a hint of garlic (1 clove per every two aubergines), and the essential ingredient, tahini - although just a little otherwise you'll end up with something more akin to hummus. The below recipe is what I consider to be the perfect baba ghanouj, and now that I've found the right balance the only thing likely to change when I make it is whether I garnish it with chopped mint or not. 

Don't let the process of charring it put you off, likewise if you don't have a gas hob don't let that deter you either as you can still make delicious baba ghanouj without this process. What I find is most important is creating the right balance of flavours according to your own personal taste - although I think you might quite like the recipe below nevertheless. 

Baba Ghanouj | Thyme & Honey

Baba Ghanouj

Serves 4

Ingredients

2 medium aubergines

1 garlic clove, minced

2 tablespoons tahini paste

Juice of half a lemon

Pinch of salt

Olive oil and pomegranate seeds to serve


Method

  1. Burn the aubergines using a gas cooker. Sit the aubergines on top of a low-medium flame, turning often. Cook until they are practically caving in on themselves. If you don't have a gas hob, prick and bake the aubergines whole in an oven set to 180°c (160°c FAN) for 30-40 minutes. 
  2. Leave the cooked aubergines to cool slightly before peeling away the skin. Place the flesh into a fine mesh sieve and leave to slowly drain for 20 minutes. 
  3. After draining, break the flesh up gently with a fork - I like to keep mine quite chunky but you can mash it up as much or as little as you like. 
  4. Stir in the minced garlic, tahini and salt. Add the lemon juice and taste - adjust with more tahini/lemon/salt as needed. 
  5. Serve with olive oil and pomegranate seeds. 


Chive + Basil Pesto

Everyone has that one recipe that they go back to time and time again, and for me it's pesto. Perhaps it's the ease in throwing it together, or the fact that its traditional use is with my favourite carb, but there is something about its herby, garlicky notes that keep it firmly on my go-to recipe list. 

What I love about pesto is its versatility. Every green herb or leaf that I throw at it seems to work in its own right, with unfamiliar flavour profiles lending themselves to different parts of the palate, adding an element of discovery each time I try a new combination. This particular pesto is made using chives as well as basil, resulting in luxuriously garlicky undertones while keeping it classic. Use it on pasta like I've done here, or dot it onto ricotta on toast - it is all good.  


CHIVE + BASIL PESTO

Makes 200g 

Ingredients

30g fresh chives

20g fresh basil leaves, stalks discarded

3 tablespoons pine nuts

1 garlic clove, minced

6 tablespoons mild/light olive oil

30g parmigiano reggiano, finely grated


Method

  1. In a food processor, add the herbs, pine nuts, garlic, olive oil and a good pinch of salt and pepper and blend.

  2. Scrape the pesto mixture into a bowl and by hand stir in the grated parmesan. Add an extra glug of olive oil for good measure.  

  3. Cook your pasta of choice until al dente (allow 150g per person), reserving a little of the cooking water before draining. Add 1 heaped tablespoon of pesto per person, along with a splash of the reserved water.

  4. Serve immediately. 

Homemade Goat's Ricotta

Recently I've been trying my hand at making as much as I can from scratch. From nut milks and butters to jams, bread and pasta, I've been searching for ways to make the food that I cook more clean, economical and most importantly resulting in less wastage.  

Of course there is the added wow factor of a meal made in its entirety by your own hands, a certain smugness when telling those eating it how you spent time peeling the tomatoes that would come to be in the most delicious sauce, or kneading the dough that would eventually be the toast on their plate. Yes, a little bit of smugness might irritate even the politest of guests (read: live-in boyfriend), but you know - modesty is a virtue, right? 

When it comes to cheese, ricotta is up there with halloumi (forever my undisputed favourite) and in my house it's spread on toast, stuffed into pasta shells or simply eaten with a spoon. Yes, I am one of those girls that eats cheese with a spoon. I HAVE NO SHAME. 

Luckily, when it comes to cheese, ricotta is probably the easiest to make at home. All it takes is three ingredients, a thermometer and a muslin cloth and pow, you've got the good stuff. How does it work I hear you say? Heat milk until scalding, pour in your acidity (white wine vinegar, lemon etc), add a pinch of salt and then leave it be before straining and slathering onto sourdough toast topped with radish slices and freshly cracked pepper. Or whatever else you fancy. 

This recipe uses goat's milk in place of regular cow's for a mild goat-y finish, and a consistency closer to a somewhat crumbly chèvre. Just like regular ricotta but with a bad ass attitude. 


Homemade Goat's Ricotta

Makes 500g

Ingredients

2 litres goat's milk

80ml white wine vinegar

1 teaspoon salt


Method

1. Add the goat's milk to a saucepan and heat on medium until it reaches 200°F.

2. Remove from the heat and stir in the white wine vinegar and the salt.

3. Leave undisturbed for 10 minutes in order for the curd to separate from the whey.

4. At this point, scoop the big curds using a slotted spoon and place in a fine mesh strainer lined with a cheese cloth. Then pour in the remaining whey and smaller bits of curd.

5. Leave to strain for 10-60 minutes depending on the desired consistency. I like mine relatively crumbly so I left it for around 20 minutes. If you strain the ricotta for longer than you'd like simply add a little of the whey back to the curds to make your ricotta more creamy.

Store refrigerated in an airtight container for up to one week. 

Fennel + Blood Orange Salad

Blood oranges – the true elites of the citrus family. Gracing us with their presence for a month or so before disappearing for another year, they are by far my favourite citrus fruit, and not just for their pretty colours. Now that they’re in season I'm buying them whenever I can and using them in just about anything. But this salad is, with its few ingredients and minimal effort, one of the best ways to enjoy them.

The natural sweet tartness from the blood orange, and the slight bitterness from the fennel results in this salad sort of dressing itself. Add a splash of olive oil and you’ll find that all the flavours come together yet manage to still stand out on their own – it is magical.

Fennel + Blood Orange Salad | Thyme & Honey

Fennel + Blood Orange Salad

Serves 2

Ingredients

1 fennel bulb

2 blood oranges

Seeds from half a pomegranate

2 inches of fresh chives

Olive oil


Method

  1. Using a mandolin, slice the fennel into a bowl. 
  2. Remove the peel from the blood oranges and then cut into slices.
  3. Arrange both the fennel and blood orange discs on a plate, drizzle over olive oil, add a sprinkle of pom seeds and your chopped chives. Simple!
Benahavís + A Photography Project

At the beginning of February Stephanie from Angel's Belly asked if I would fly out to Benahavís, a small mountain village some 7km inland from the southern coast of Spain, to shoot their first yoga and brunch retreat.

Stephanie set up Angel's Belly as a way to reach out to people with a shared interest in healthy eating, and with an aim to spread a healthy message and help educate others to feel empowered to make better choices about their bodies and what they put in them. Recently she launched Angel's Belly retreats, the first of which took place at the Gran Hotel Benahavís. Guests started off with a yoga class, followed by a plant-based brunch club with things like cold-pressed juices, cashew yoghurt parfait, homemade granola, baked quinoa-stuffed mushrooms and a variety of plant-based/vegan spreads and breads on offer. To finish there was a lecture given on the benefits of eating a plant-based diet and a few myth-busters on foods and alternatives that are promoted as being good for you. It was hugely inspiring to spend time with a group of passionate people who take a considered and holistic approach to eating and personal well-being, and I came away with a few new opinions and a lot more knowledge. 

I spent a few days in Benahavís exploring the village and surrounding area - the landscape was nothing like I have seen in Spain before: brooding, mountainous, wild. The village itself is perched on patch of mountain that stays sun-soaked through til dusk, with steep, winding cobbled streets lined with white-washed houses. There was a certain charm in its isolated location, I felt as if I'd stumbled across a secret place that no one else knew about. 

Below are some of my favourite photos from the project.

Vegan Fennel, Radish + Broccoli Slaw

It started out of sheer laziness, adding raw vegetables to salads instead of bothering to cook them. With a single swipe along my mandolin I had slithers of cauliflower, fennel or broccoli that would have otherwise been cooked first had this new option not been so convenient. With the right kind of dressing I found that I could make a sort of vegetable ceviche, the edge taken off that typically unappetising ‘rawness’, the flavour mellowing through marinating in my lunch box on my desk at work.

I’ve been testing various slaw recipes periodically, sometimes opting for an Asian combination of flavours, other times a luxuriously creamy American style, but this really is the recipe that I keep coming back to. The dressing here unlike in other slaw recipes is certainly not the show-stealer, but its subtle nutty flavour thanks to tahini is a welcome note on the palate. Throw this together quickly and leave for a while for the flavours to really gel. I eat this for lunch on its own, or with half an avocado for good measure. Adding a slice of rye bread into the equation is always a welcome addition, too.

If you’ve been reading my posts for a while you would have heard me discuss a new found love of plant-based eating, and although I cannot confirm that I have been exercising this new diet religiously and without steak/eggs, I can confirm that for the most part I am still enjoying creating dairy-free/meat-free dishes – on occasion. This slaw just so happens to work extremely well with either a dairy alternative to yoghurt, or the real deal. So, do with it what you will.


VEGAN FENNEL, RADISH + BROCCOLI SLAW

Serves 4

Ingredients

1 medium head of broccoli

1 large fennel

6-8 radishes

100g cavolo nero, stalks removed and leaves shredded

8 stalks of fresh dill

For the dressing:

60ml olive oil

30ml tahini paste

50ml soya, coconut or regular yoghurt

2tsp rice mirin or vinegar

Juice of 1 lemon


Method

  1. Using a mandolin if you have one will make putting this salad together a total breeze. If you don’t have one, then try and slice the fennel and radishes as finely as possible.
  2. Slice the fennel, radishes and broccoli using a mandolin and place in a large bowl. Add the shredded cavolo nero and tear in the fresh dill leaves.
  3. For the dressing add all of the ingredients to a jam jar and shake well until thoroughly mixed and creamy in consistency.
  4. Pour the dressing over the salad, toss well to coat. Season to taste with salt flakes and freshly ground black pepper.
  5. Serve on its own or in rye (or however you like) with extra fresh dill and a drizzle of extra olive oil.