Posts tagged cooking
Chive + Basil Pesto

Everyone has that one recipe that they go back to time and time again, and for me it's pesto. Perhaps it's the ease in throwing it together, or the fact that its traditional use is with my favourite carb, but there is something about its herby, garlicky notes that keep it firmly on my go-to recipe list. 

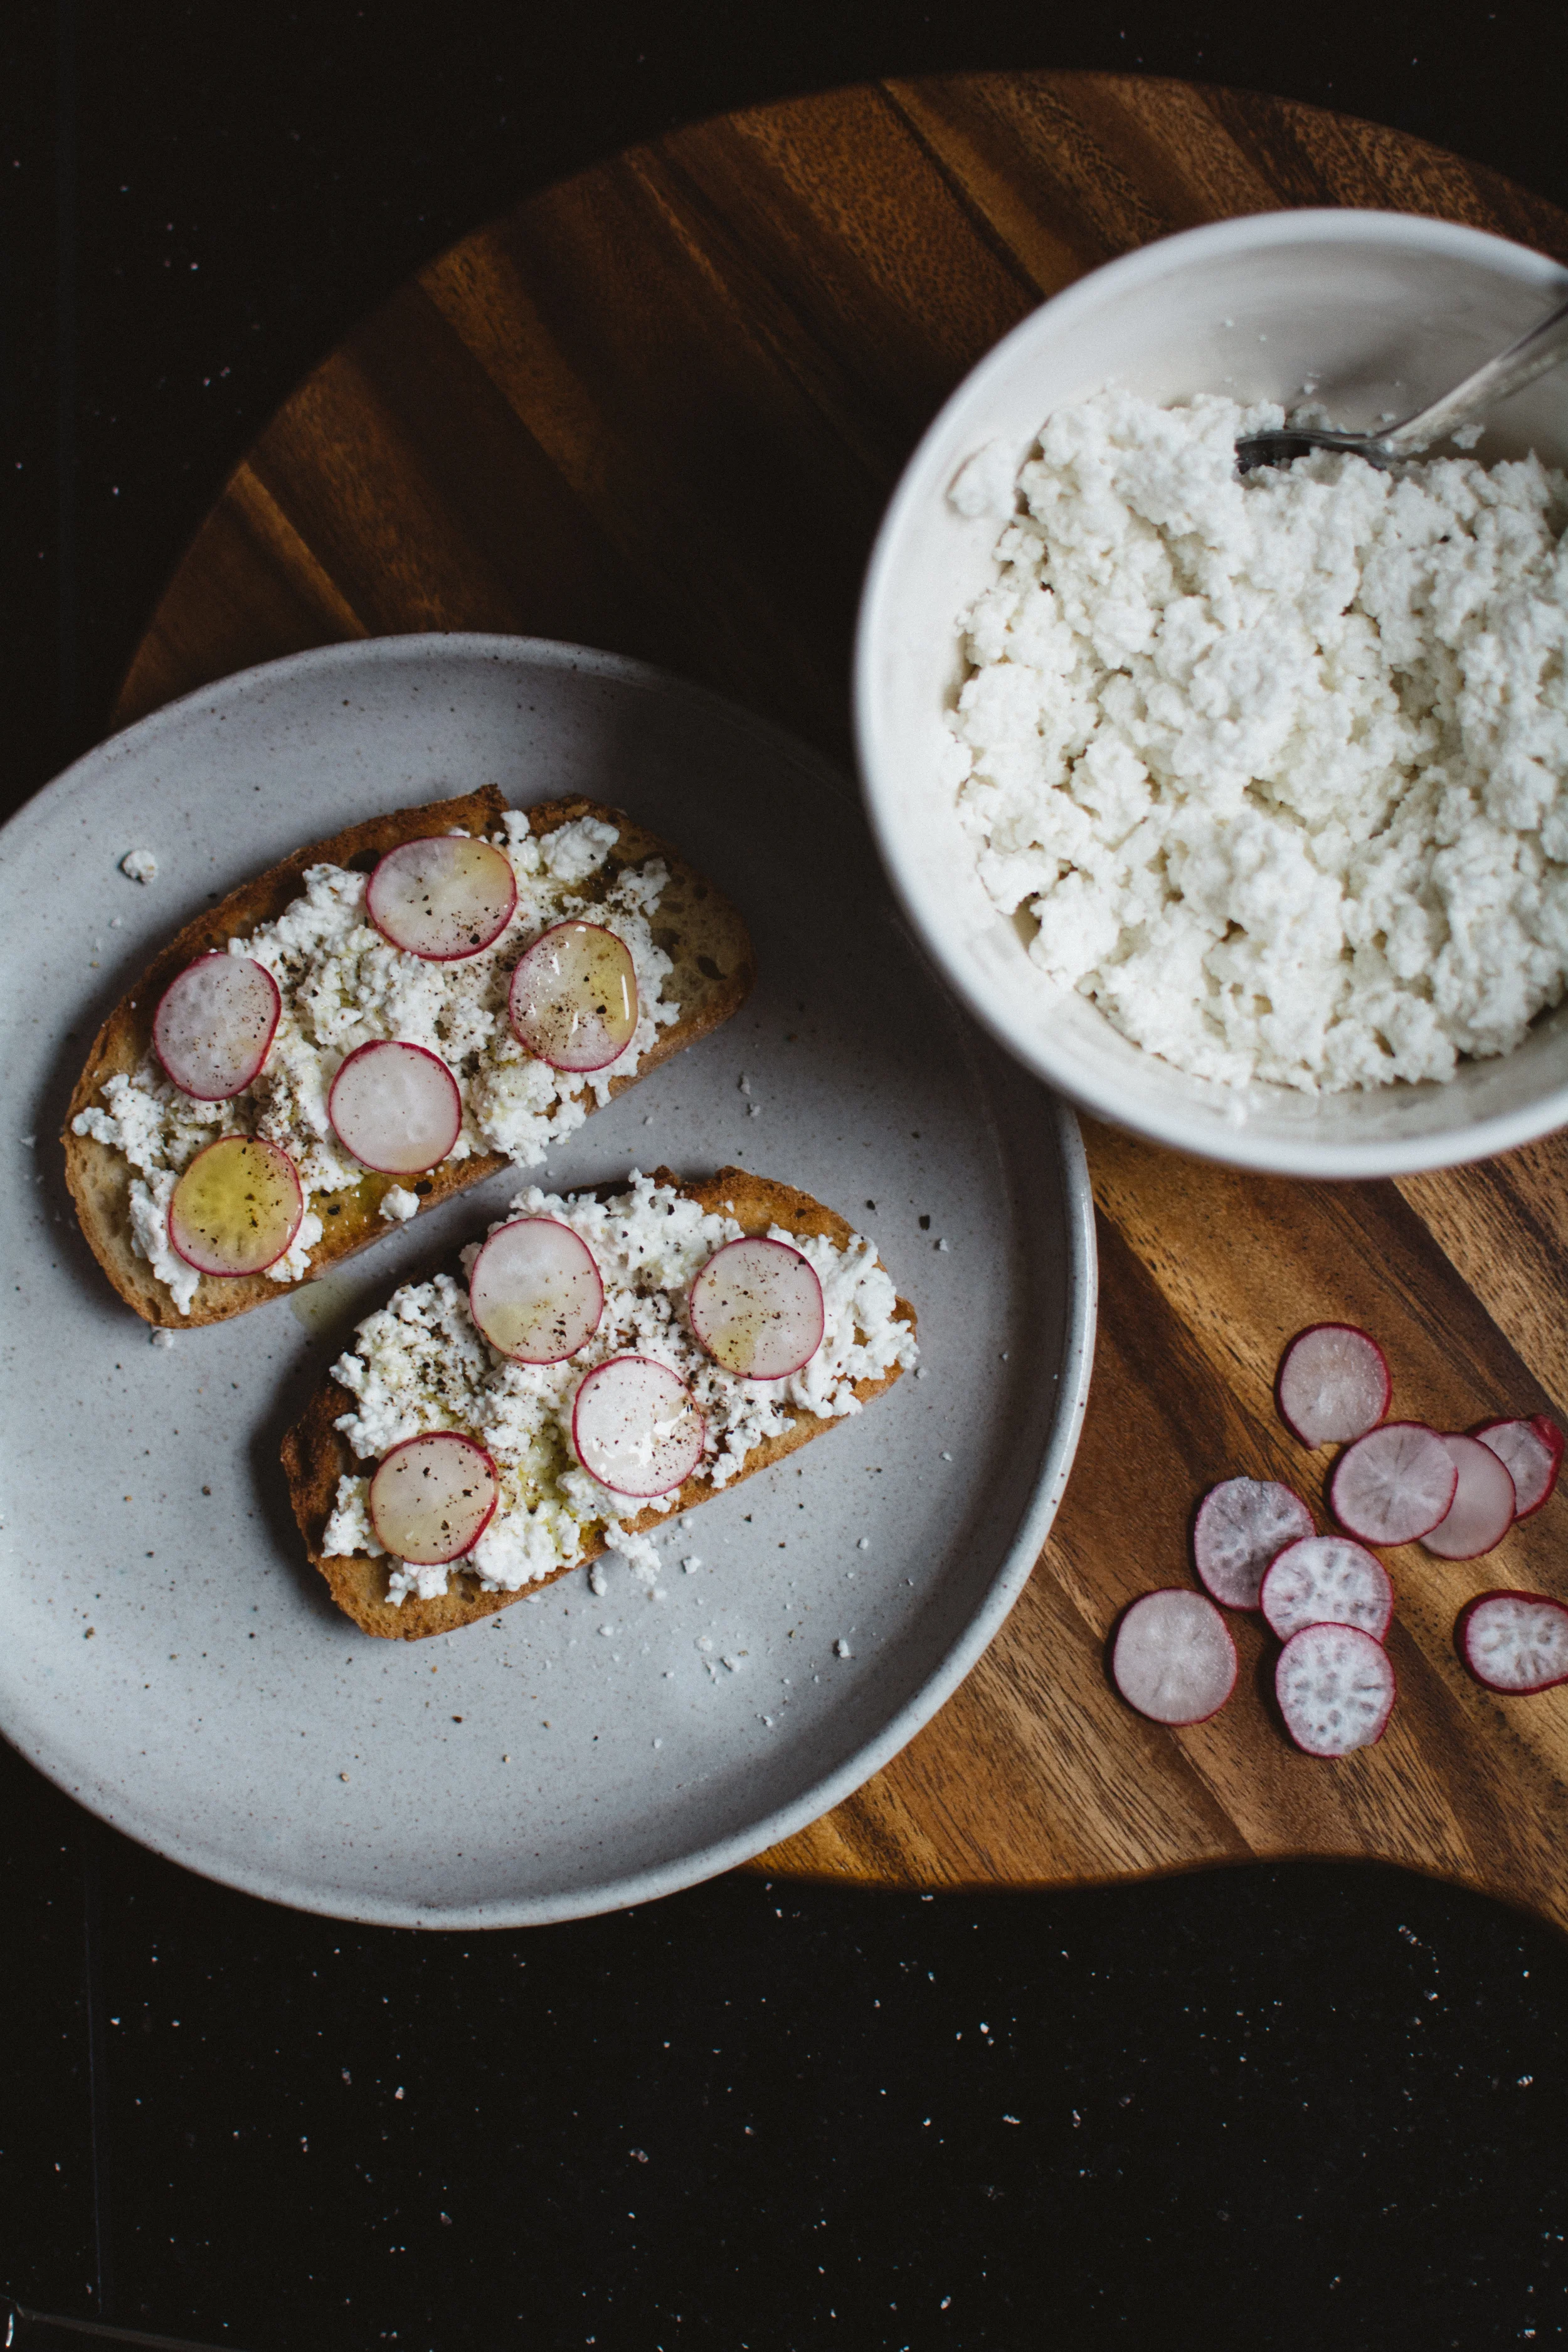
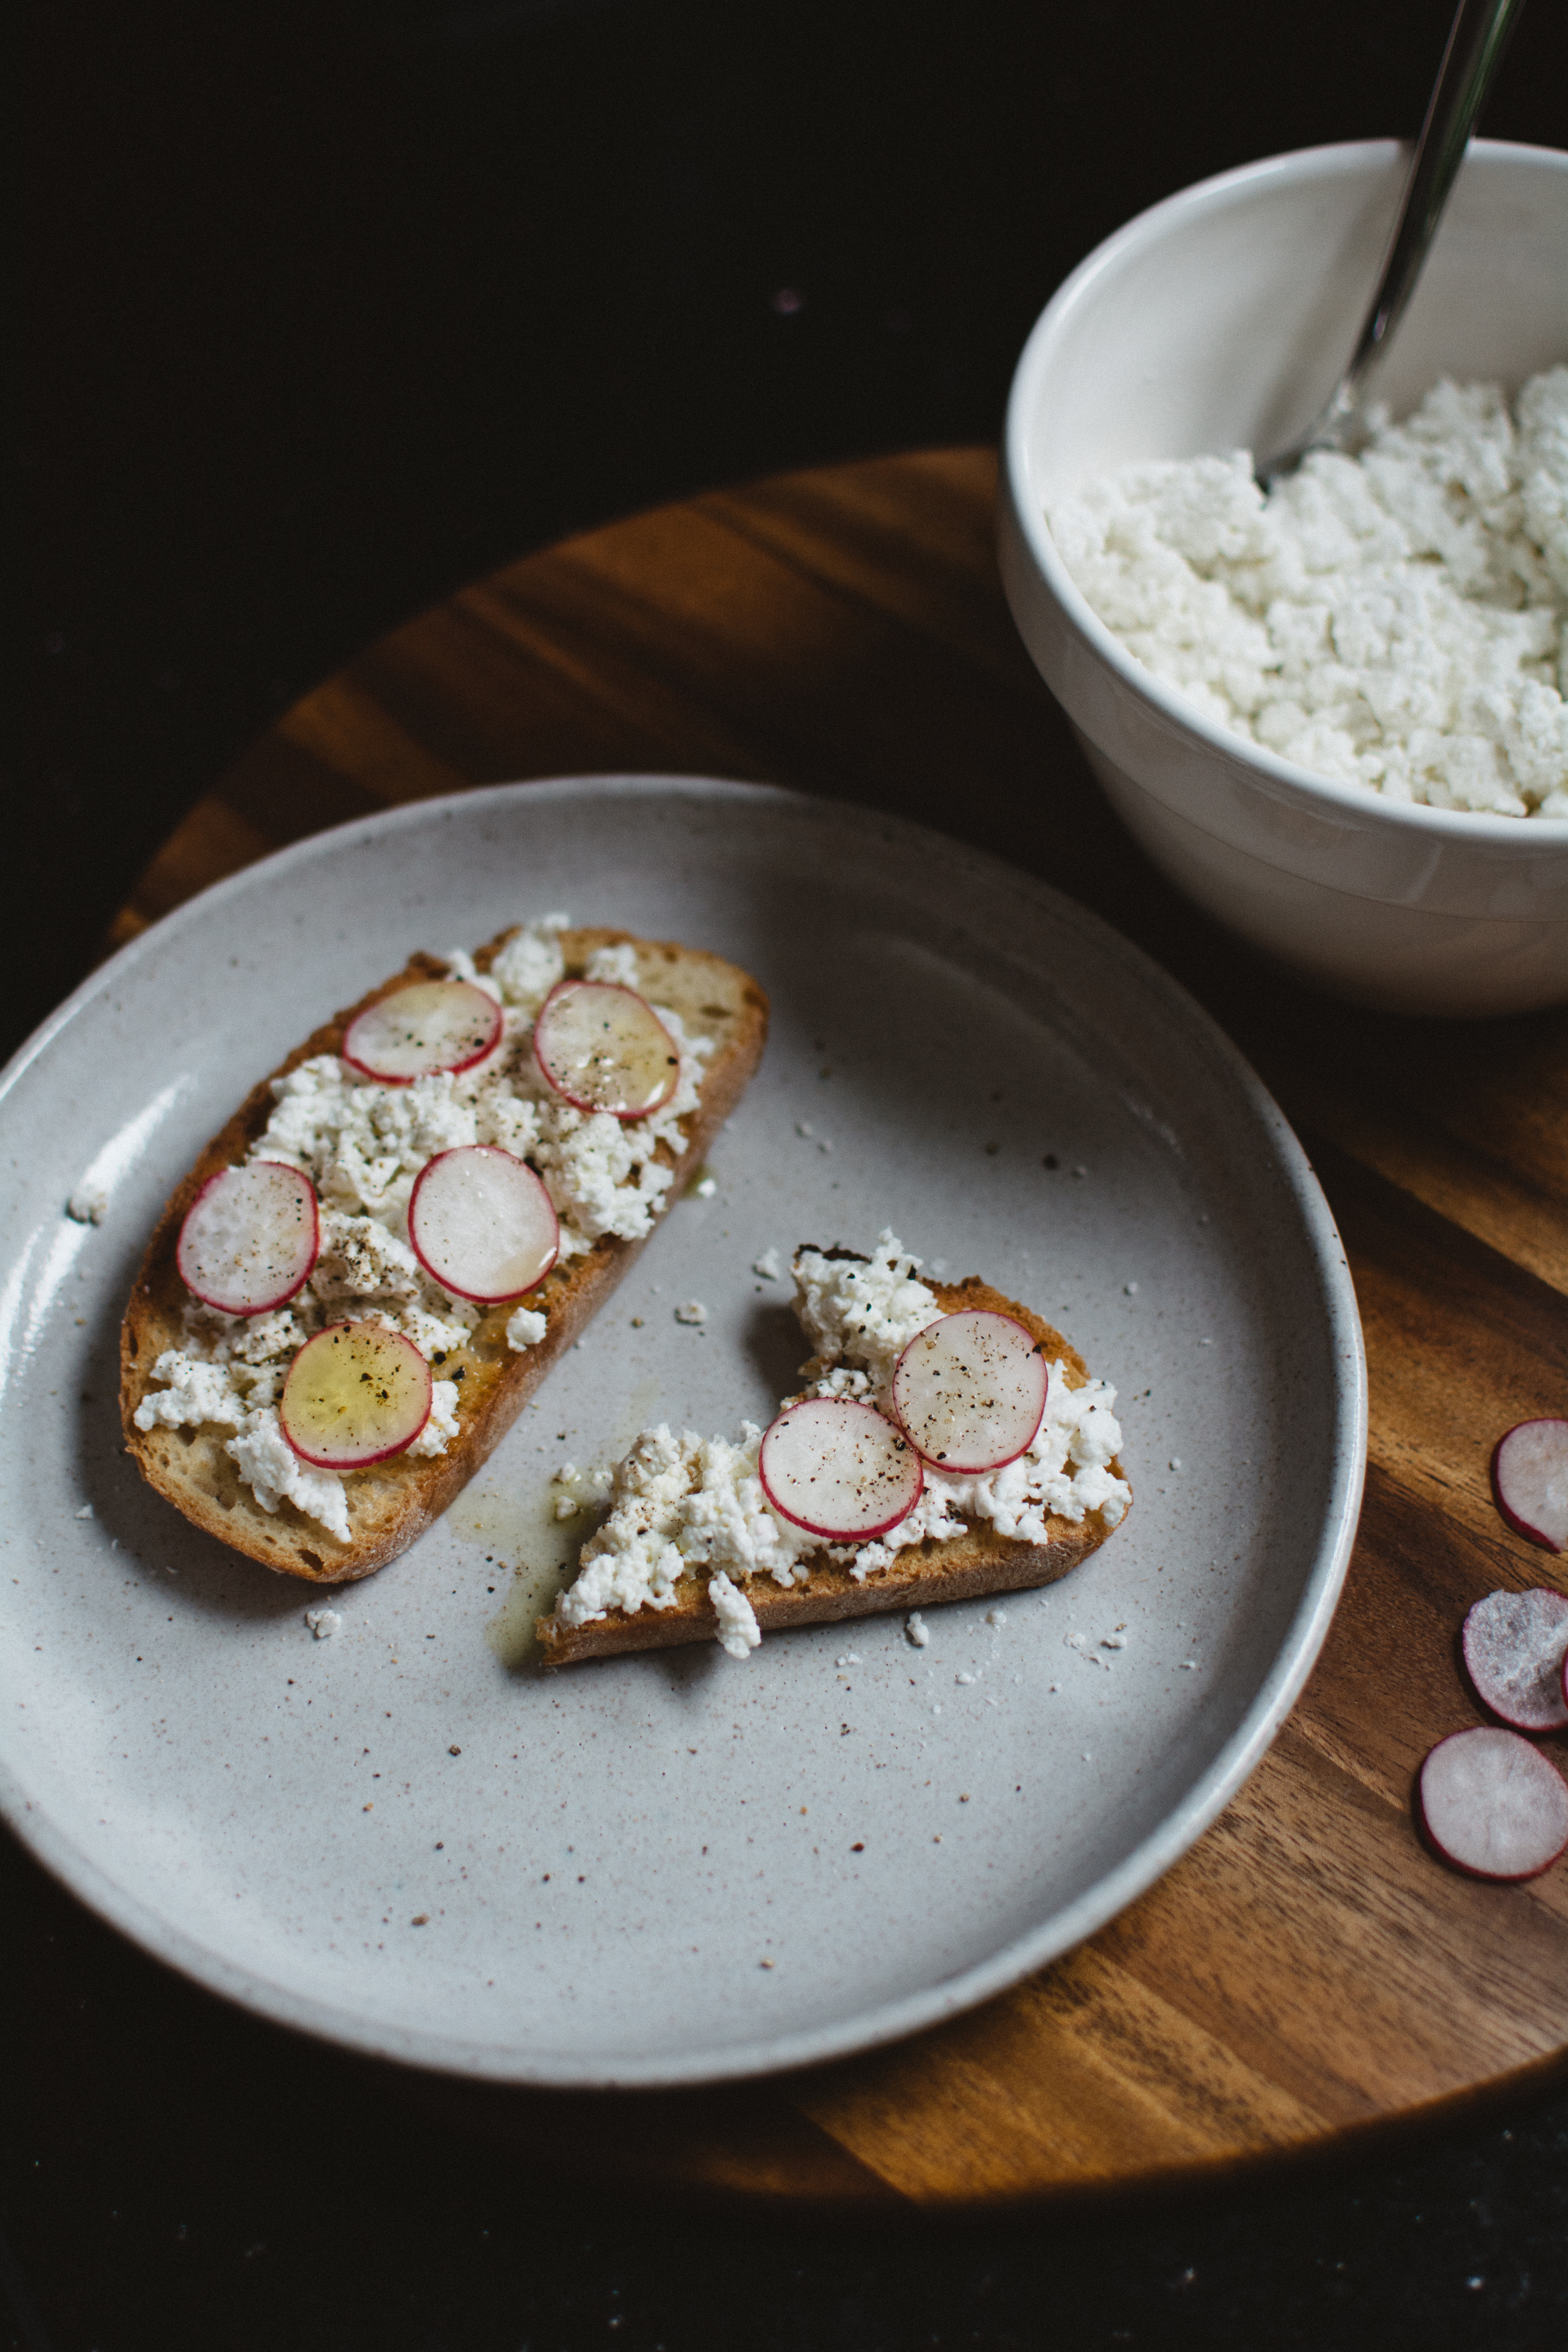
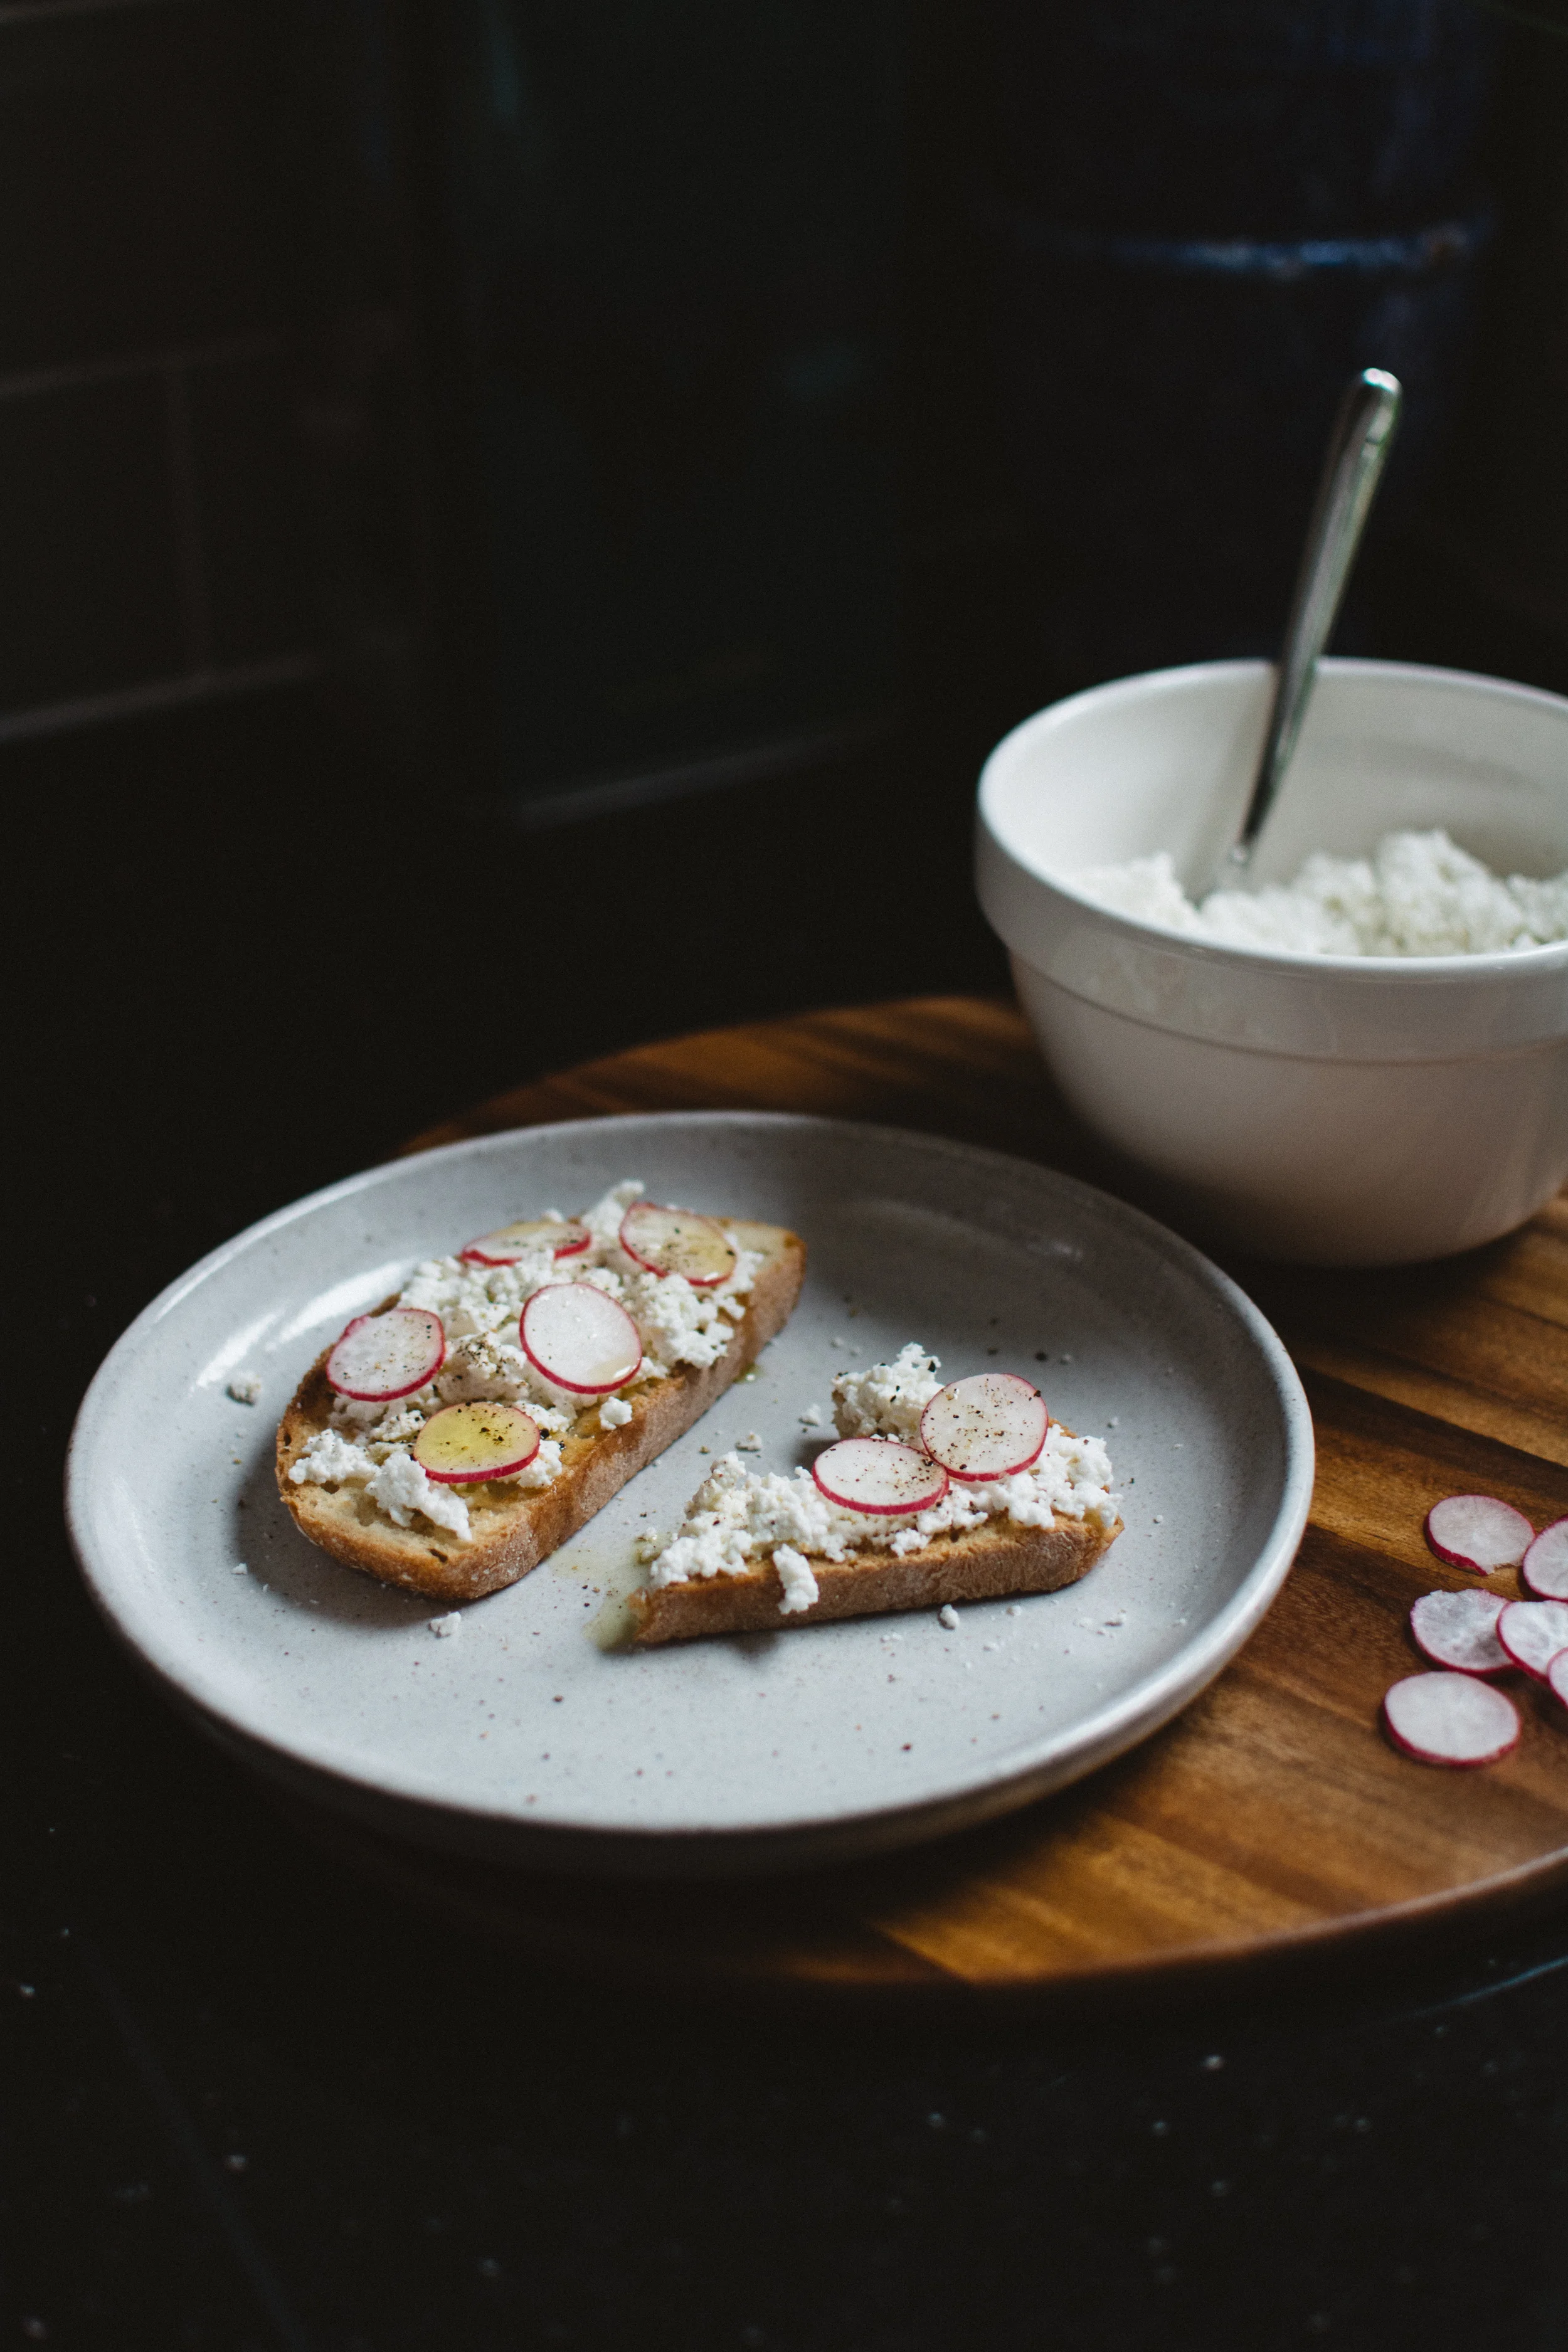
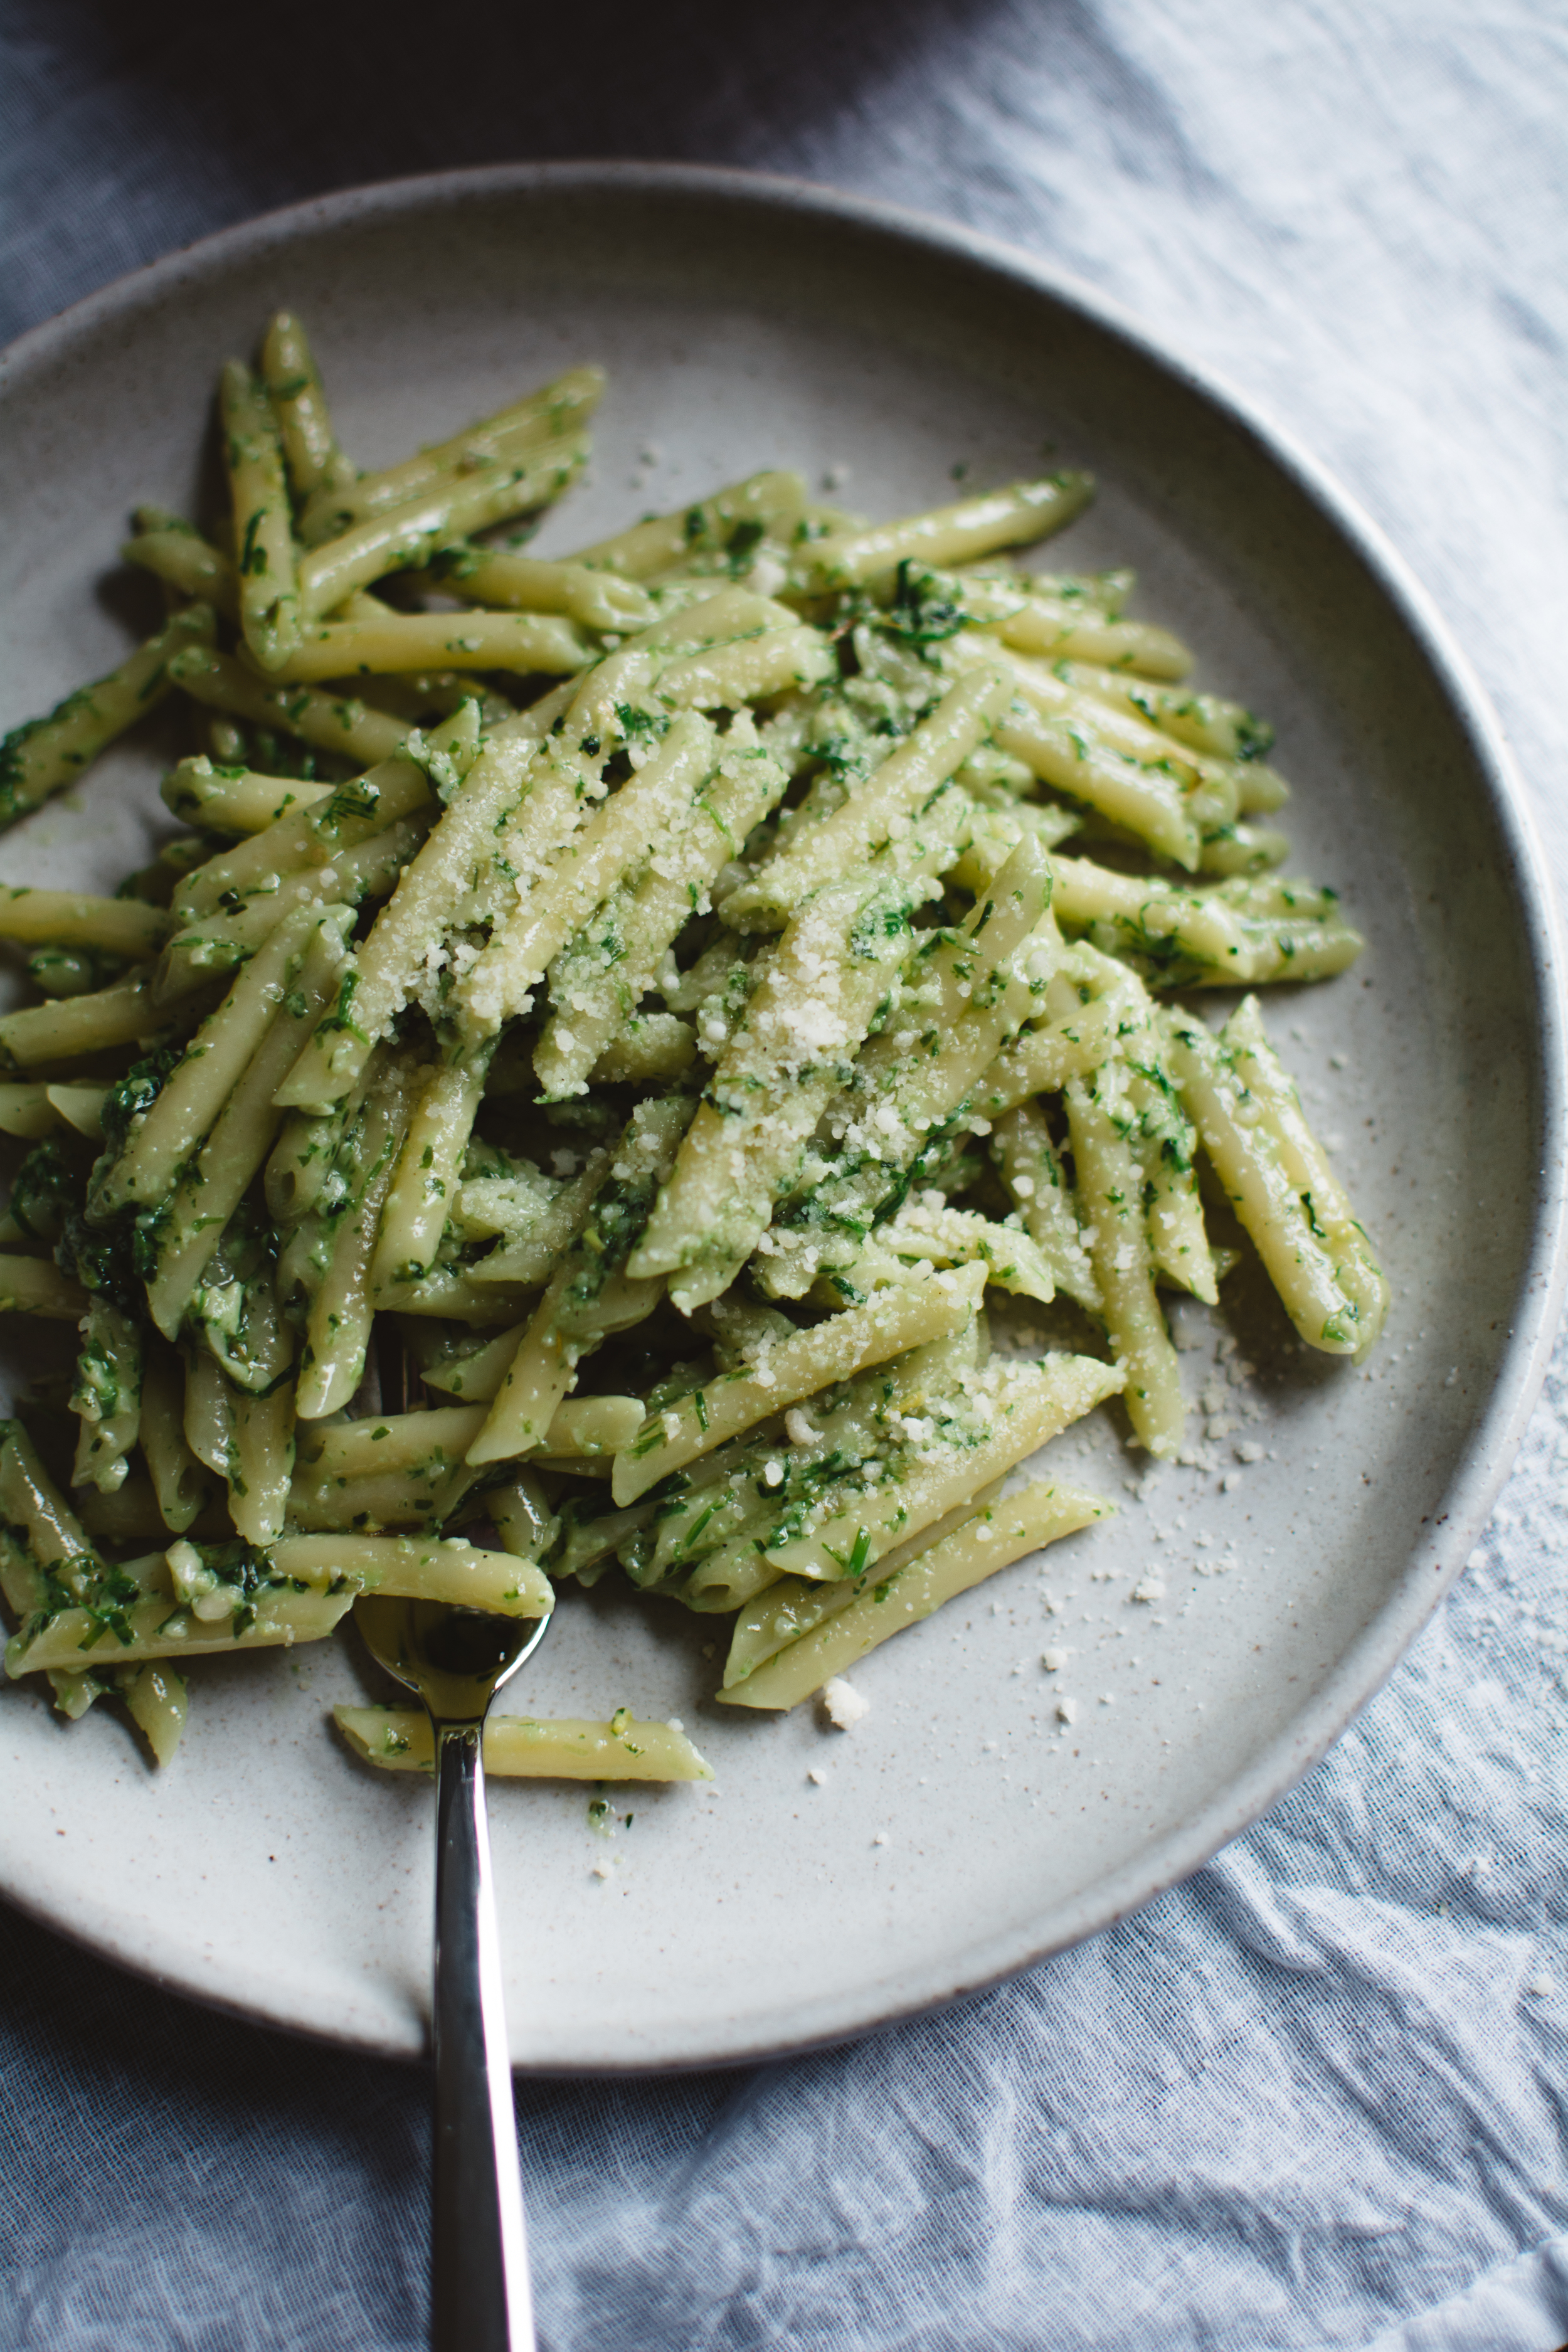
What I love about pesto is its versatility. Every green herb or leaf that I throw at it seems to work in its own right, with unfamiliar flavour profiles lending themselves to different parts of the palate, adding an element of discovery each time I try a new combination. This particular pesto is made using chives as well as basil, resulting in luxuriously garlicky undertones while keeping it classic. Use it on pasta like I've done here, or dot it onto ricotta on toast - it is all good.  


CHIVE + BASIL PESTO

Makes 200g 

Ingredients

30g fresh chives

20g fresh basil leaves, stalks discarded

3 tablespoons pine nuts

1 garlic clove, minced

6 tablespoons mild/light olive oil

30g parmigiano reggiano, finely grated


Method

  1. In a food processor, add the herbs, pine nuts, garlic, olive oil and a good pinch of salt and pepper and blend.

  2. Scrape the pesto mixture into a bowl and by hand stir in the grated parmesan. Add an extra glug of olive oil for good measure.  

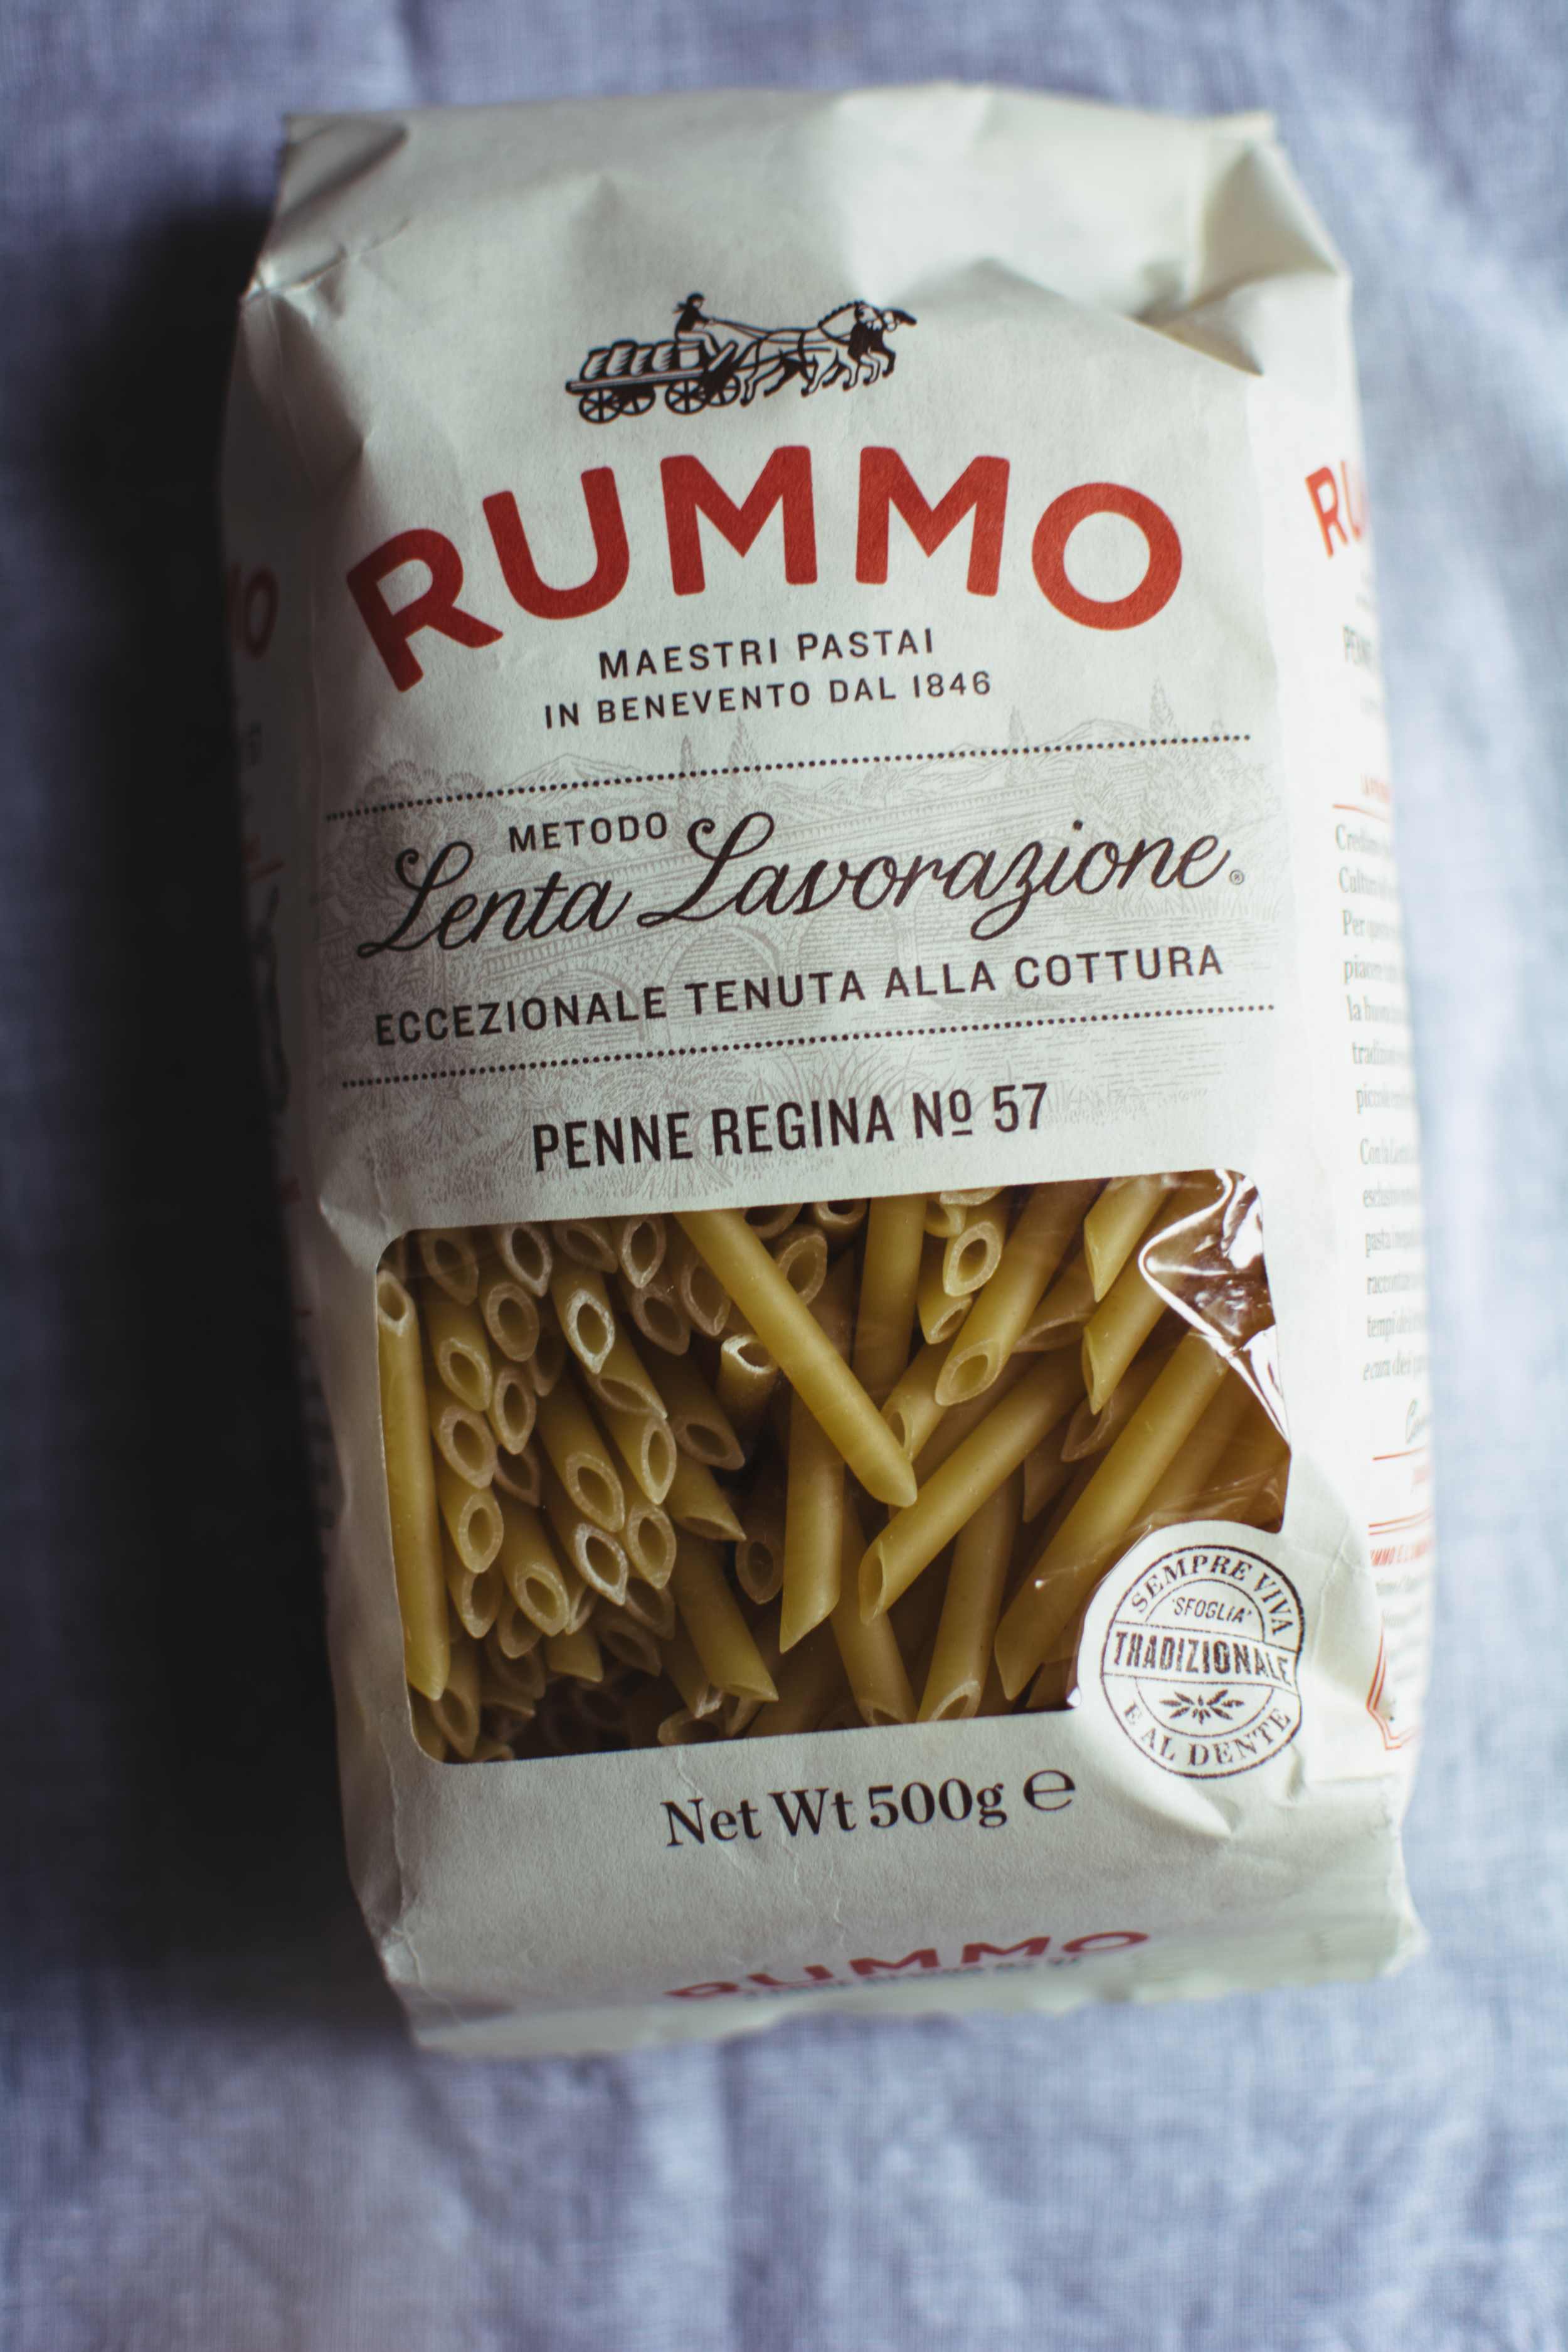
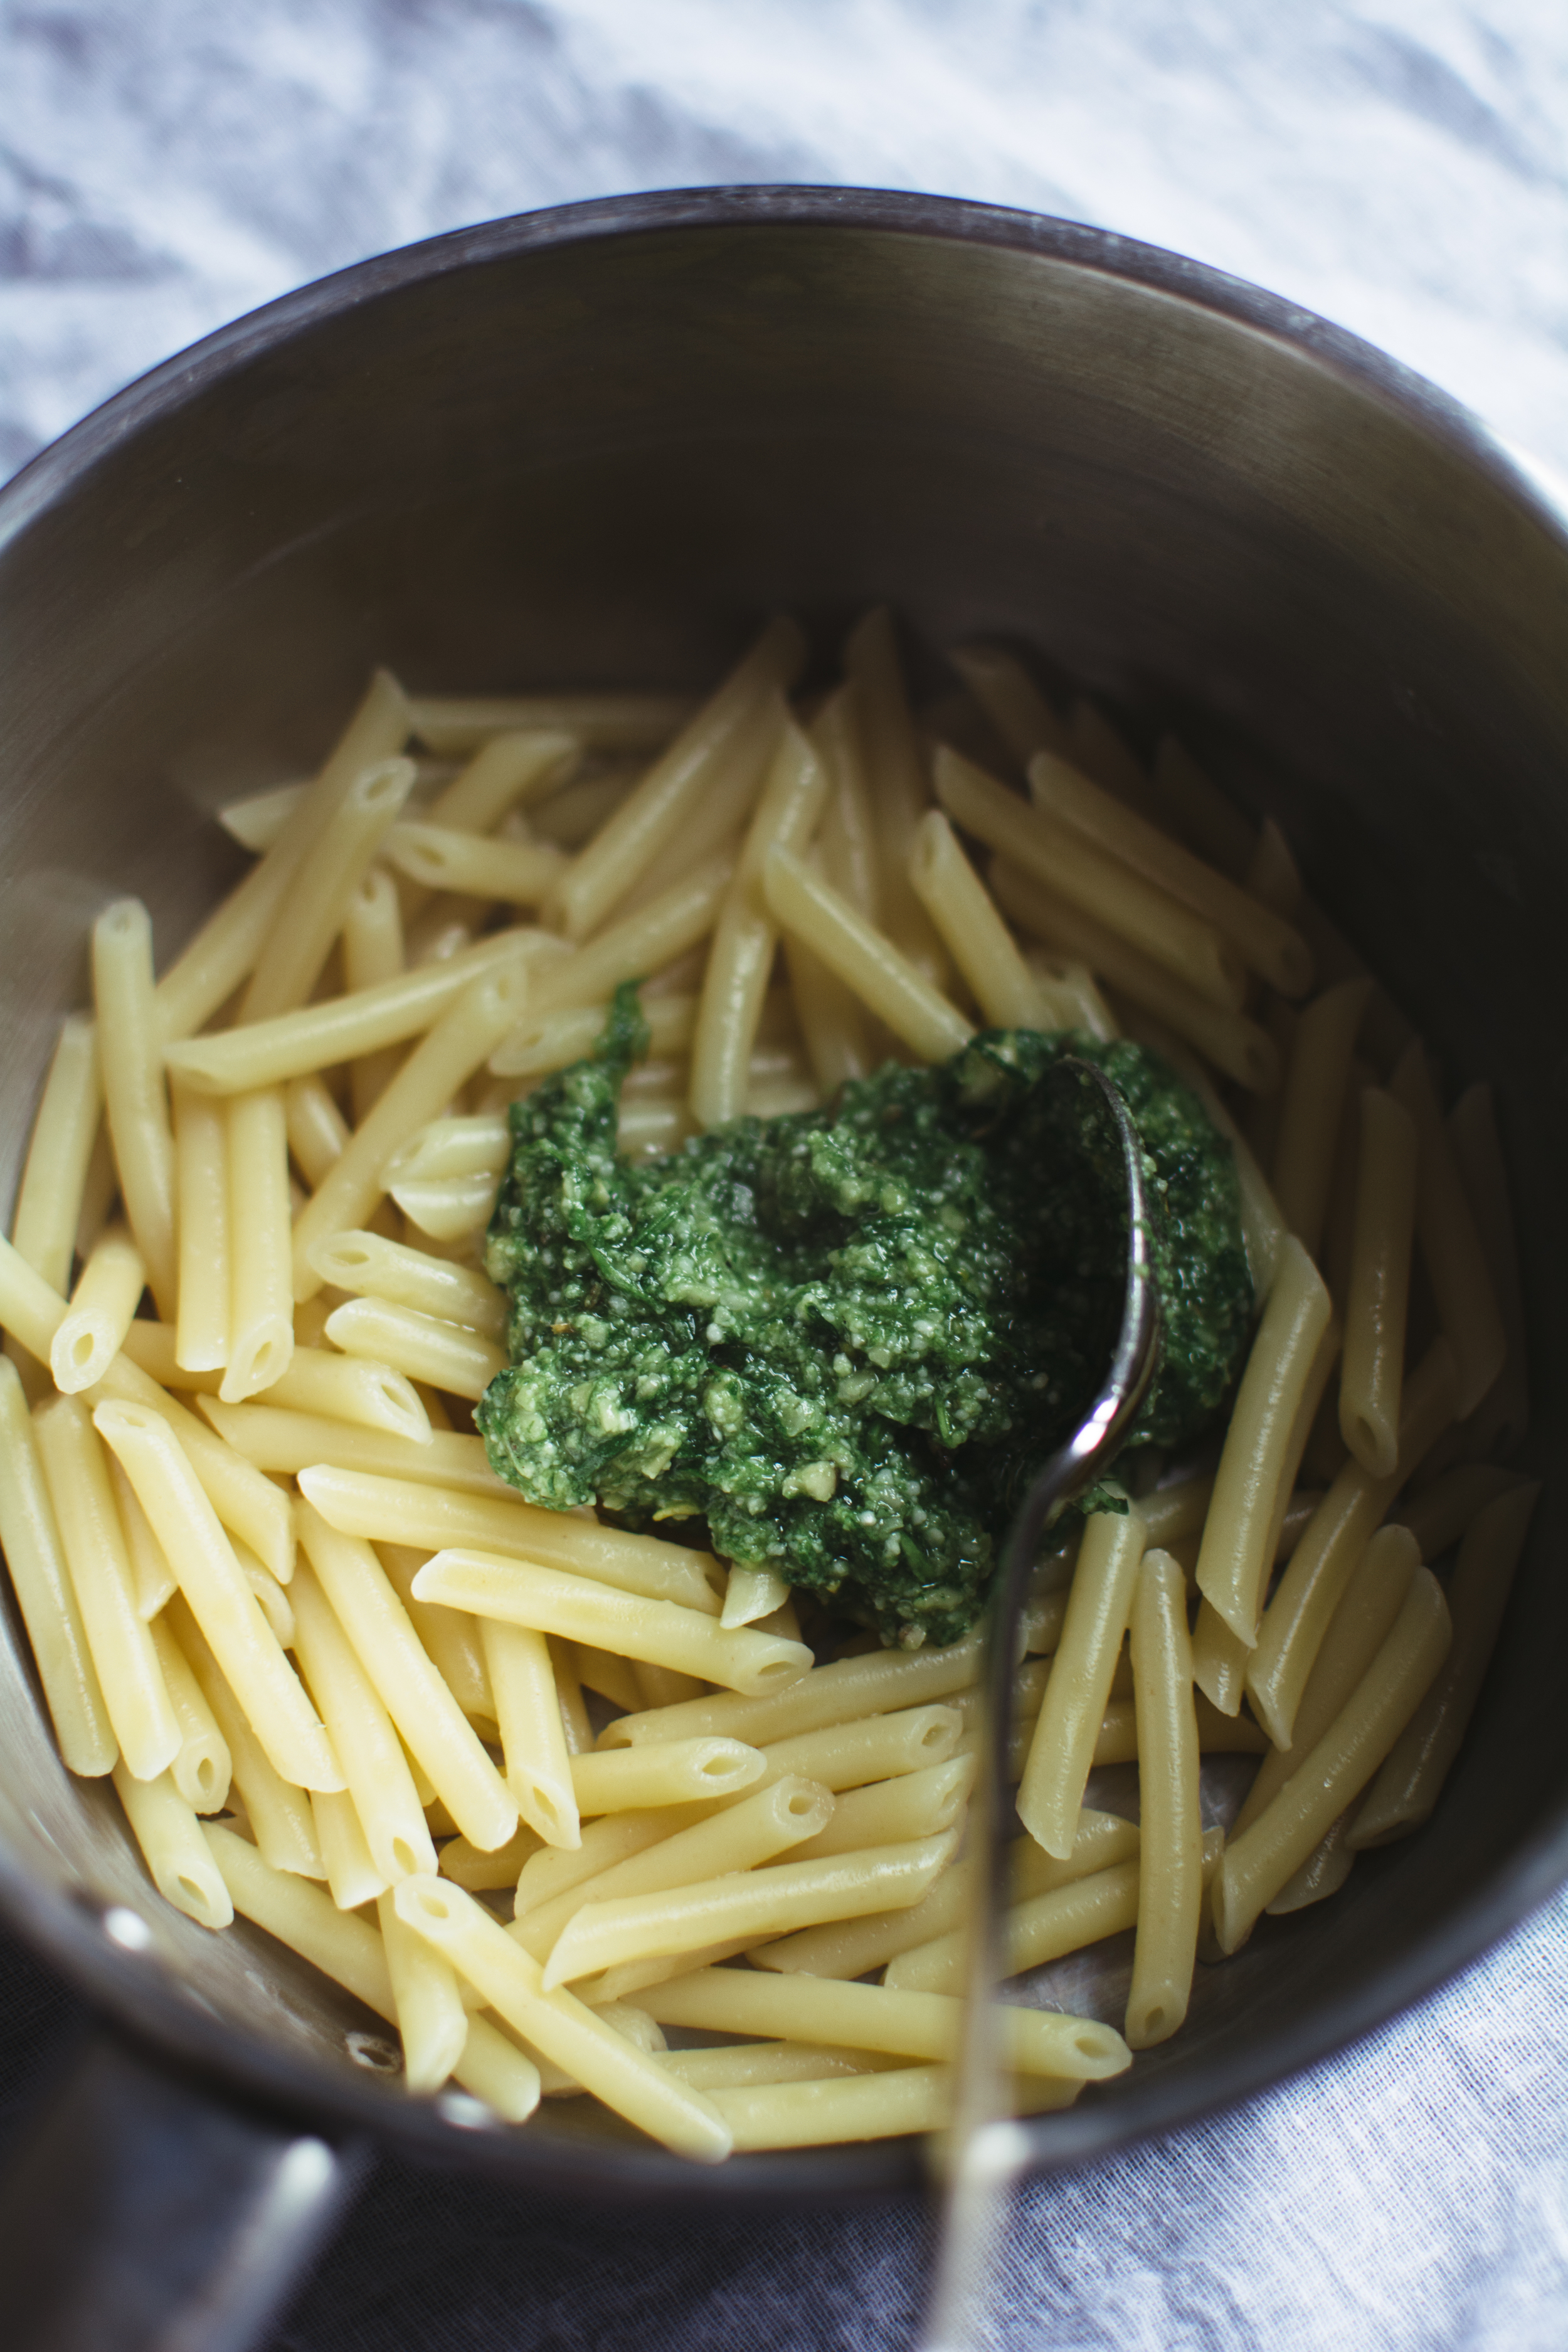
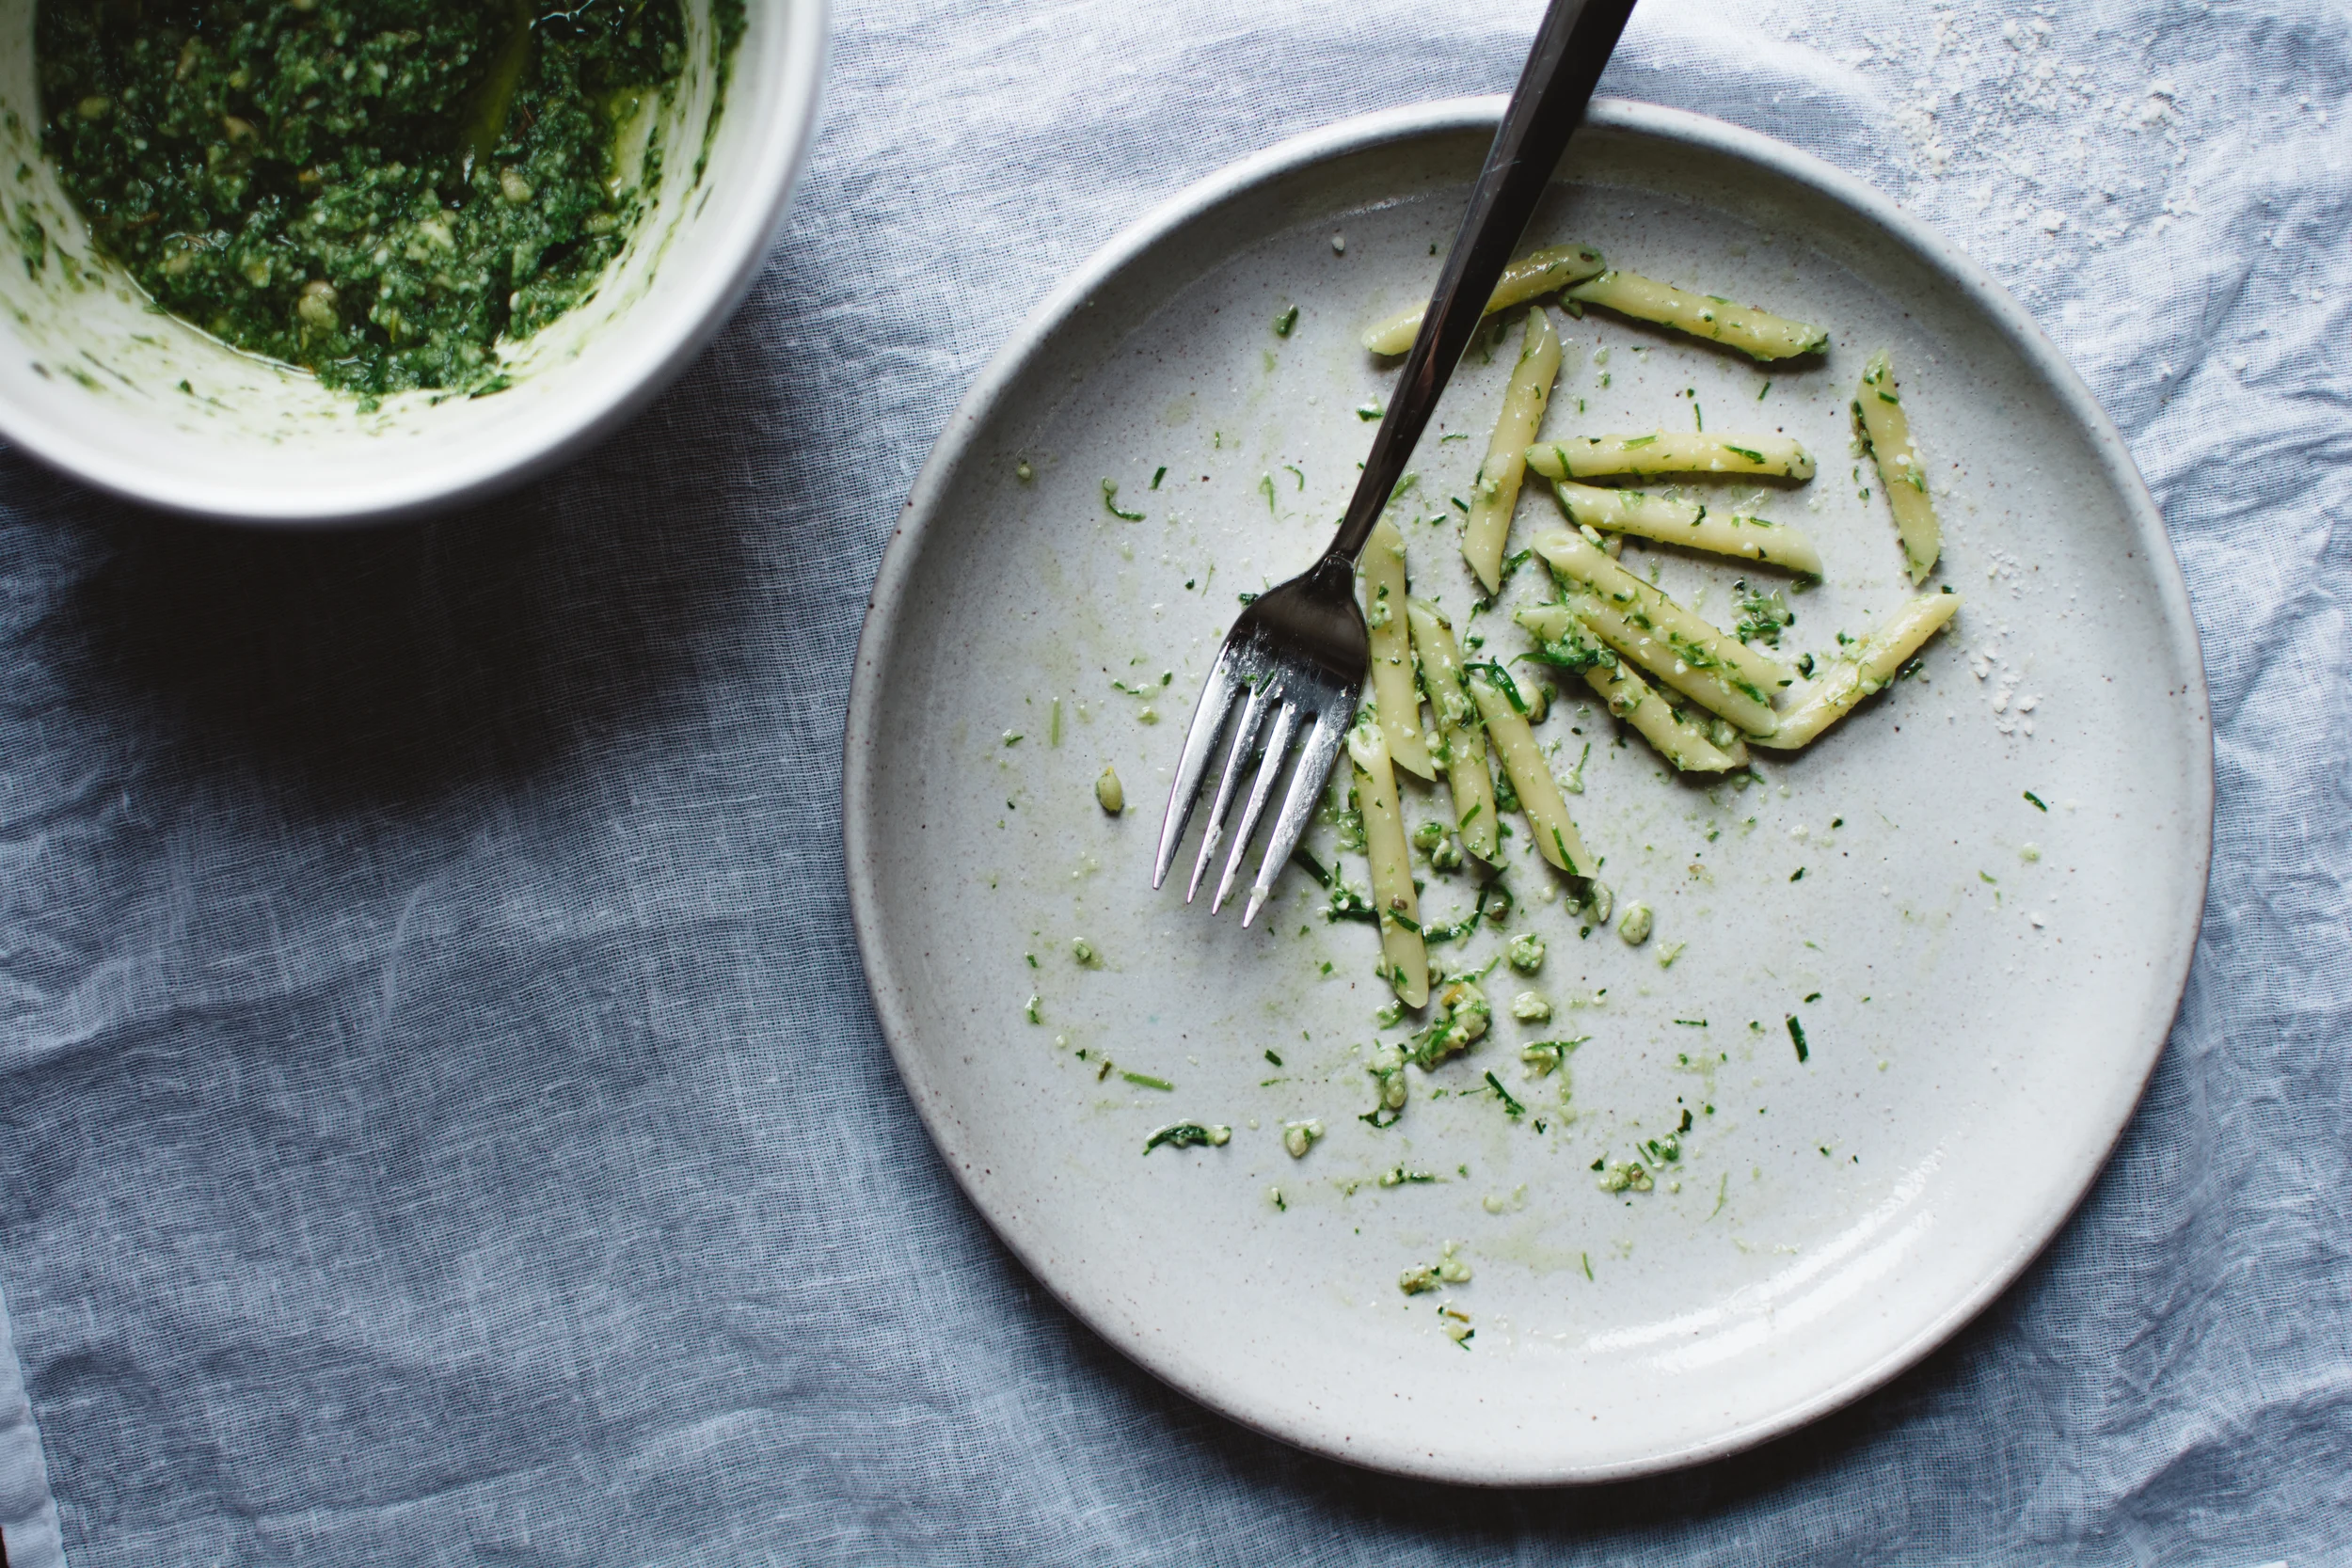
  3. Cook your pasta of choice until al dente (allow 150g per person), reserving a little of the cooking water before draining. Add 1 heaped tablespoon of pesto per person, along with a splash of the reserved water.

  4. Serve immediately. 

Homemade Goat's Ricotta

Recently I've been trying my hand at making as much as I can from scratch. From nut milks and butters to jams, bread and pasta, I've been searching for ways to make the food that I cook more clean, economical and most importantly resulting in less wastage.  

Of course there is the added wow factor of a meal made in its entirety by your own hands, a certain smugness when telling those eating it how you spent time peeling the tomatoes that would come to be in the most delicious sauce, or kneading the dough that would eventually be the toast on their plate. Yes, a little bit of smugness might irritate even the politest of guests (read: live-in boyfriend), but you know - modesty is a virtue, right? 

When it comes to cheese, ricotta is up there with halloumi (forever my undisputed favourite) and in my house it's spread on toast, stuffed into pasta shells or simply eaten with a spoon. Yes, I am one of those girls that eats cheese with a spoon. I HAVE NO SHAME. 

Luckily, when it comes to cheese, ricotta is probably the easiest to make at home. All it takes is three ingredients, a thermometer and a muslin cloth and pow, you've got the good stuff. How does it work I hear you say? Heat milk until scalding, pour in your acidity (white wine vinegar, lemon etc), add a pinch of salt and then leave it be before straining and slathering onto sourdough toast topped with radish slices and freshly cracked pepper. Or whatever else you fancy. 

This recipe uses goat's milk in place of regular cow's for a mild goat-y finish, and a consistency closer to a somewhat crumbly chèvre. Just like regular ricotta but with a bad ass attitude. 


Homemade Goat's Ricotta

Makes 500g

Ingredients

2 litres goat's milk

80ml white wine vinegar

1 teaspoon salt


Method

1. Add the goat's milk to a saucepan and heat on medium until it reaches 200°F.

2. Remove from the heat and stir in the white wine vinegar and the salt.

3. Leave undisturbed for 10 minutes in order for the curd to separate from the whey.

4. At this point, scoop the big curds using a slotted spoon and place in a fine mesh strainer lined with a cheese cloth. Then pour in the remaining whey and smaller bits of curd.

5. Leave to strain for 10-60 minutes depending on the desired consistency. I like mine relatively crumbly so I left it for around 20 minutes. If you strain the ricotta for longer than you'd like simply add a little of the whey back to the curds to make your ricotta more creamy.

Store refrigerated in an airtight container for up to one week.