
So my birthday happened. It was full of smiles, and tears, and cards and gifts and a mini-meltdown. AND CAKE. This cake.

Warning. Once you make this cake you will never go back to whatever it is you used to make. You couldn’t possibly, this cake is really that great. Sure, you could make a deliciously sweet and simple birthday cake that will please all, of course you could. But if you want to wow, push the boat out and say goodbye to that bikini/similar item of clothing for men then this is the cake you need.
It is true that when you have a bit of a rep for making cakes that people don’t like making cakes for you. Over the last couple of years especially I’ve noticed the lack of cake going down when my birthday rolls around. But this year I was taken by surprise. Not one, but two cakes! First, a truly magical mascarpone/ricotta/Nutella cheesecake that was literally hand-delivered (putting me back 5lbs from beach bod 2014), and secondly an oh-so-pretty classic cake from my mum, brought to the table with out of tune singing and a firecracker in the middle. Like a boss.
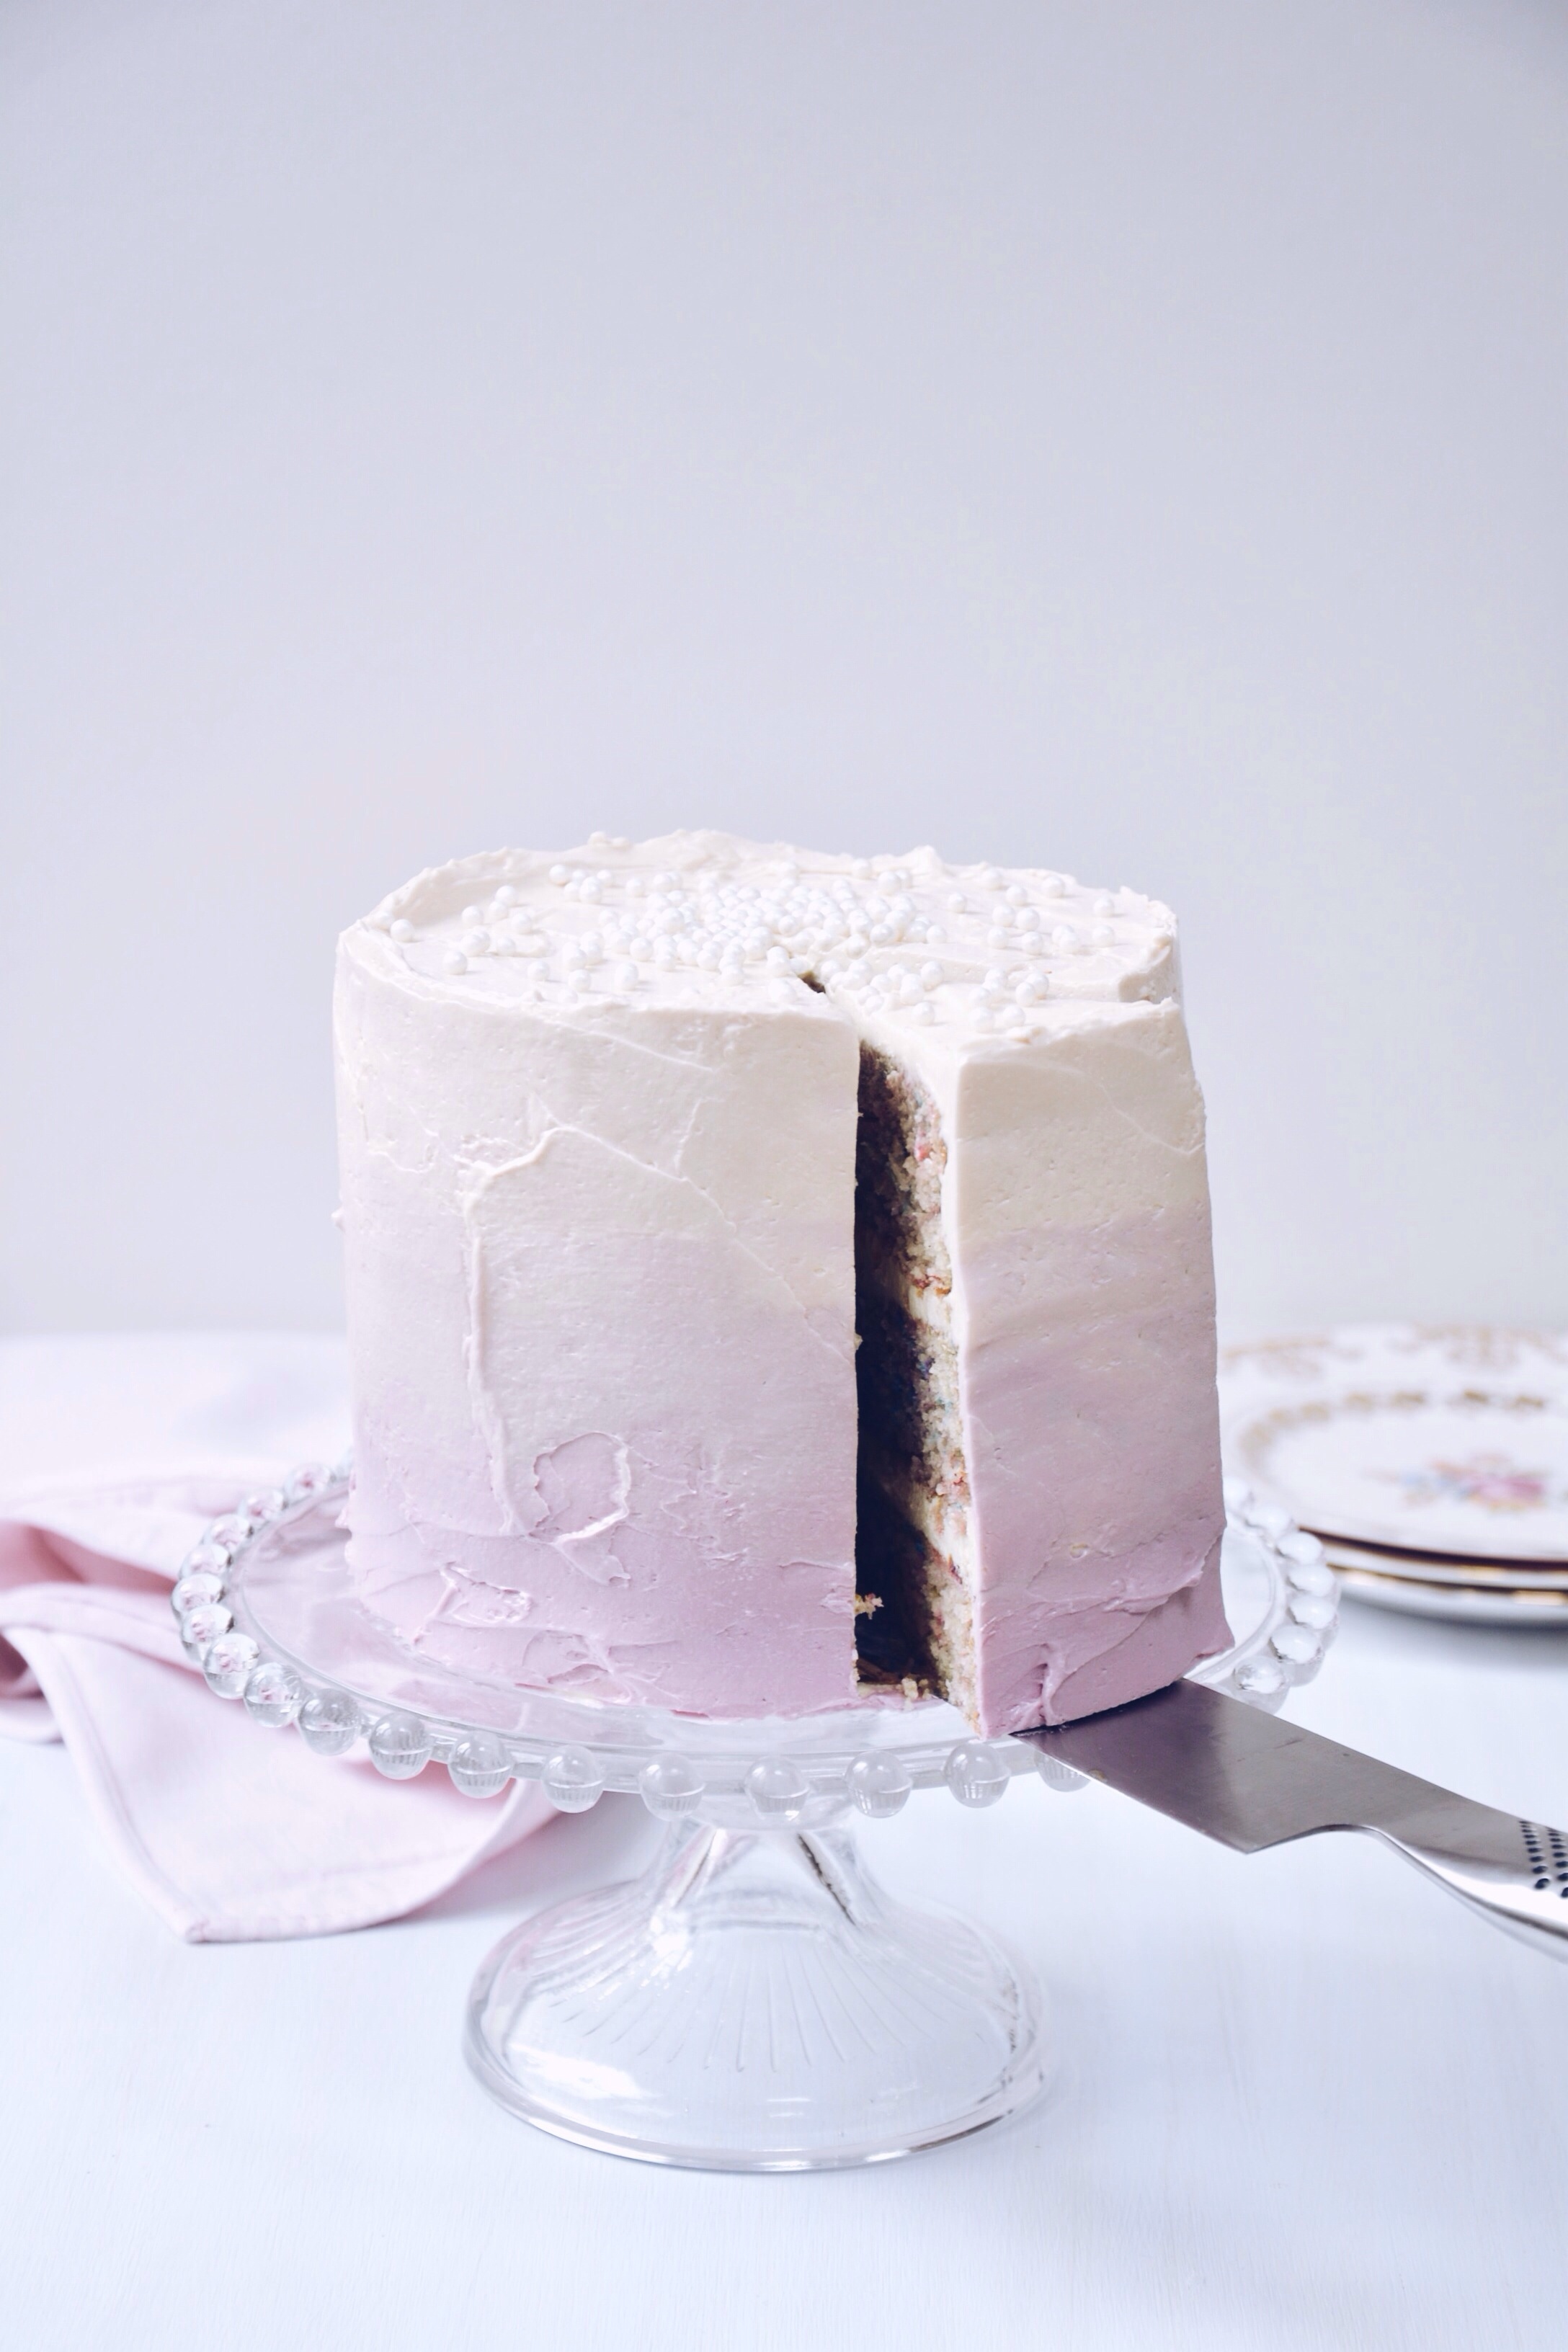
However, it is also true that when you have a bit of a rep for making cakes that you will insist on making your own birthday cake despite other people making you cakes. Let’s not discuss how sad the reality of making your own birthday cake is, but let’s look at the pictures and discuss the sheer greatness of a white velvet cake, rainbow sprinkles and appropriately Pinterest, ombre Swiss meringue buttercream.

White Velvet Funfetti Cake
For three 6" (2" thick) cake layers
White Velvet Cake – quantities adapted from Rose Levy Berenbaum’s recipe here. I can’t praise Rose’s recipe enough, it is perfect. Egg whites ensure the cake is feather light and fluffy but not dry in the slightest.
Ingredients
For the white velvet cake
4 large egg whites
190ml milk
1.5 teaspoon vanilla bean paste or extract
240g sifted all-purpose flour
240g caster sugar
15g baking powder
½ teaspoon salt
140g unsalted butter, room temperature
80g rainbow sprinkles
Method
- Preheat oven to 180°c (160°c fan)
- In a bowl lightly whisk the egg whites, 50ml milk and vanilla until just combined. Set aside.
- In a stand mixer add the dry ingredients and blitz to combine. Add the softened butter and remaining 140ml milk and mix on low for 30 seconds, then increase the speed to medium and beat for 1 and ½ minutes to ‘aerate and develop the cake’s structure’, as Rose puts it. Scrape down the sides then add the egg mixture in three batches, beating to incorporate the ingredients after each addition. Finally fold into the rainbow sprinkles.
- Scrape the batter into the prepared pans and smooth the surface with a spatula if needs be. The pans should be half full. I only have one 6” pan so I bake each layer sequentially despite how inefficient that may be. Assuming you have two cake pans like a normal person, split the batter in half and bake the first two layers followed by the third.
- After 25 minutes or when a toothpick inserted near the middle comes out clean they’re done! Leave the cakes to cool for 5-10 minutes in the pan before removing and leaving to cool entirely on wire racks.
For the Swiss Meringue Buttercream
200g caster sugar
10 (400g) large egg whites
600g unsalted butter, cut into cubes
Shimmer pearls to decorate
- Place the sugar and egg whites in a heatproof bowl above a pan of simmering water and whisk until the sugar has dissolved, around 3 minutes. Test by rubbing the mixture between your fingers – it should be completely smooth.
- Transfer to a stand mixer fitted with a whisk attachment and beat on high for 10 minutes until the mixture has completely cooled and formed stiff glossy peaks.
- Add the butter one cube at a time, beating until incorporated after each addition. Don’t worry if the icing curdles, it will smooth out as you continue to beat the butter in.
- Once all of the butter has been incorporated, switch to the paddle attachment and beat on the lowest speed for 5 minutes to get rid of any air pockets.
To assemble
- Add a dollop of frosting between each layer and on top to crumb coat the outside (basically a really thin, rough layer of icing). Put the cake in the fridge to set. While you’re refrigerating the cake, split the remaining icing into three bowls and mix in your chosen dye to create your ombre colours; dark, medium and light. Place each colour of icing in a piping bag and snip off the end, or use a large round nozzle.
- Remove the cake from fridge after 30 minutes and pipe the darkest colour around the bottom sides in a line, a couple of times should do it. Pipe the middle colour above the darkest, followed by the lightest colour which you should also pipe on the top.
- Use a palette knife to smooth the icing, but try not to mix the colours together too much. You can make the cake look more rustic with some fancy wrist movements and swishes, or in other words, by moving your wrist in an S shape. Decorate with shimmer balls.
- Serve at room temperature, ALWAYS room temperature. If you live in a hot climate (you lucky f….), then store in the fridge and bring to room temperature before serving.