Posts in Dessert
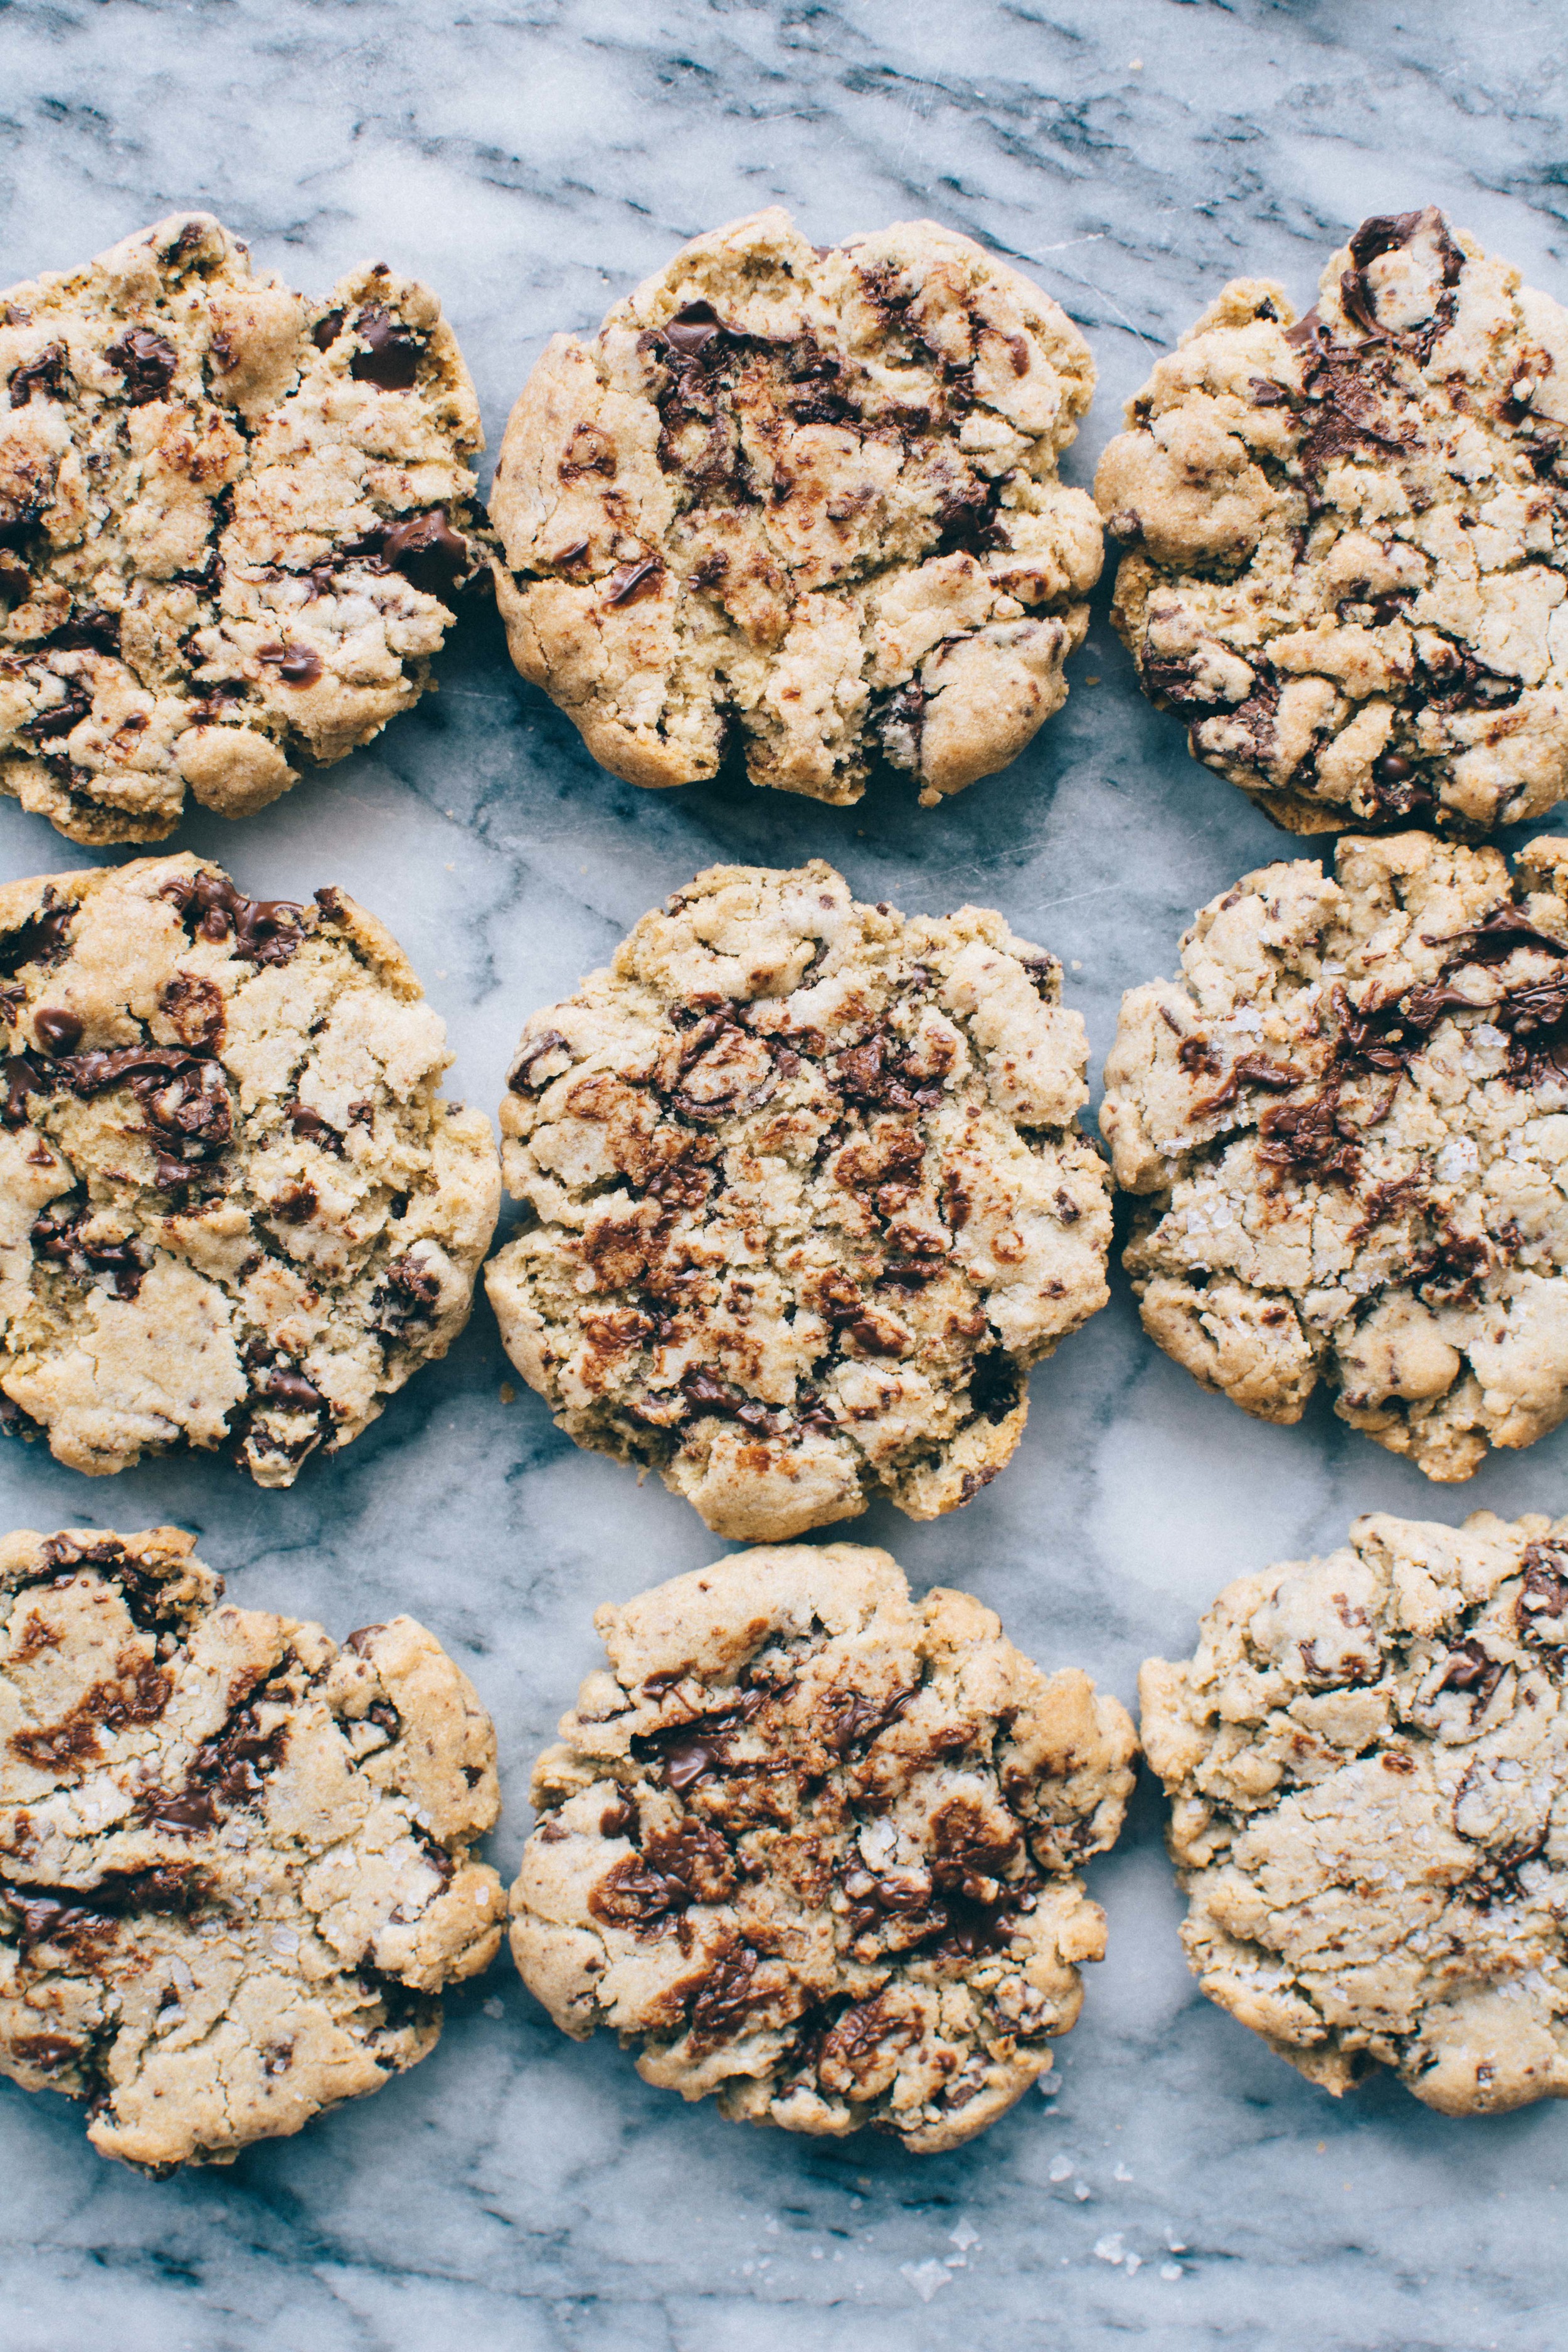
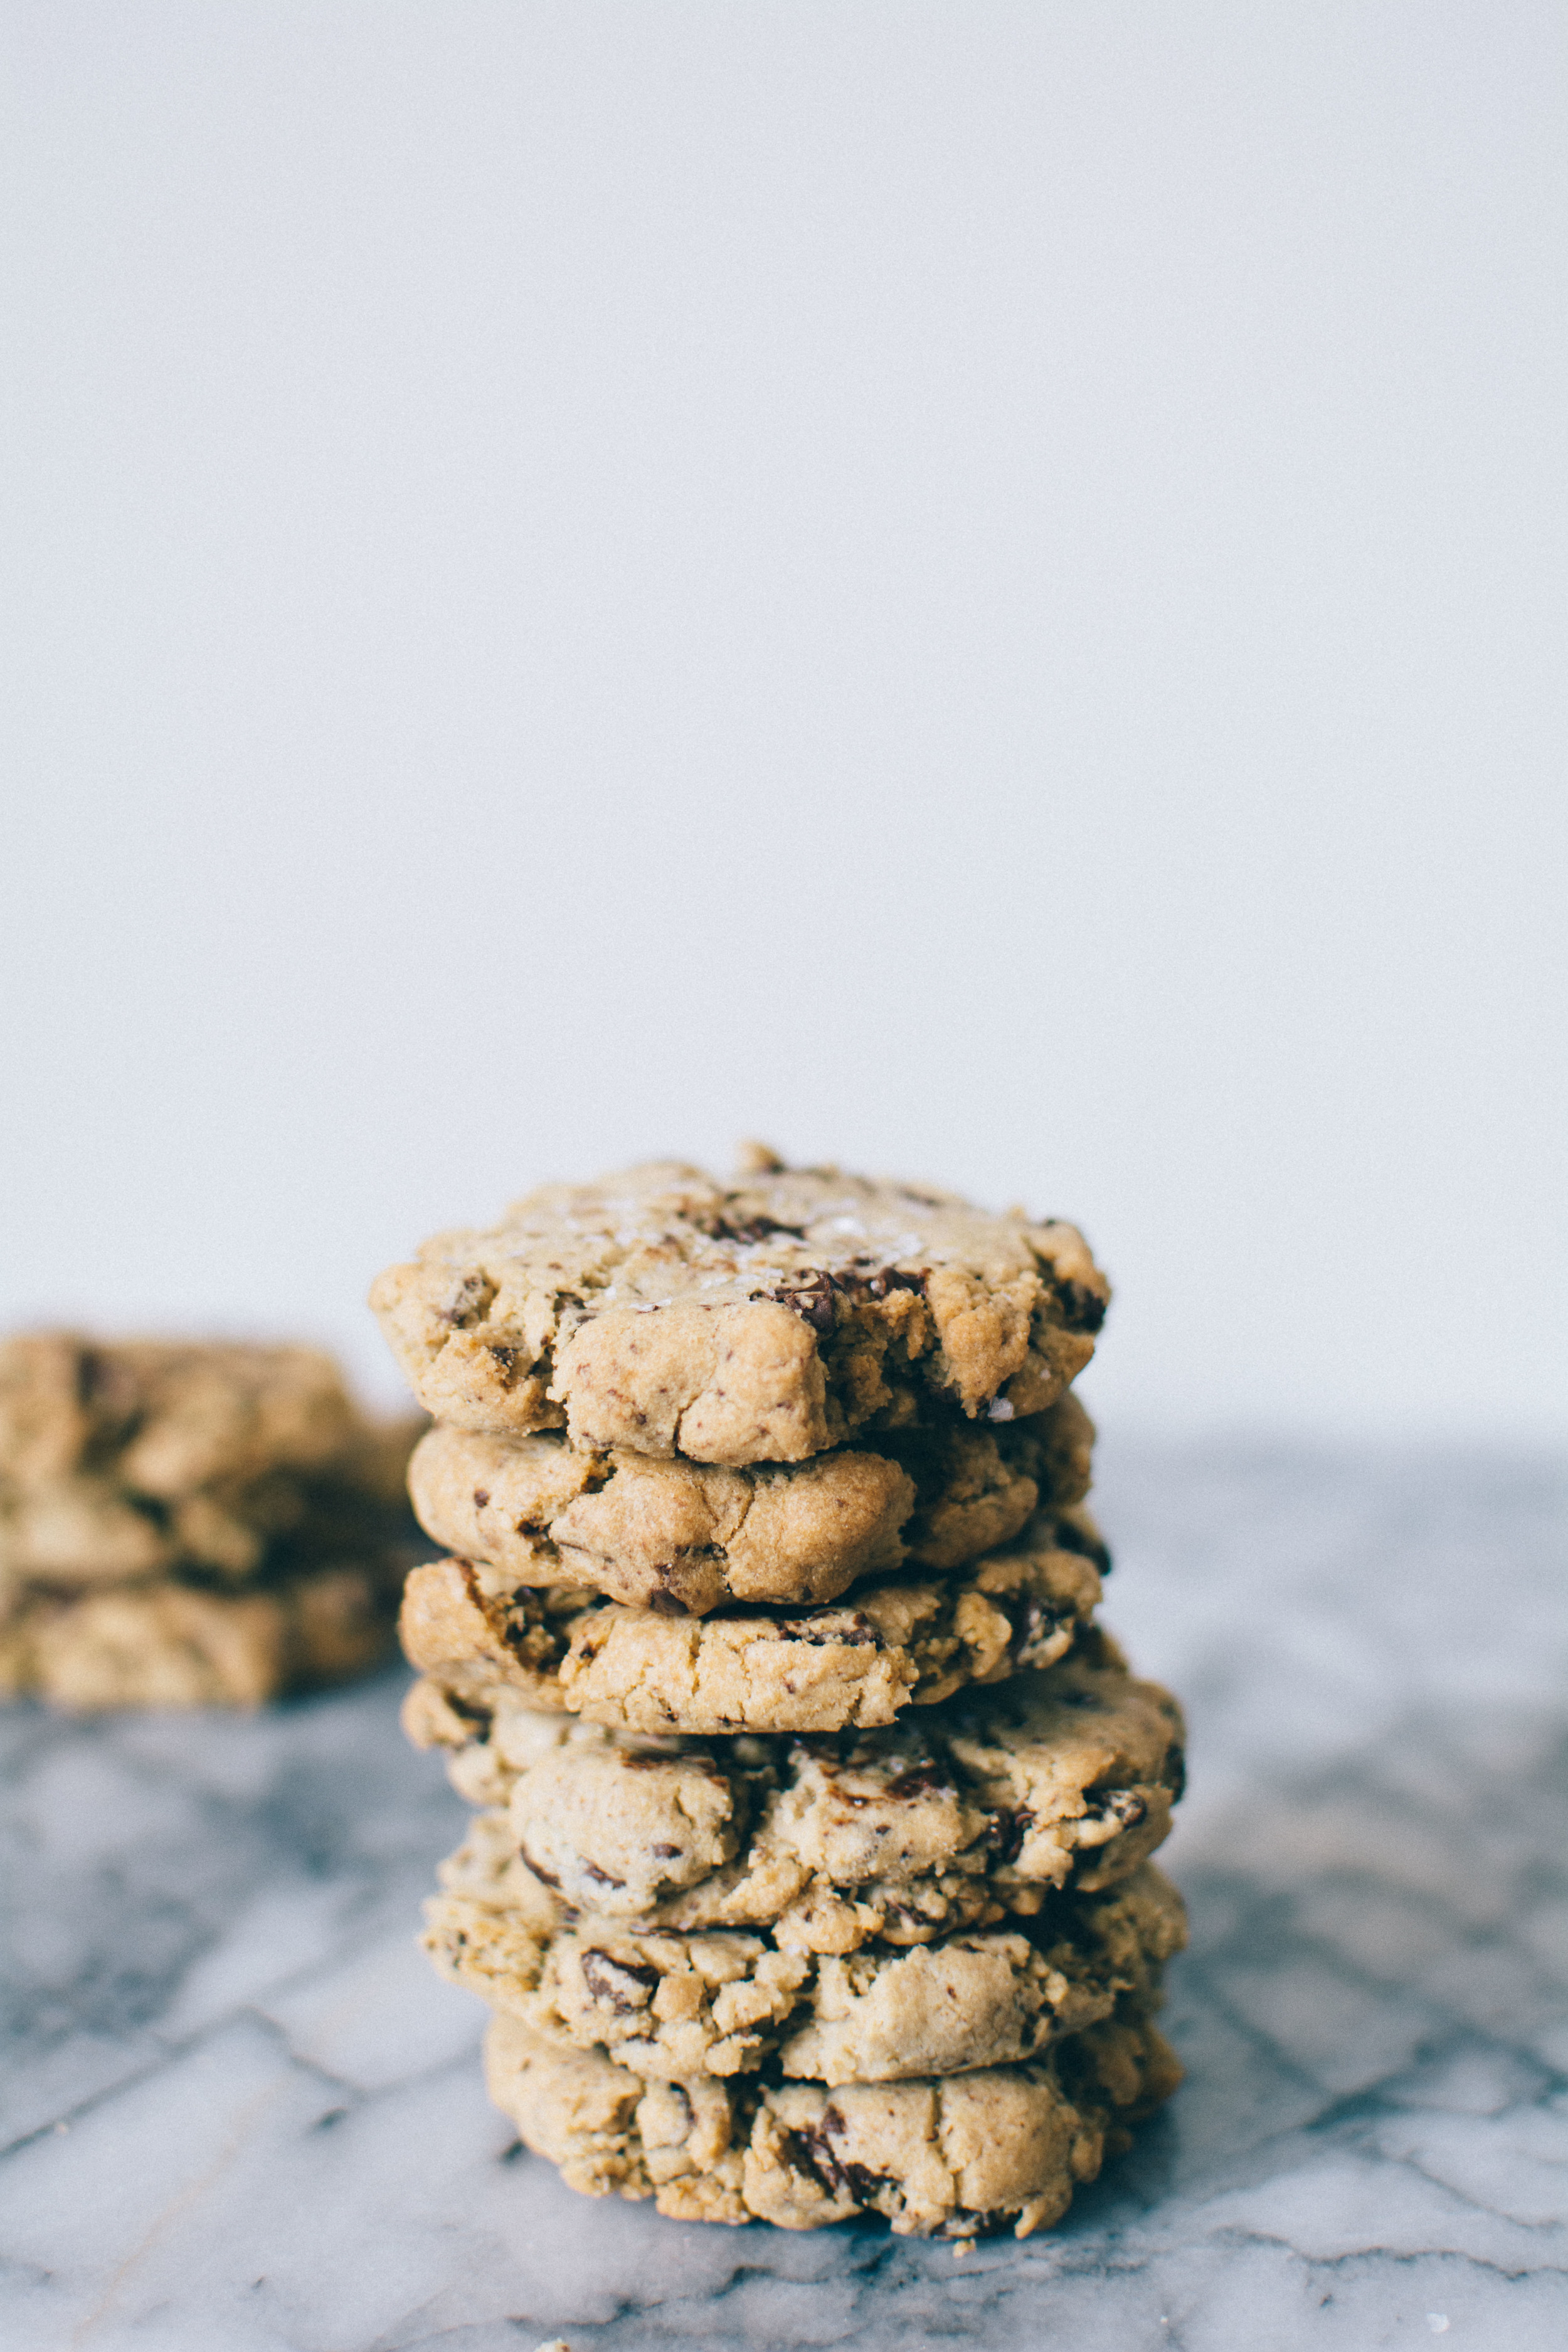
Dark Chocolate + Sea Salt Cookies

My quest for the perfect chocolate chip cookie began some time ago, you could say to the point of obsession. I've been playing around with recipes for a good couple of years, determined to find the holy trinity of cookie greatness; that crunchy Maryland style exterior, chewy Millie's Cookies vibe and a hint of shortbread madness, and up until now my attempts have been futile and full of failure - tasty failure - but still failure nonetheless. 

And then I found the one. I first tasted the best cookie in the world at Cafe Grumpy in Chelsea, NYC. I clocked that bad boy through the glass counter, skeptical of its vegan title given its clear good looks. Obviously I felt compelled to try it, keen to prove its mere existence wrong - surely it couldn't be good and vegan, I scoffed. I carefully removed it from the grease-marked brown paper it had been wrapped in and dove right in.

It was delicious. The first bite took me by surprise, 'but it's vegan!' my brain screamed at itself, sure that there had been some kind of error on the labelling. 'Those grumpy coffee aficionados must be messing with me', I concluded before inhaling the rest of the best cookie I had ever tried in about 0.3 seconds flat. 

When I got back to London I began trying to recreate the magic, and settled on using Ovenly's vegan choc chip cookie as a base. The first attempt was incredible, following their recipe pretty much to the T I found that I had a deliciously classic, chewy and slightly crunchy cookie - but it was missing that shortbread aspect I like so much. I wanted it to be crunchy, chewy and crumbly all at the same time. What can I say, I'm hard to please. 

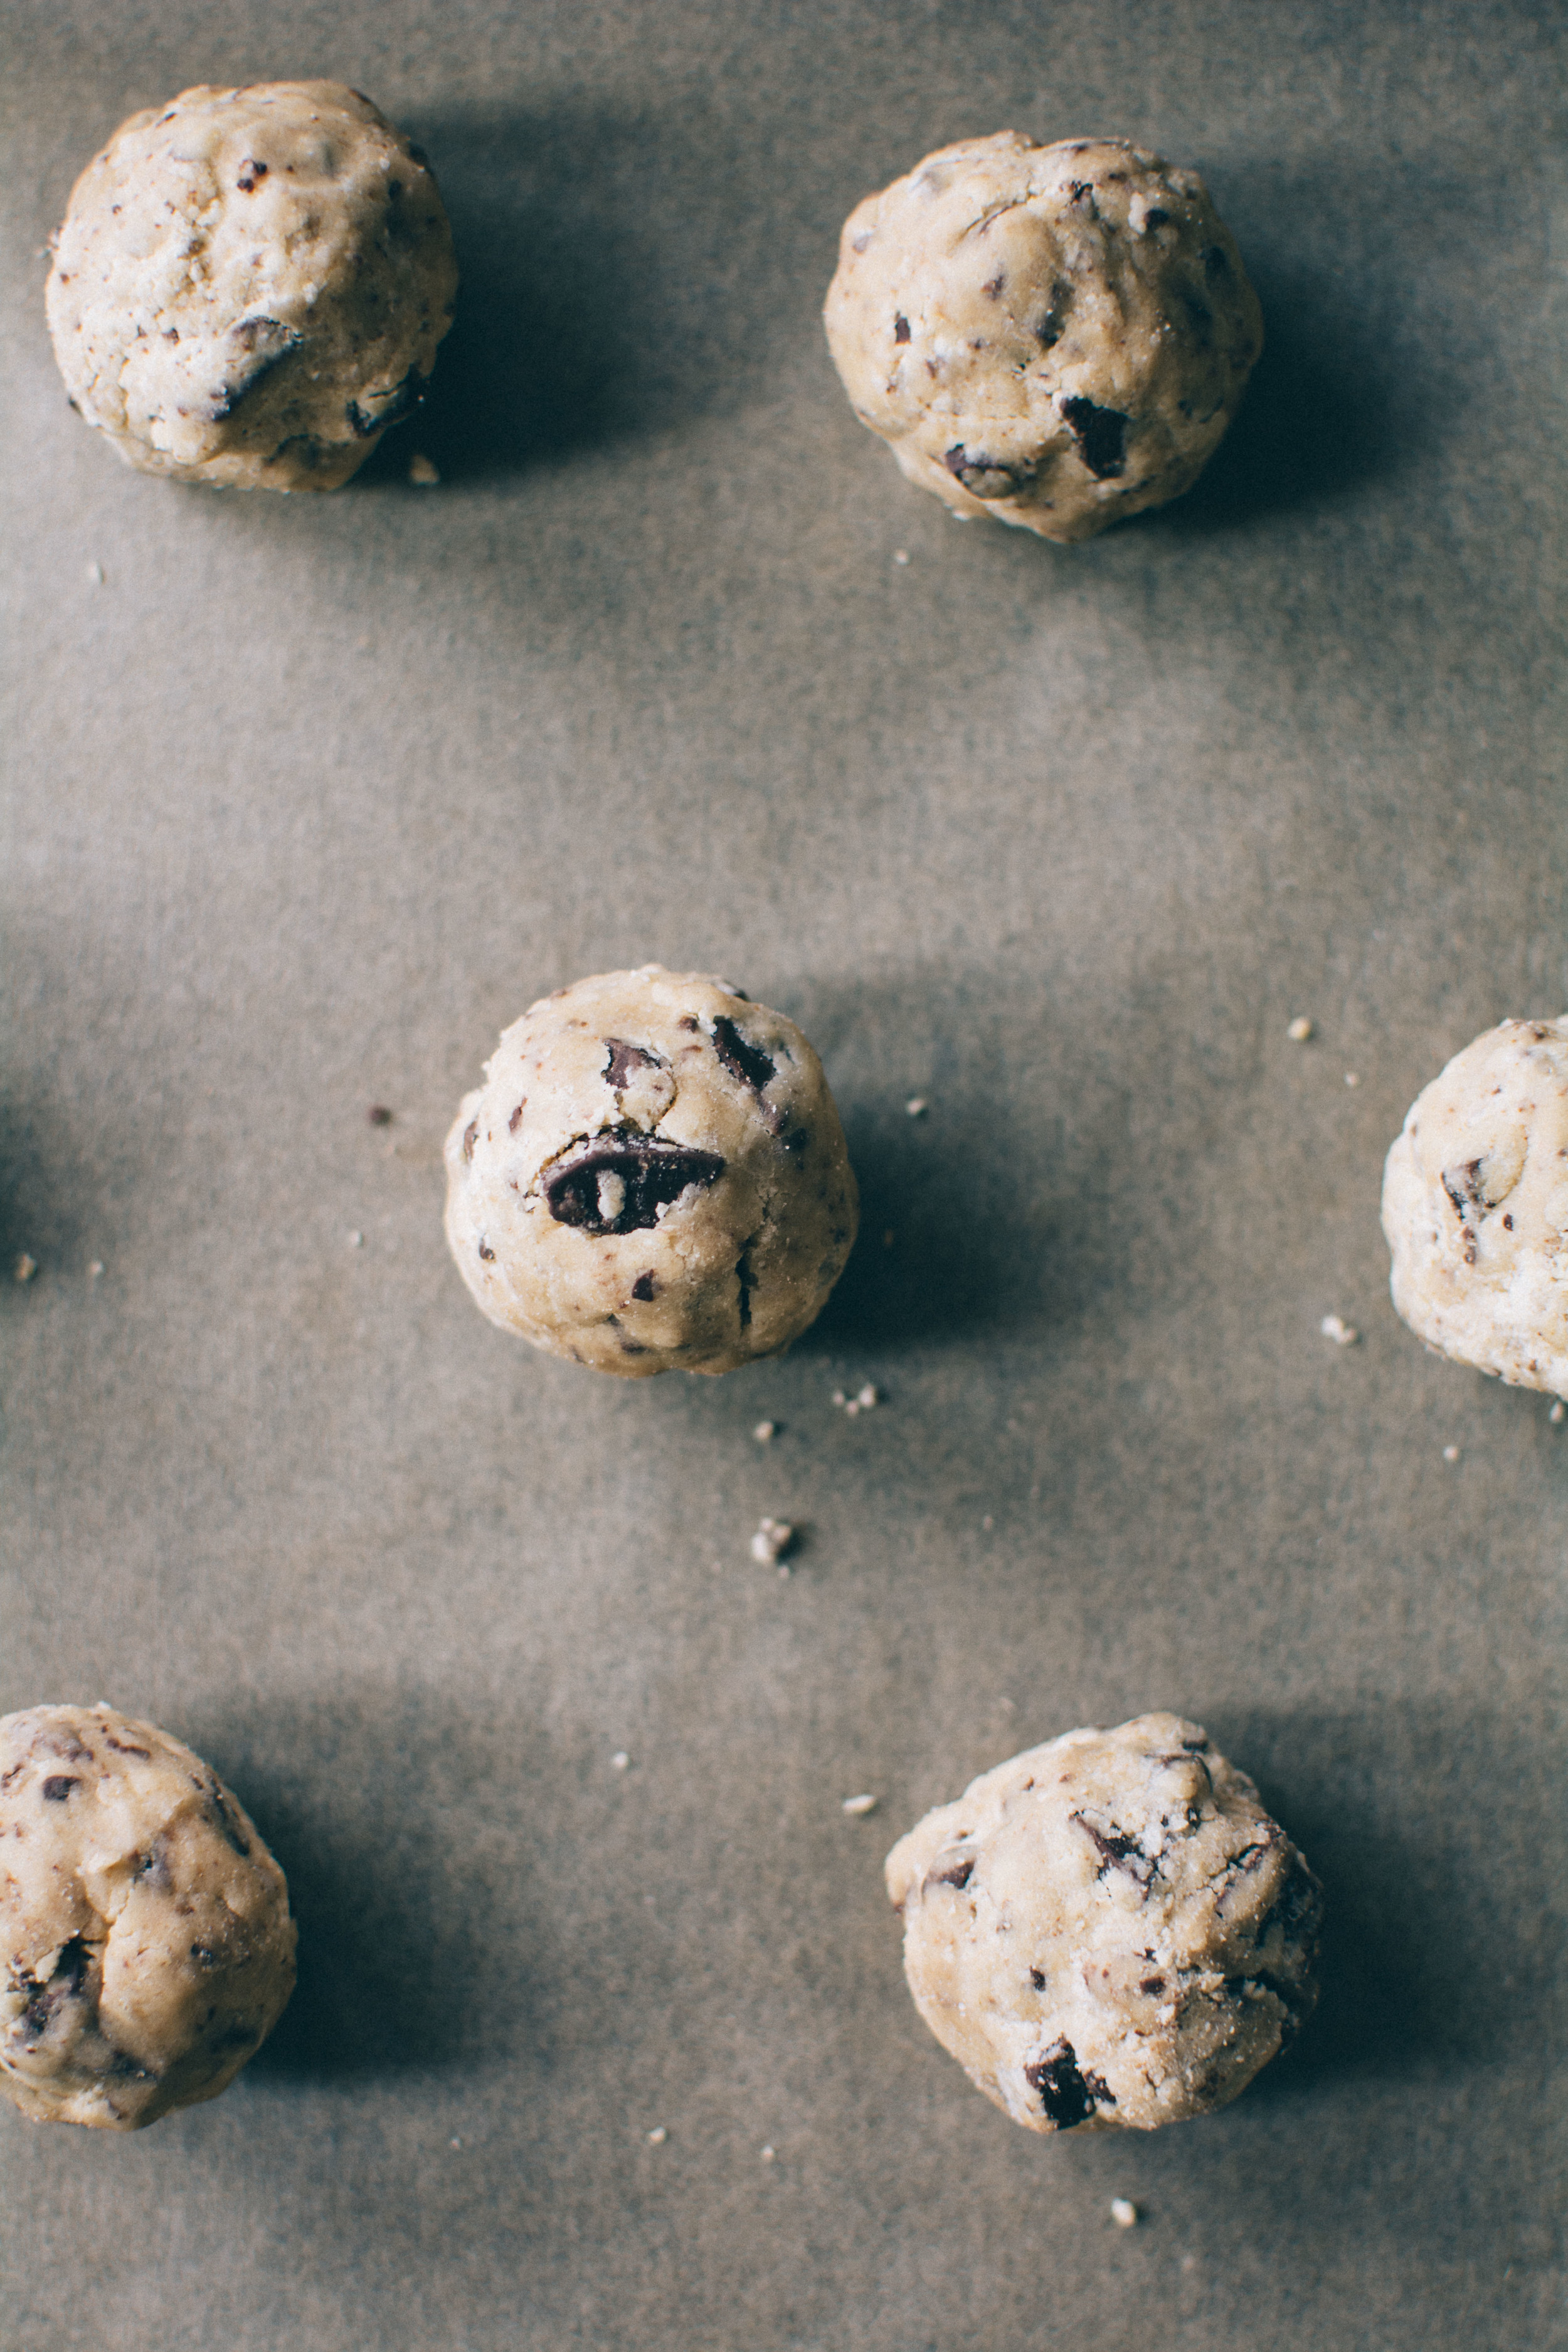
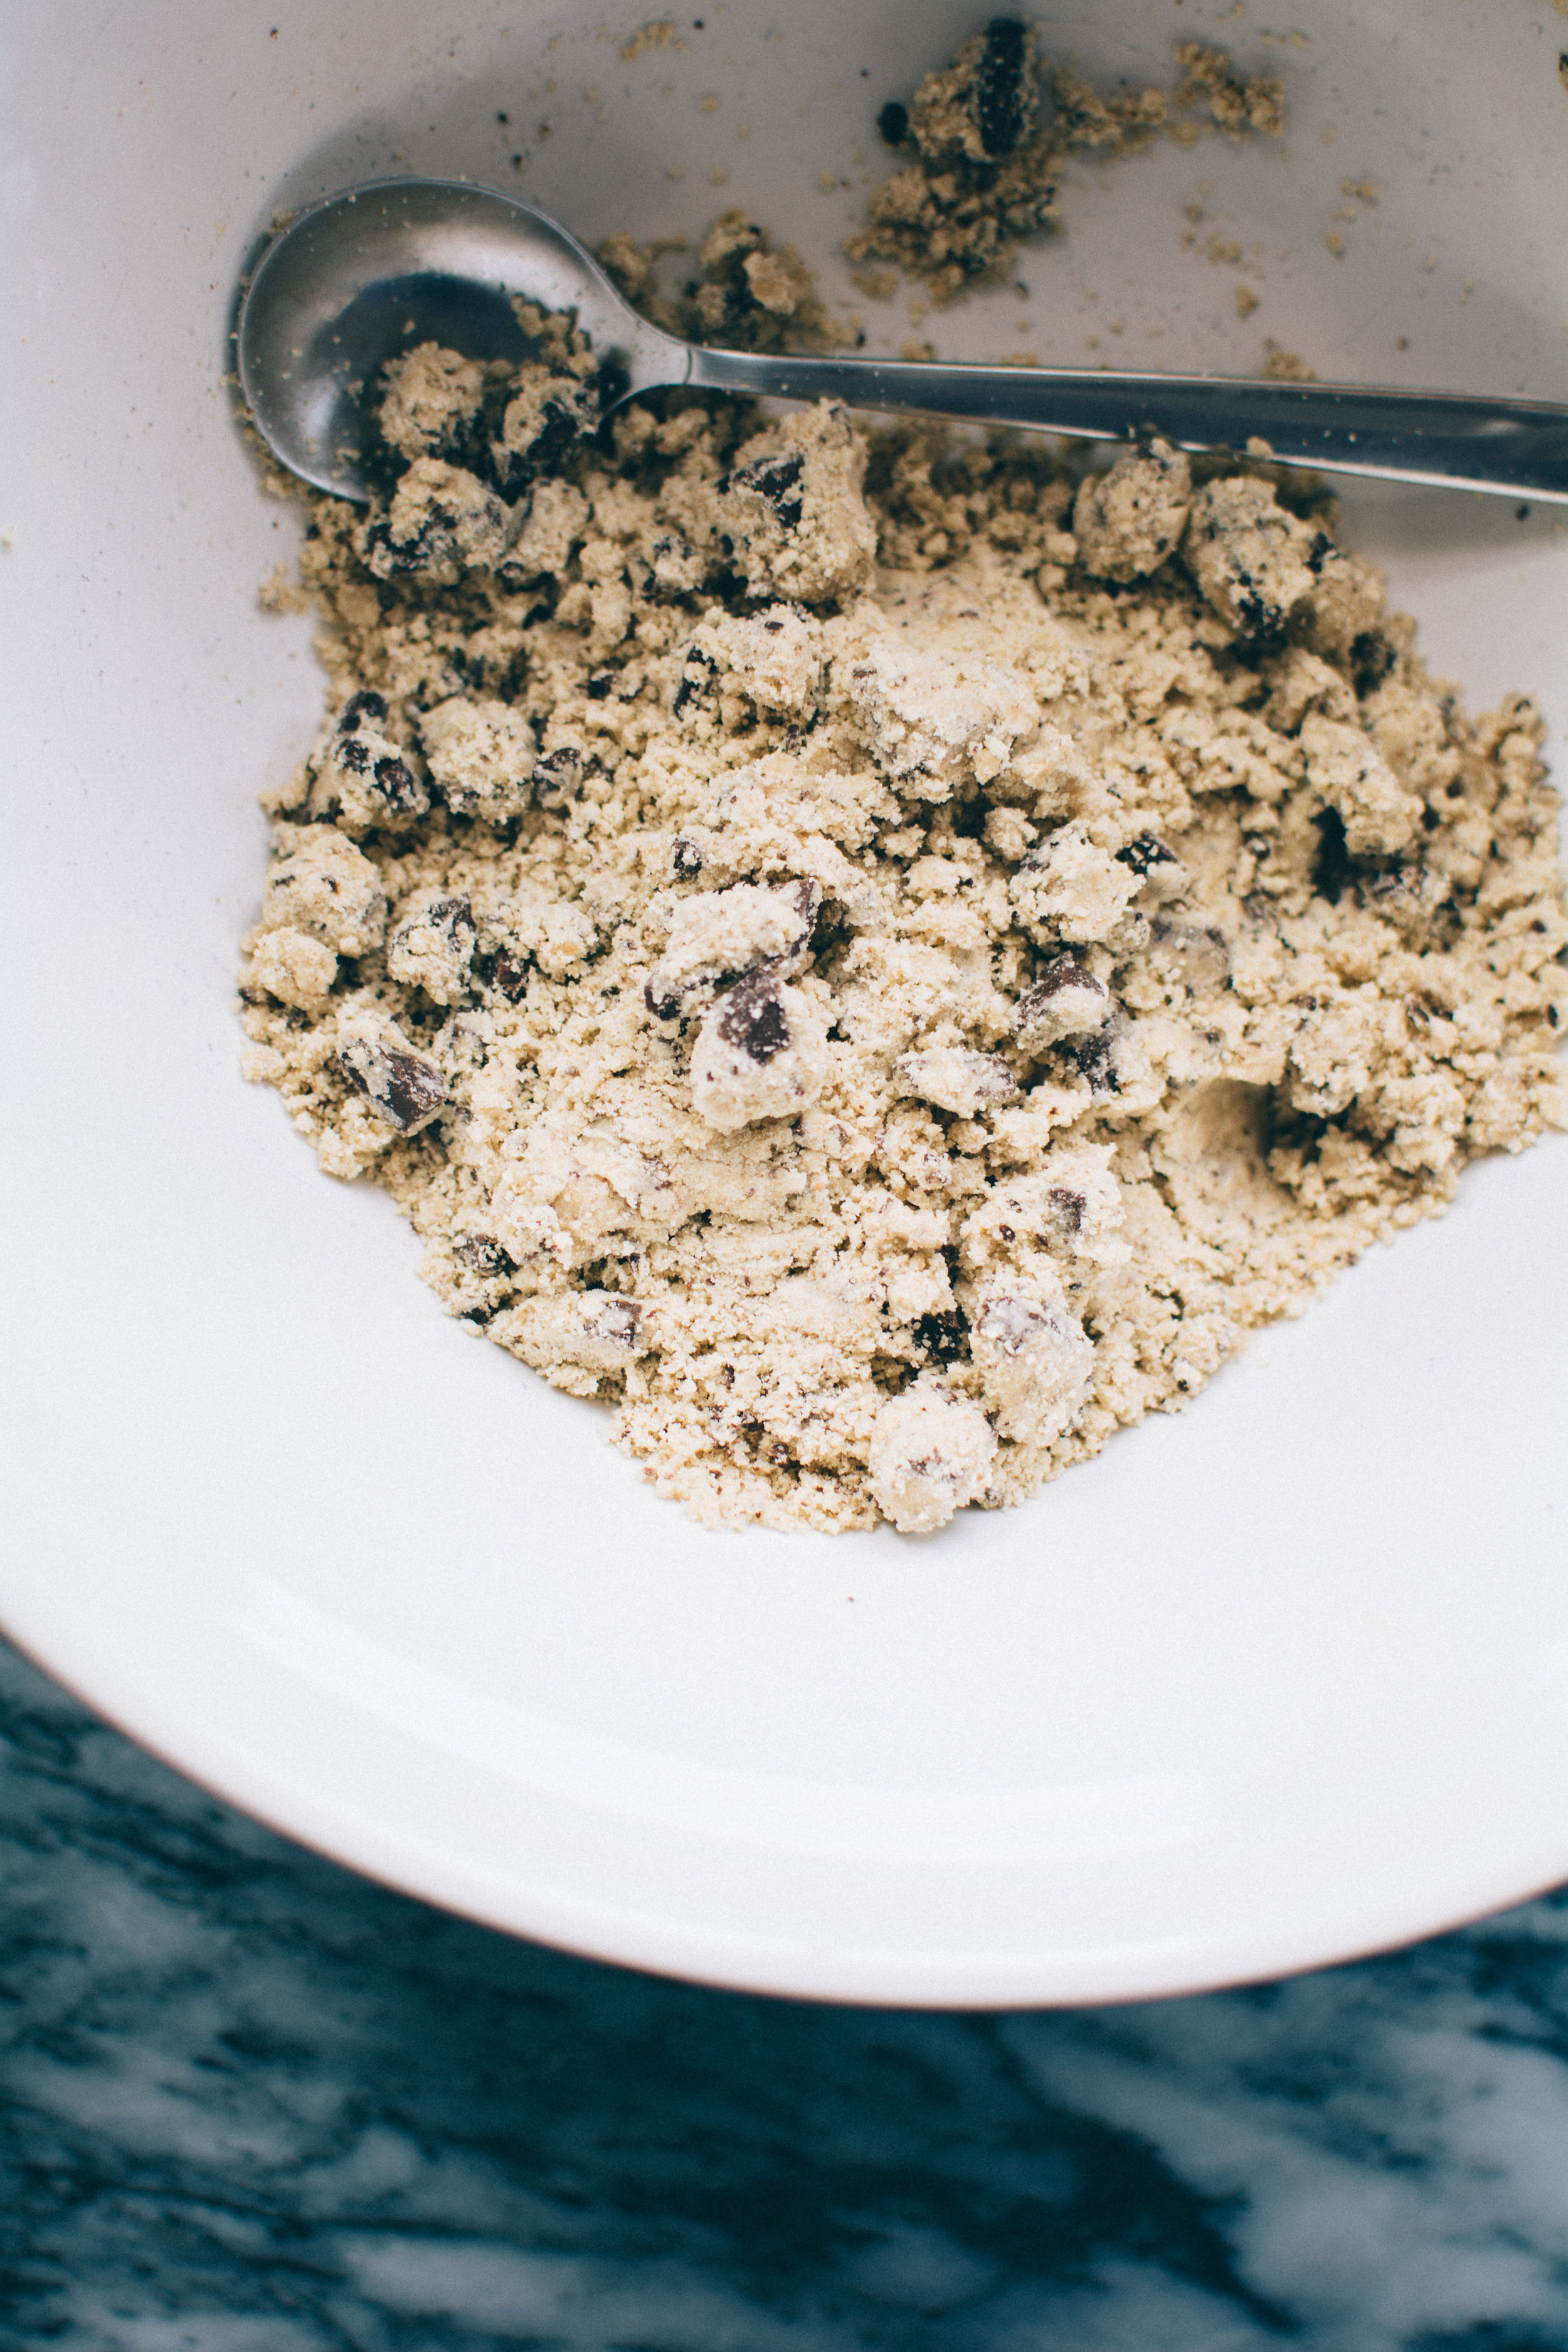
I revisited the recipe, this time subbing canola for coconut oil and found that I had struck GOLD. The dough itself was more shaggy and crumbly, but came together nicely when I pressed it into mounds - like a shortcrust pastry would. When the cookies emerged from the oven, just crisp yet almost lava-like before cooling, I basically couldn't handle my life

But I still wasn't 100% happy. They didn't have that speckled chocolate flex that I'm all about, the choc chips instead gave off too much of a cookie next door all-American vibe, plus I wanted a more balanced salt flavour, rather than a heavy game on top. 

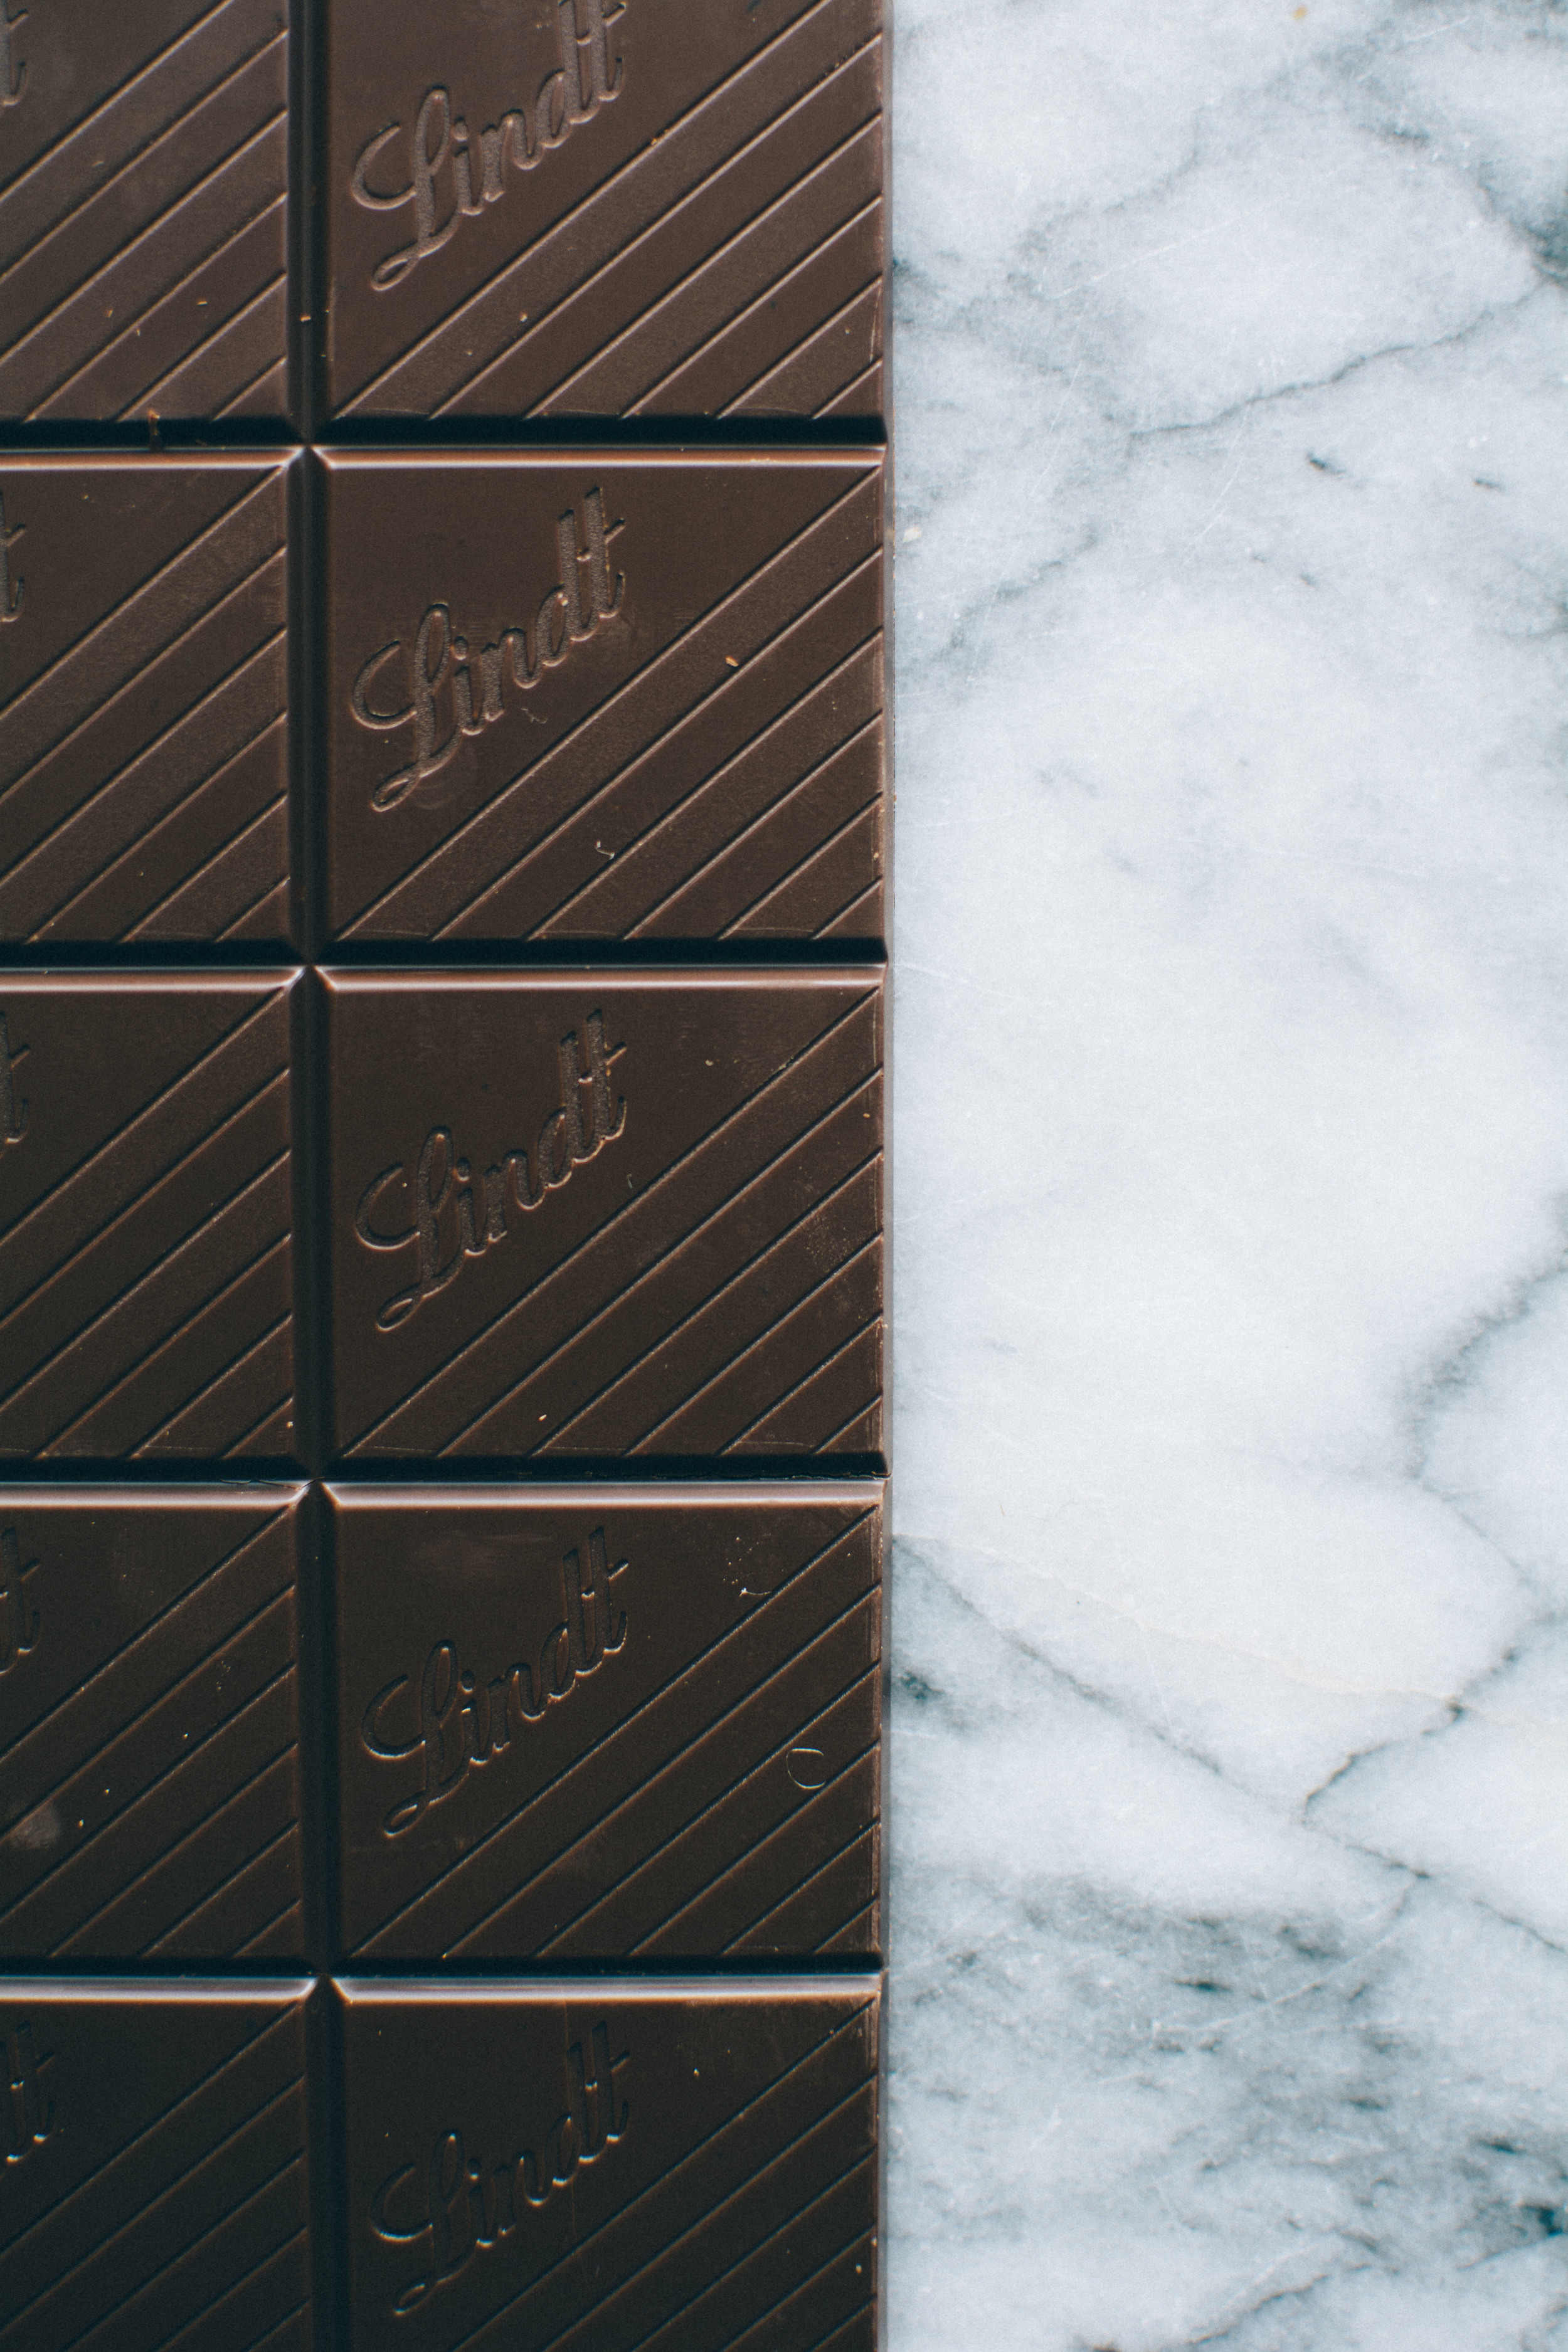
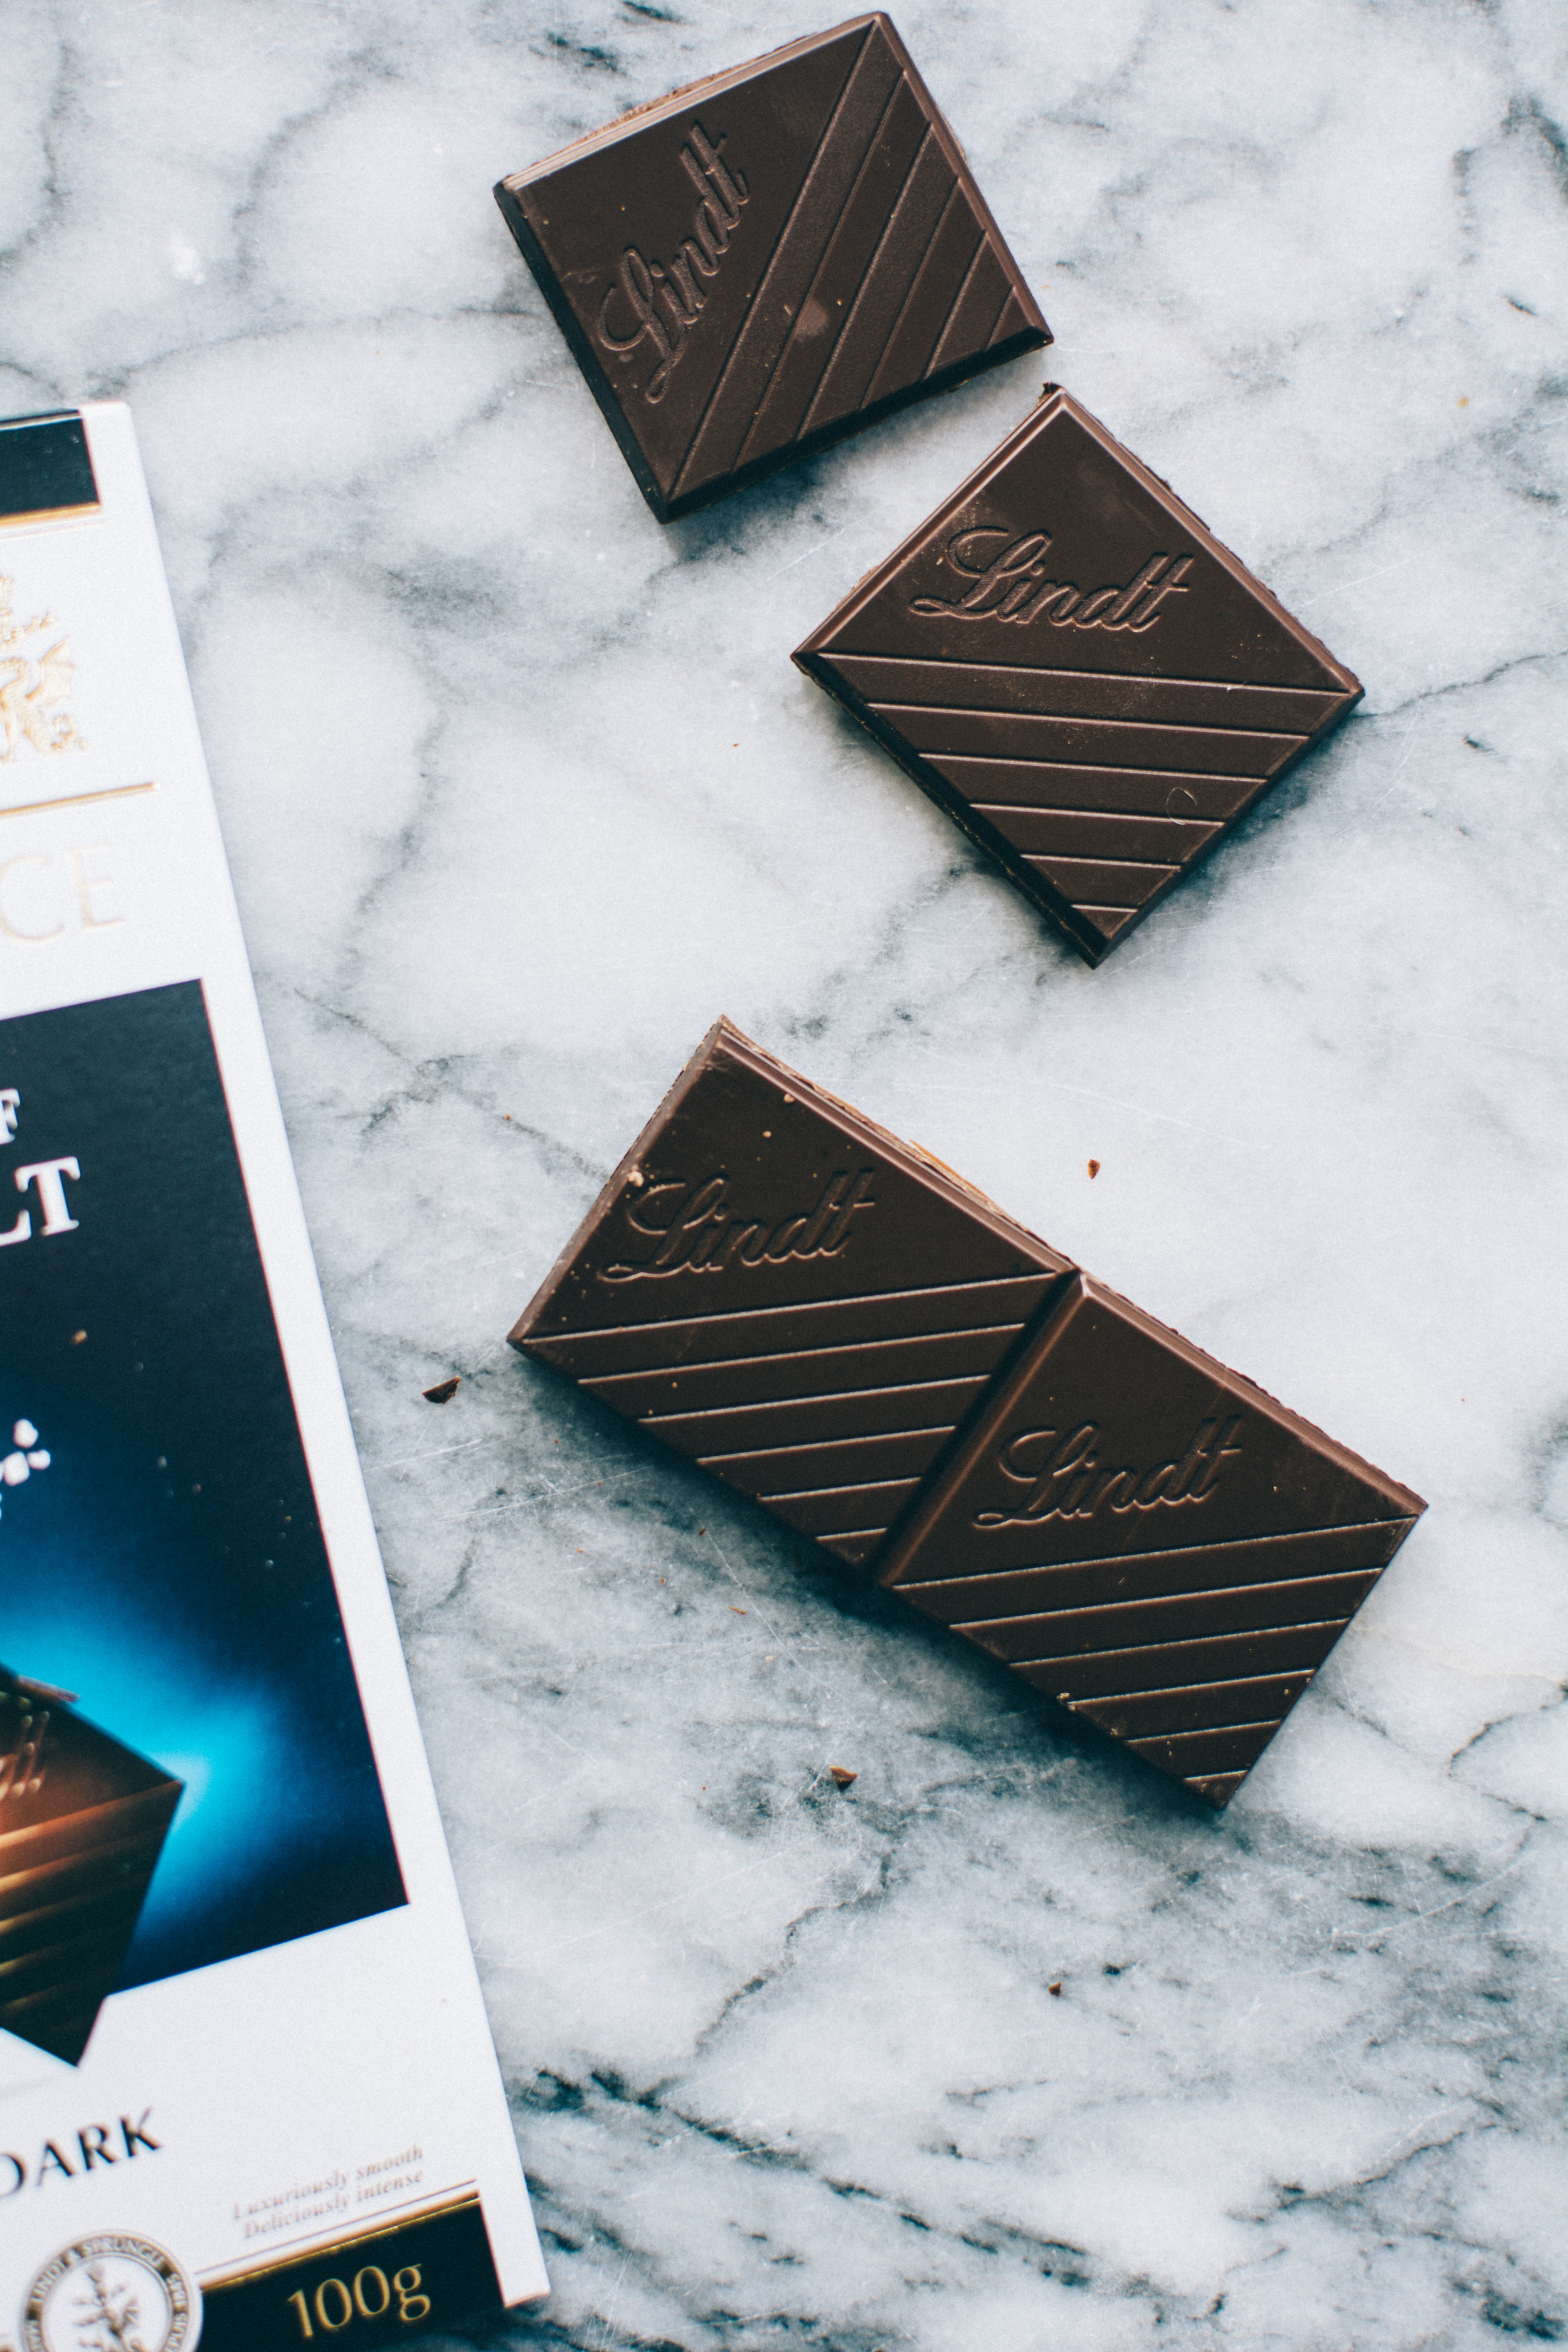
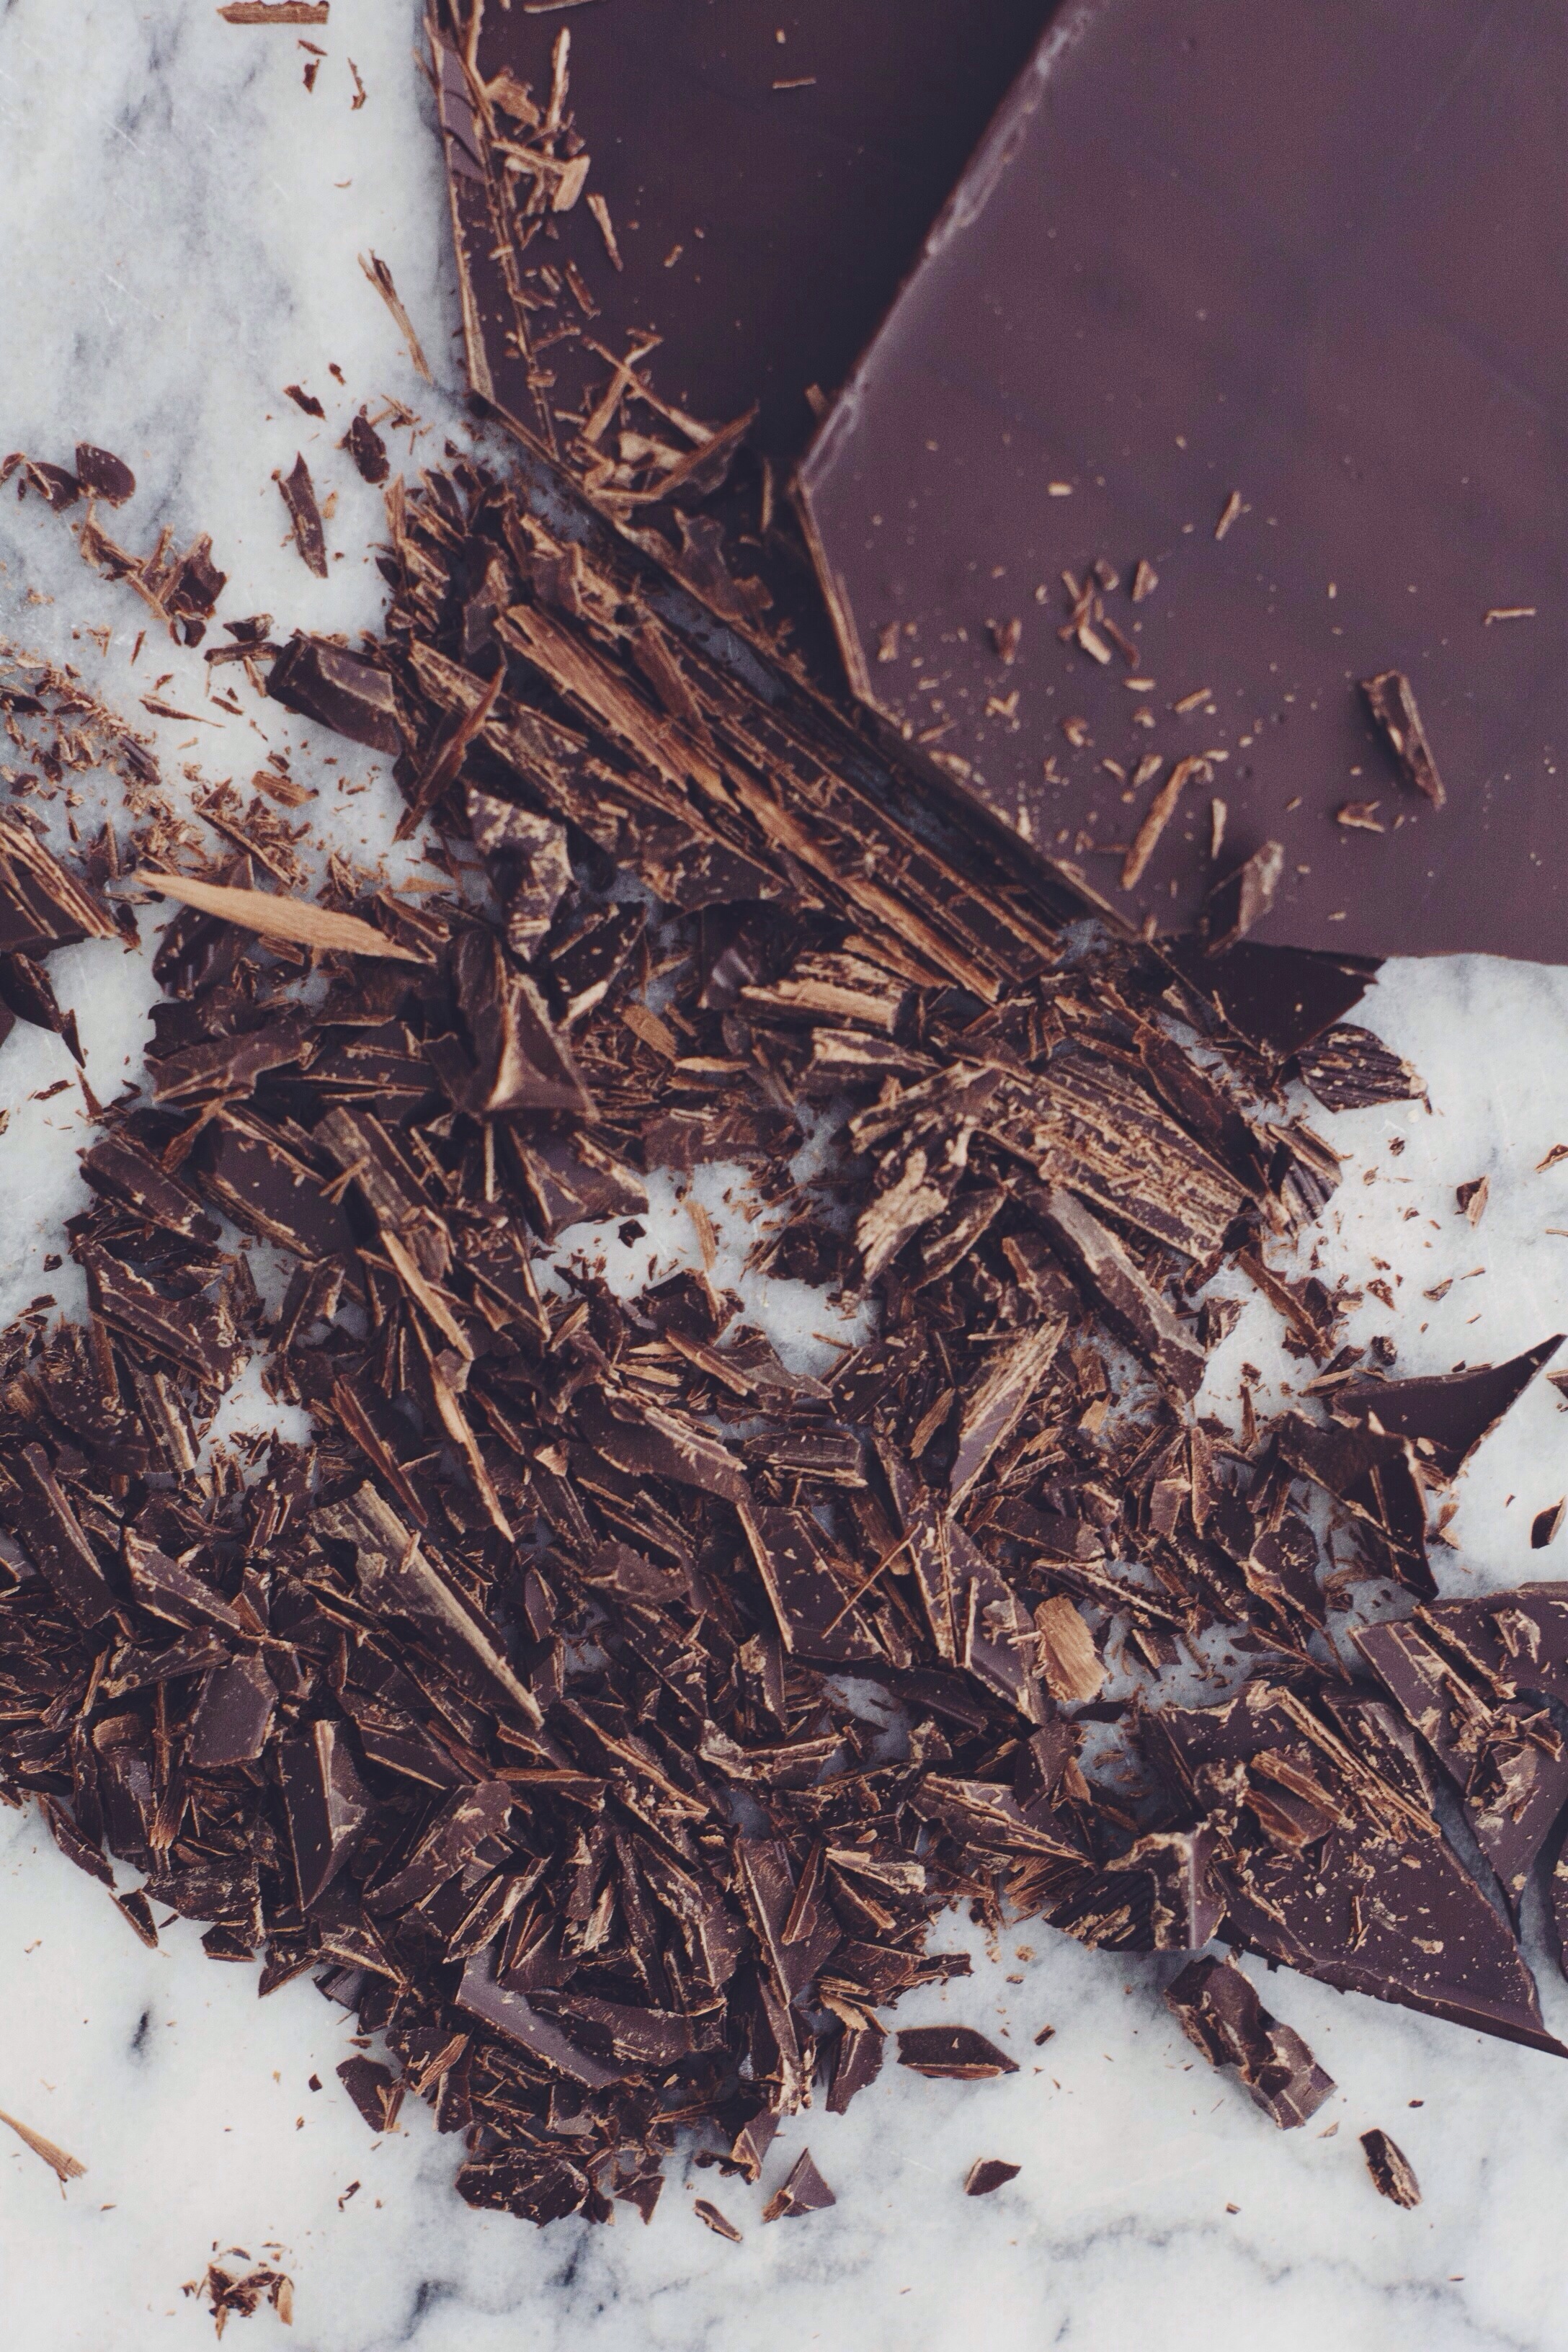
This is where Lindt's Dark Chocolate with Sea Salt came in. Not too much salt but not too little that the flavour fails to come across, I chopped a couple of bars into chunks and shards and threw them into the mix. The result? Speckled, salty, crunchy, chewy, ever so slightly crumbly - everything you could want in a cookie. 

Suck on that, Chips Ahoy.   

Dark Chocolate + Sea Salt Cookies | Thyme & Honey

Dark Chocolate + Sea Salt Cookies

Yields approx. 18

Recipe adapted from Ovenly's heavenly Vegan Choc Chip Cookies

Ingredients

240g all-purpose flour

1 + 1/4 teaspoon bicarbonate of soda

1/2 teaspoon salt

200g Lindt Dark Chocolate with a Touch of Sea Salt

80g caster sugar

70g soft light brown sugar 

100g coconut oil

60ml water

Coarse sea salt flakes like Maldon for garnish


Method

  1. In a large bowl whisk together the flour, bicarbonate of soda and salt. Chop up the chocolate into small chunks and shards and stir into the flour mixture. 
  2. In another bowl combine the two sugars, breaking up any clumps with your hands or the back of a spoon. 
  3. Heat the coconut oil until melted, then add to the sugar along with the water - whisk until smooth. 
  4. Add the sugar mixture to the flour and stir to combine with a wooden spoon until no flour is visible and the dough just comes together - it should be quite shaggy, don't worry about this. 
  5. Cover the bowl with cling film and refrigerate for 12-24 hours - DON'T SKIP THIS STEP!
  6. After the dough has rested in the fridge, preheat the oven to 180°c (165°c FAN).
  7. Using your hands roll the dough into 2 inch balls (you should be able to make about 18) and place them on a baking sheet lined with parchment paper. 
  8. Use a spoon to gently press down the balls slightly, and sprinkle the a pinch of sea salt flakes. 
  9. Bake for 13-15 minutes until the edges are just golden. 
  10. Leave to cool completely before serving. 
Dark Chocolate Covered Caramels

It’s officially that time of year again; the lights are up, the ads are out, the nights are getting boozier… it’s Christmas whether you like it or not.

Dark Chocolate Covered Caramels | Thyme & Honey

Sure, some might say it’s a bit early to get the Christmas paraphernalia out, but I for one am all over it – give me a gingerbread latte with a shot of whisky and I’ll be marvellously content cozied up in my Slanket* with Home Alone 2 on repeat.

(Also, December: the only month where you can get fat gracefully.)

You may remember last year I posted a similar recipe and moaned about how broke I tend to be at this time of year (I absolutely needed three of those cashmere jumpers, didn’t I), so it’s fair to say I get a little resourceful with my gift giving. Enter these beauties, chocolate covered and deliciously decadent. These really aren’t as daunting as they may seem, it’s more a case of patience and trying not to burn yourself, the caramel, or your pan.

So there you have it, I’ll leave you with this bomb recipe to add to your budget Christmas 101 repertoire – plus a pretty great soundtrack to go with it (courtesy of Cereal Magazine)

*the best gift ever received, not giving it up never ever ever

Dark Chocolate Covered Caramels | Thyme & Honey

Dark Chocolate Covered Caramels

Makes 60 caramels

Ingredients

150g soft light brown sugar

125g golden syrup

100g unsalted butter, cut into cubes

250ml thick double cream

150g caster sugar

200g dark chocolate

Decorative sugar pieces (if using)


Method

You’ll need a candy thermometer for this recipe.

  1. Firstly prepare a tin for your caramel to set in by lining it with parchment paper.
  2. In a pan add the brown sugar, golden syrup, butter and cream and place over a low heat. Heat the mixture until smooth and hot, stirring occasionally. Remove the pan from the heat and set aside.
  3. In a heavy duty pan add the caster sugar and 3 tablespoons of water, and start to dissolve over a low heat. Once dissolved you can bring the heat up a little, keep melting the sugar syrup until it caramelises and turns amber in colour. NOTE: You don’t want to stir the syrup unless there are specific spots where the sugar isn’t melting, rather whirl the pan.
  4. Once the sugar syrup has caramelised and turned a gorgeous dark amber colour, remove the pan from the heat and pour in the cream mixture, while exercising caution – this stuff is H O T.
  5. Put the pan back on the heat and pop your candy thermometer in. Bring the mixture up to 260°f and then immediately remove from the heat and pour into your prepared tin (if you fancy it you can sprinkle all or half with salt flakes).
  6. Leave (out of the fridge) for at least 5 hours or overnight before cutting into small squares.
  7. To chocolate coat the caramels, melt the dark chocolate in a glass bowl set above a pan of simmering water. Once melted, use a fork to dip a caramel square into the chocolate, then lift it out and let the excess chocolate drip off. Place the square on parchment paper to set, and decorate with sugar pieces if using. Continue with the rest of the caramels.

These will keep for a good 2 weeks stored in an air-tight container.

Flourless Chocolate Pots + Earl Grey Cream

As if the weather Gods had heard my silent pleas for winter, it rocked up all bold and cold over the weekend. It’s officially sweater weather and to celebrate this momentous occasion I’m wearing the fluffiest jumper I own and plotting my first PSL of the season, all while scrolling through Halloween decorating ideas on Pinterest.

chocpots1.jpg

I’m also getting ready for an even colder climate, because this weekend I’m flying to Toronto for my annual poutine fix and cousin’s wedding where I’ll be one of her bridesmaids and official joker – ah, the good ol’ English accent… gets ’em every time.

Also can I just say how giddy with excitement I am about experiencing my first Thanksgiving on Canadian soil? So giddy.

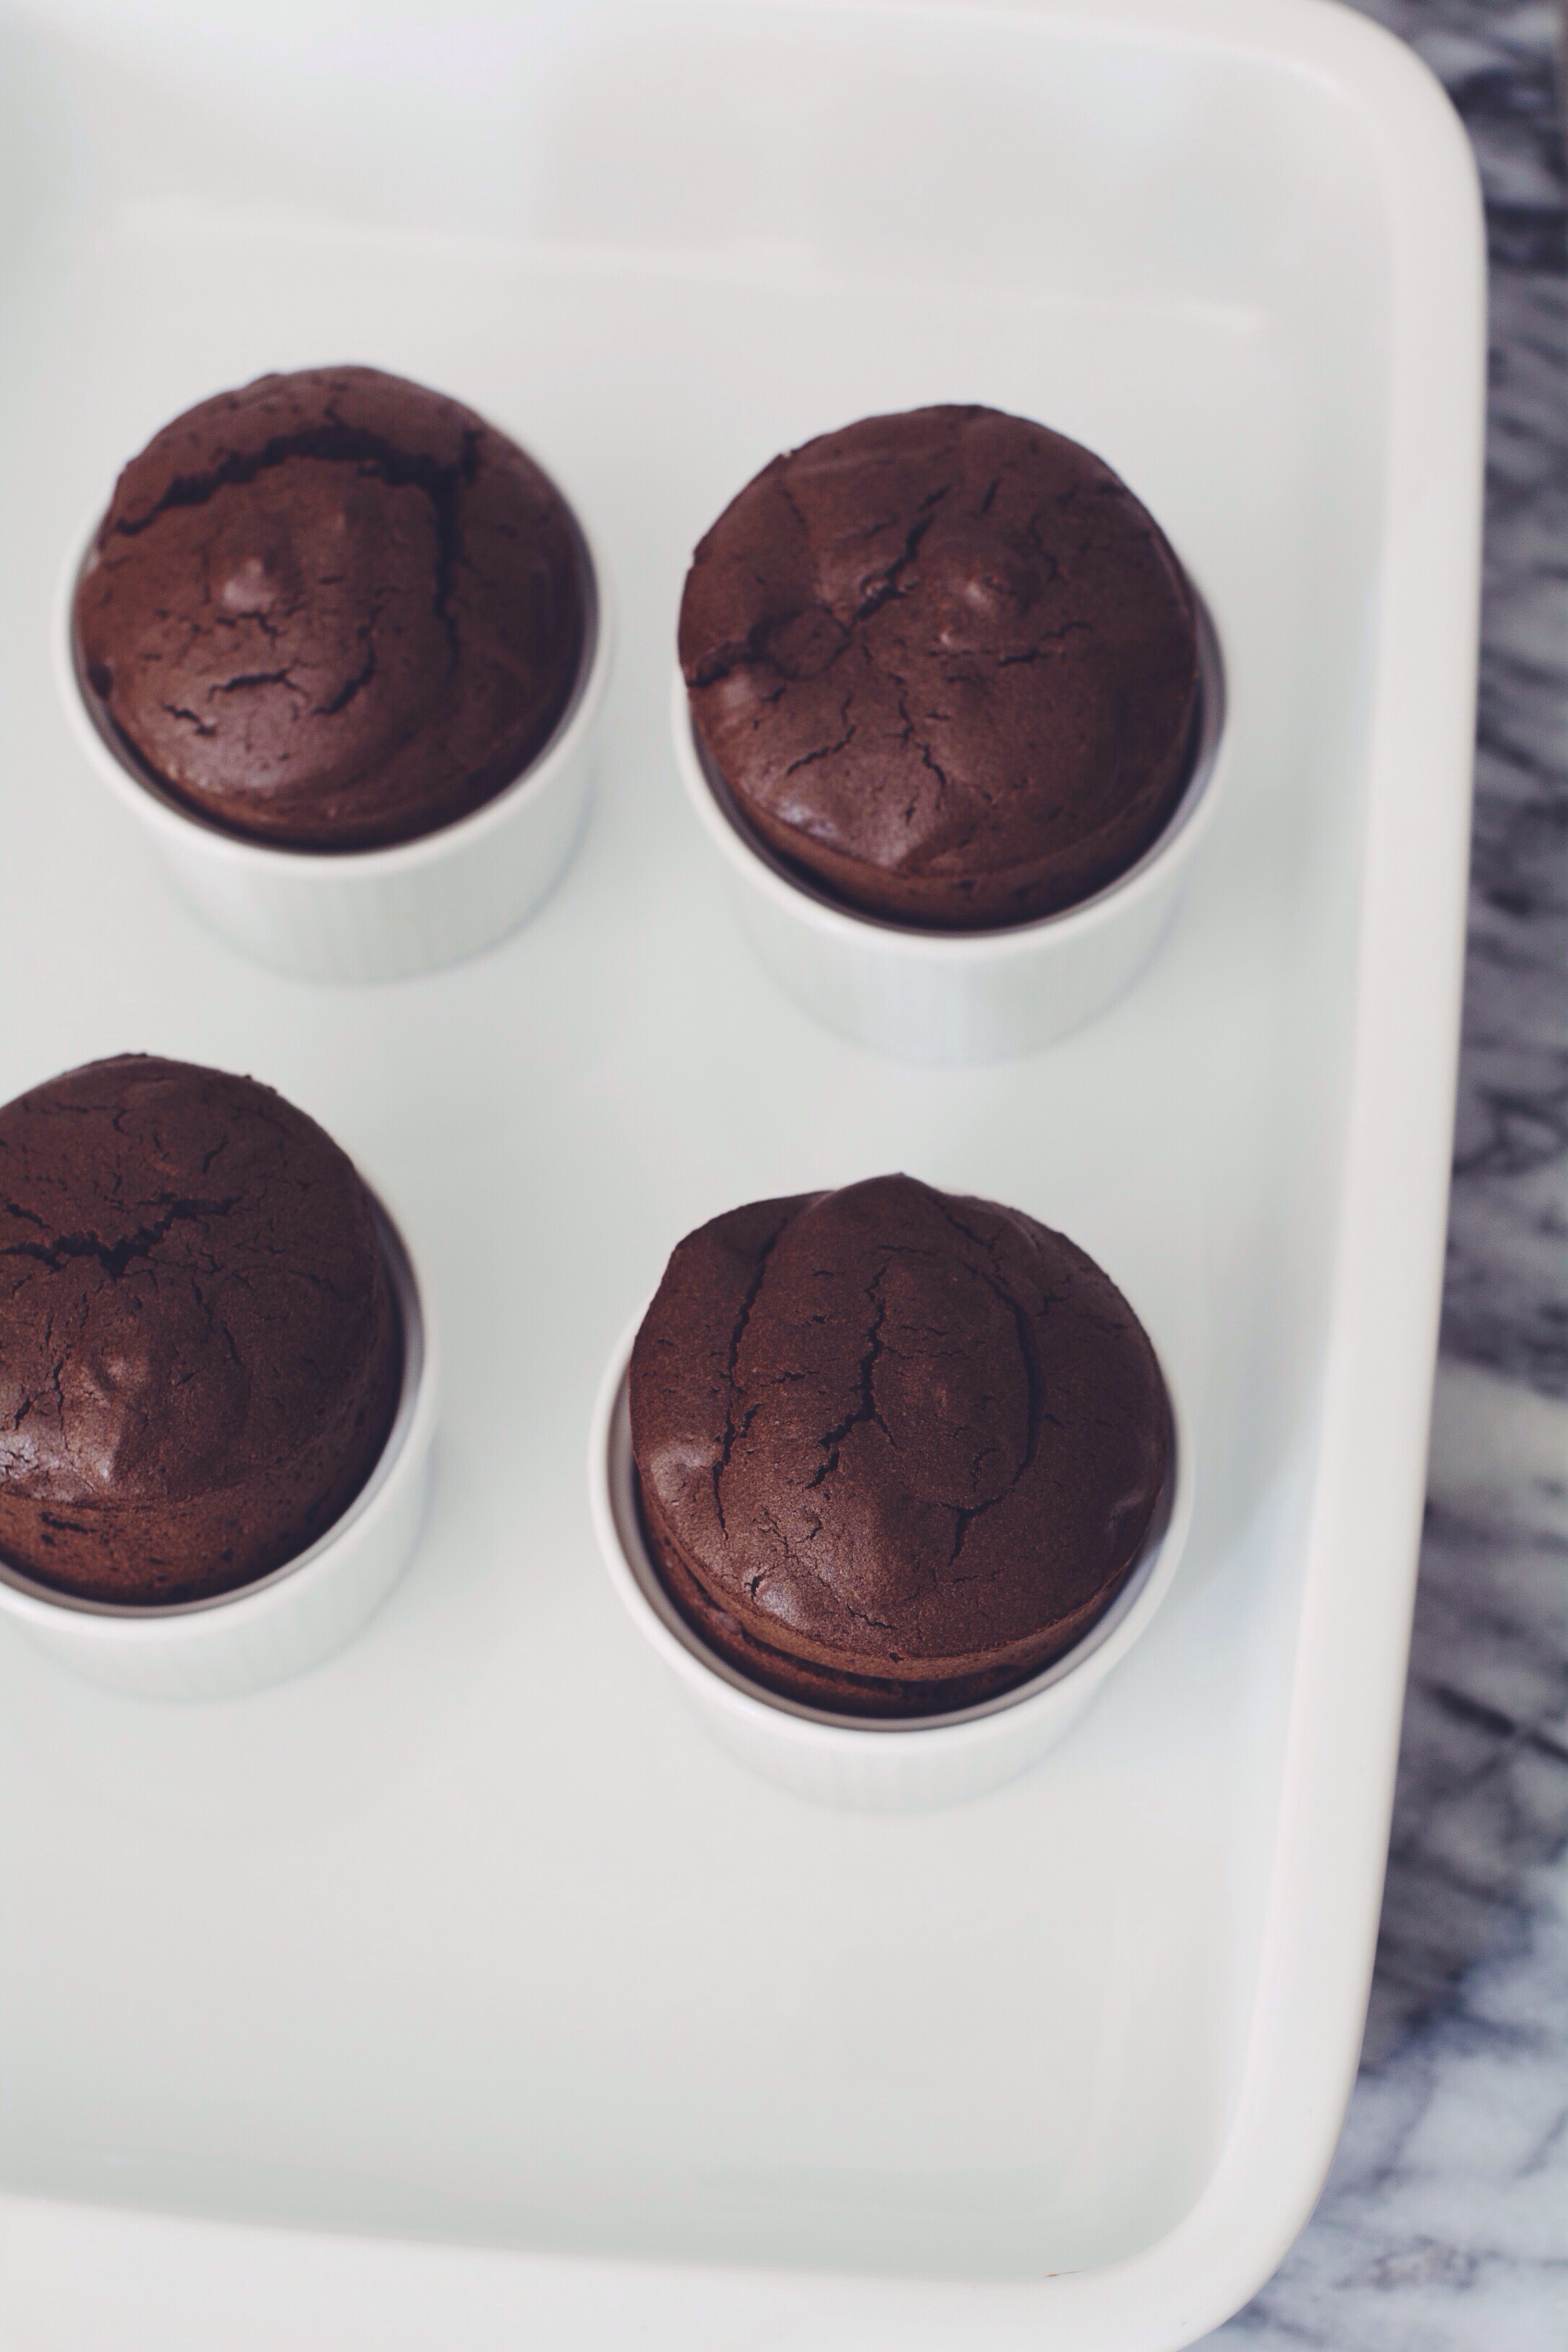
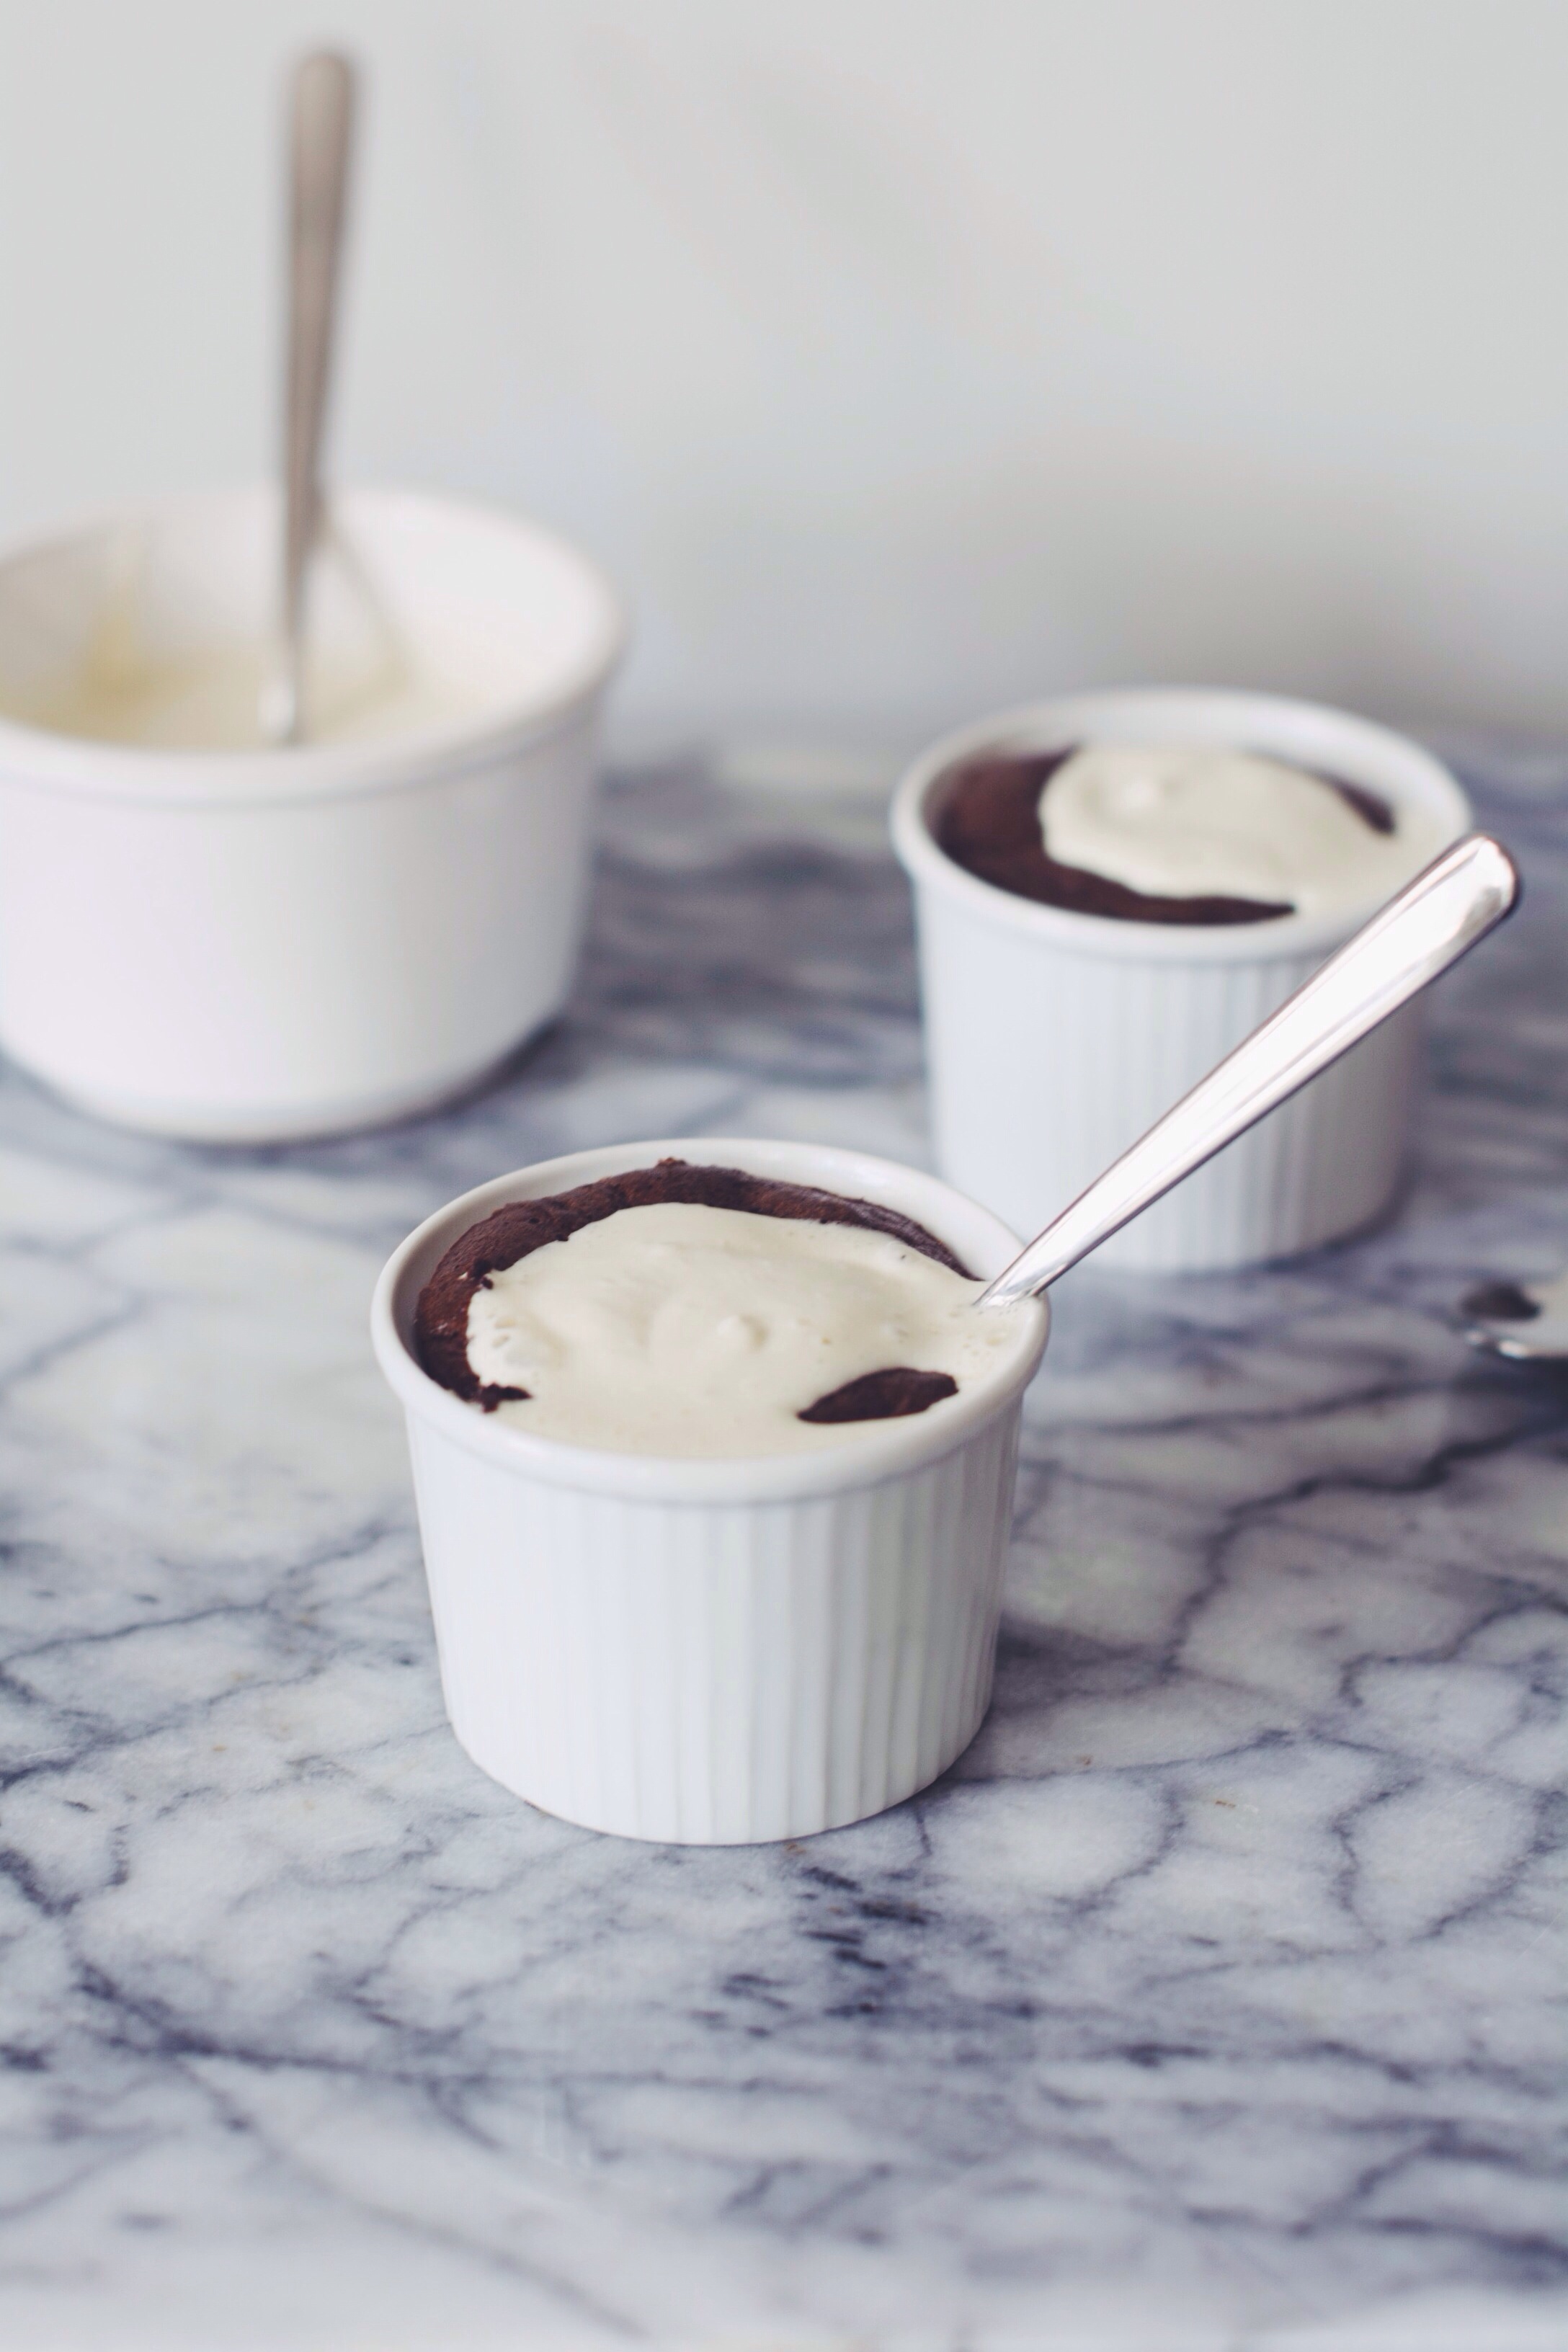
In other news I baked these little pots of indulgence over the weekend, and let me tell you, they are G O O D. No – better than good, they are fantastic. Why? Because they are fudgey, sweet but not too sweet, and look impressive when they emerge from the oven grandiose and soufflé-like. Plus they’re flourless, take minimal time to make, and that Earl Grey cream? Decadence just got the British treatment. We so fancy.

I’ve got to be honest though, up until a couple of months ago I wouldn’t have dreamed of drinking black tea let alone putting it in cream, but then I was introduced to the world of JING and all of their wonderful teas, and I’ve been drinking it ever since.


Flourless Chocolate Pots + Earl Grey Cream

Make 4 chocolate pots

Recipe adapted from The Artful Desperado – Flourless Dark Chocolate Souffle with Earl Grey Cream

Ingredients

200g dark chocolate

60g unsalted butter

4 eggs

50g caster sugar (plus 2 tablespoons)

1/2 teaspoon vanilla bean paste or extract

1 tablespoon JING loose leaf Earl Grey

120ml whipping cream


Method

  1. Preheat oven to 180°c (160°c Fan) and butter 4 deep ramekins.
  2. Roughly chop the chocolate and place it in a bowl with the butter over a pan of simmering water (making sure the bottom of the bowl isn’t touching the water). Heat gently until melted then set aside.
  3. Separate the eggs into two bowls. Start with the yolks; add 50g of sugar and the vanilla extract and whisk until pale and fluffy – a few minutes.
  4. Add 2 tablespoons of sugar to the whites and whisk until soft peaks have formed.
  5. Add the yolks to the chocolate and mix to combine, then fold in the whites in two or three batches.
  6. Pour the mix into your prepared ramekins and bake in the centre of the oven for 20 minutes.
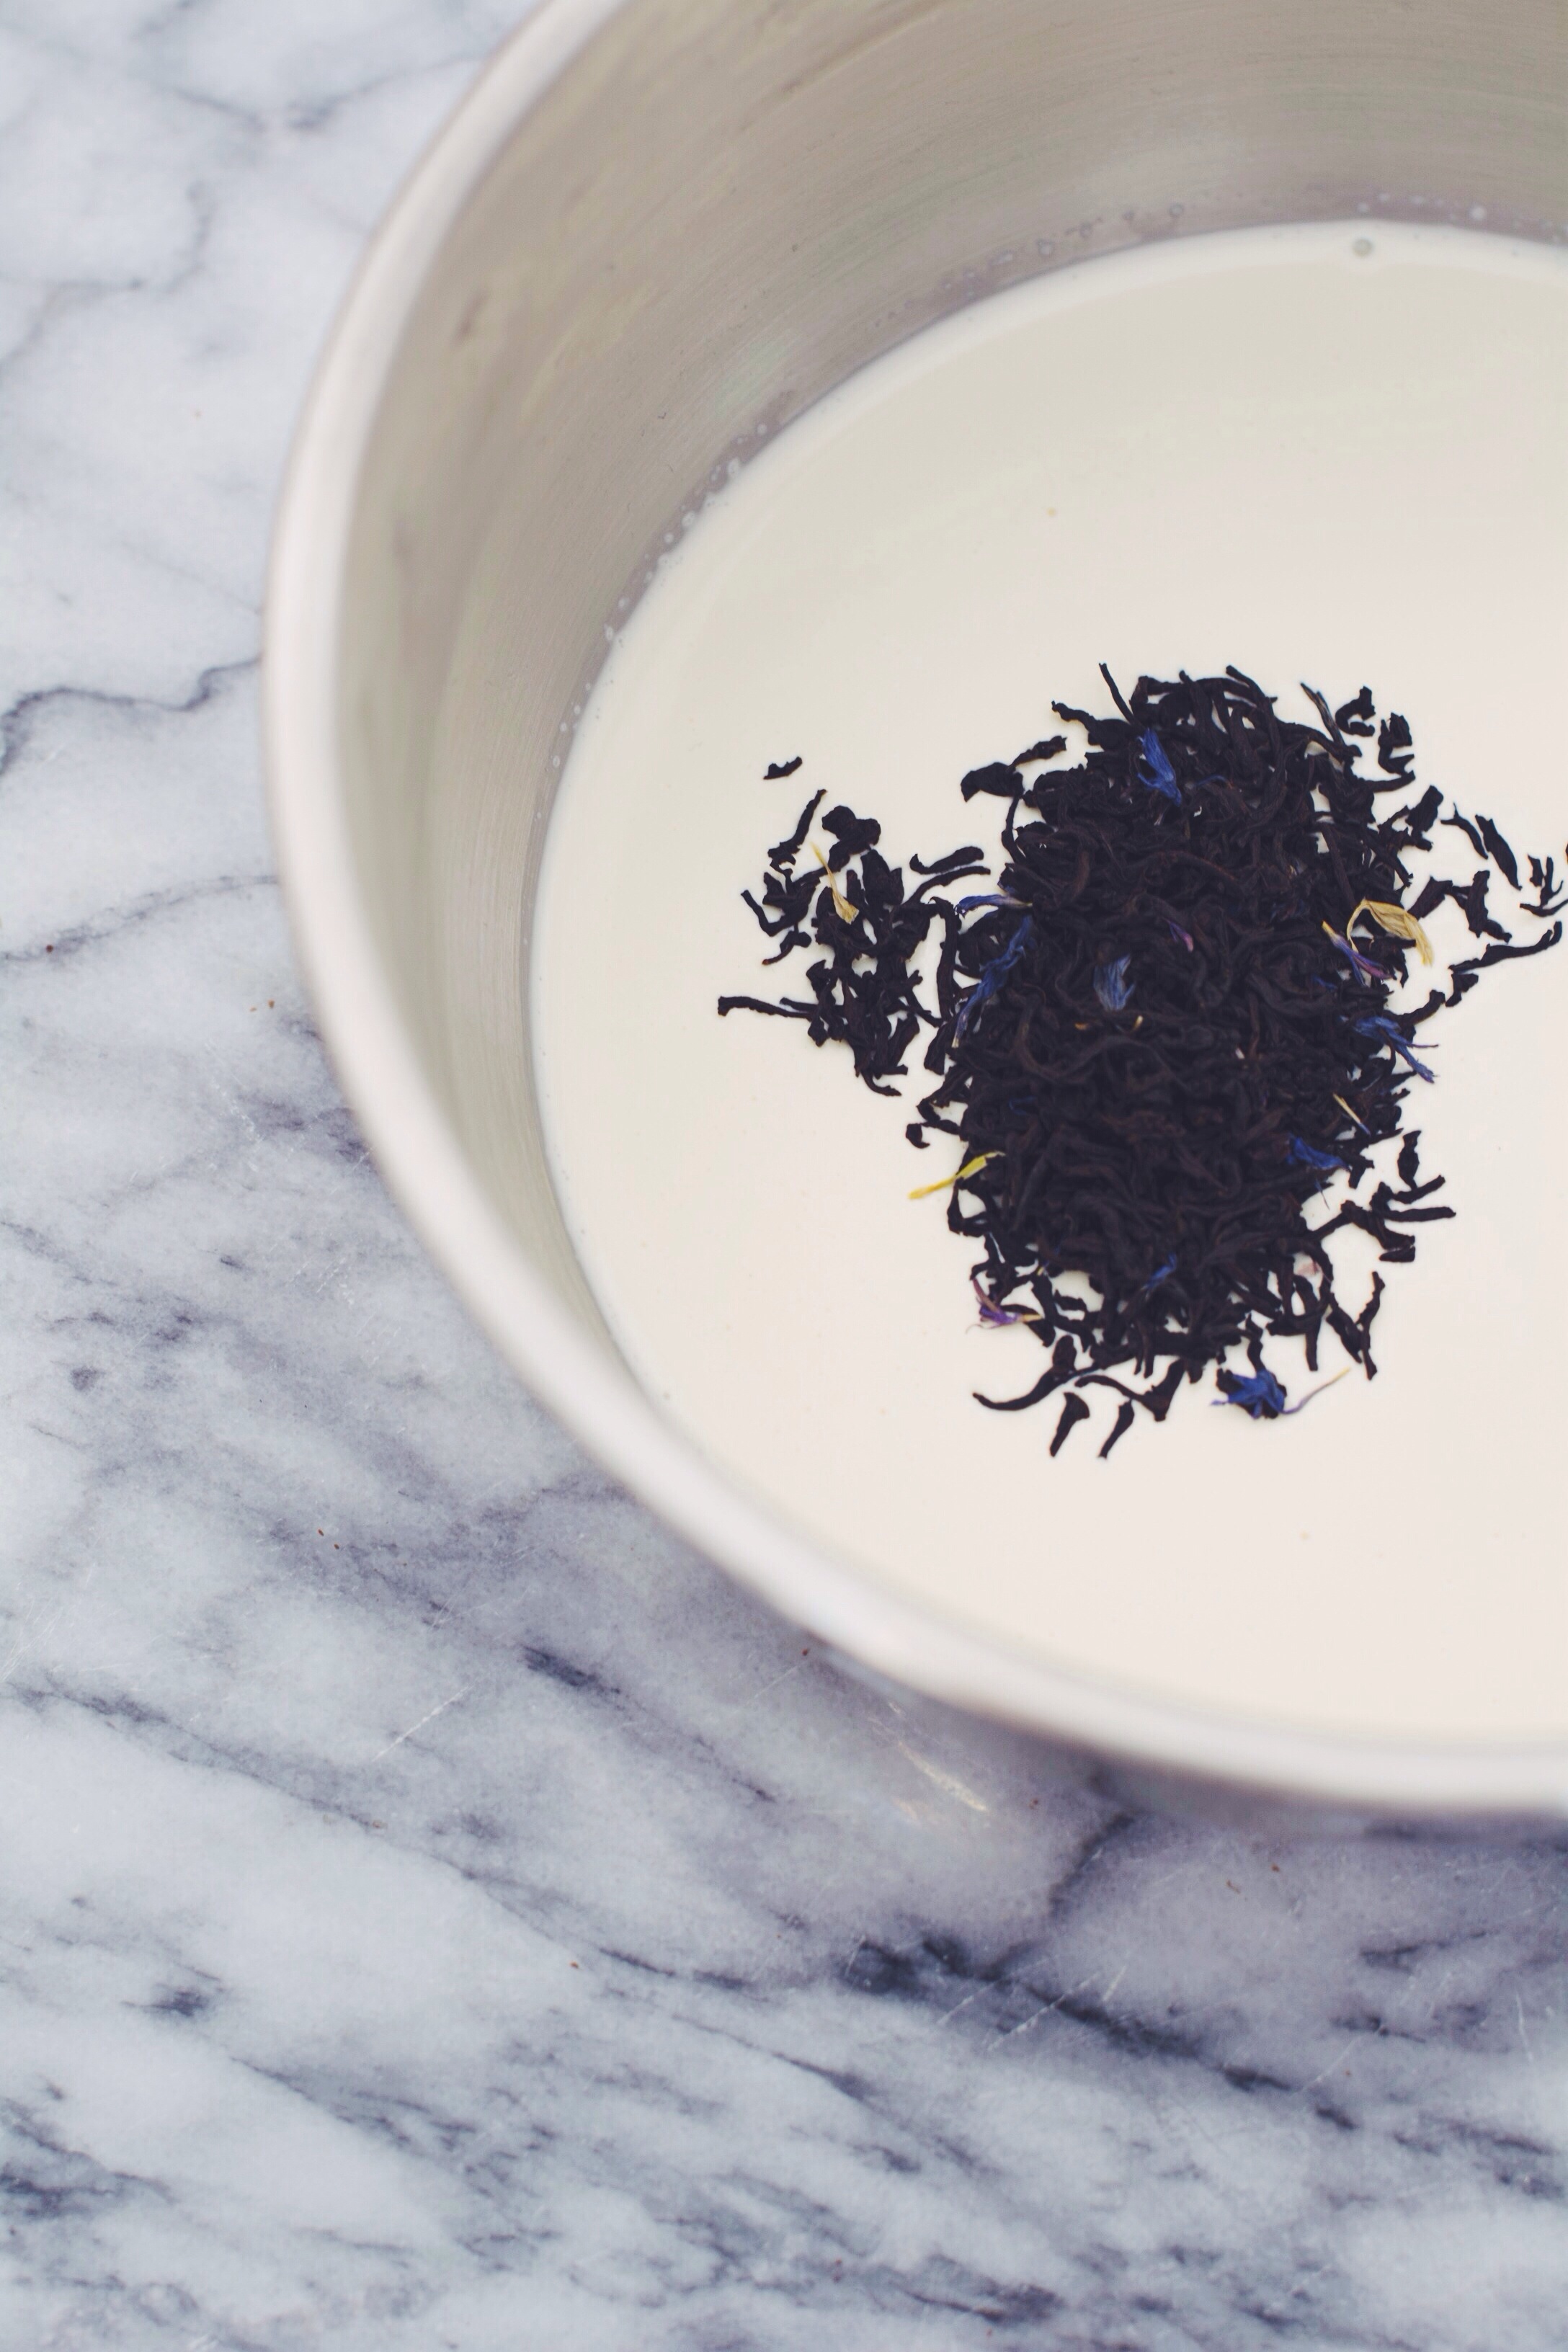
  7. While the chocolate pots are baking make the Earl Grey cream. Add the loose leaves to the cream and heat on low until the cream is hot but not scalding. Pour the cream into a bowl and refrigerate for 10-15 minutes.
  8. Pass the infused cream through a sieve to remove the leaves, then beat until lightly whipped.
  9. Serve the chocolate pots hot out of the oven with a dollop of cream.
White Velvet Funfetti Cake

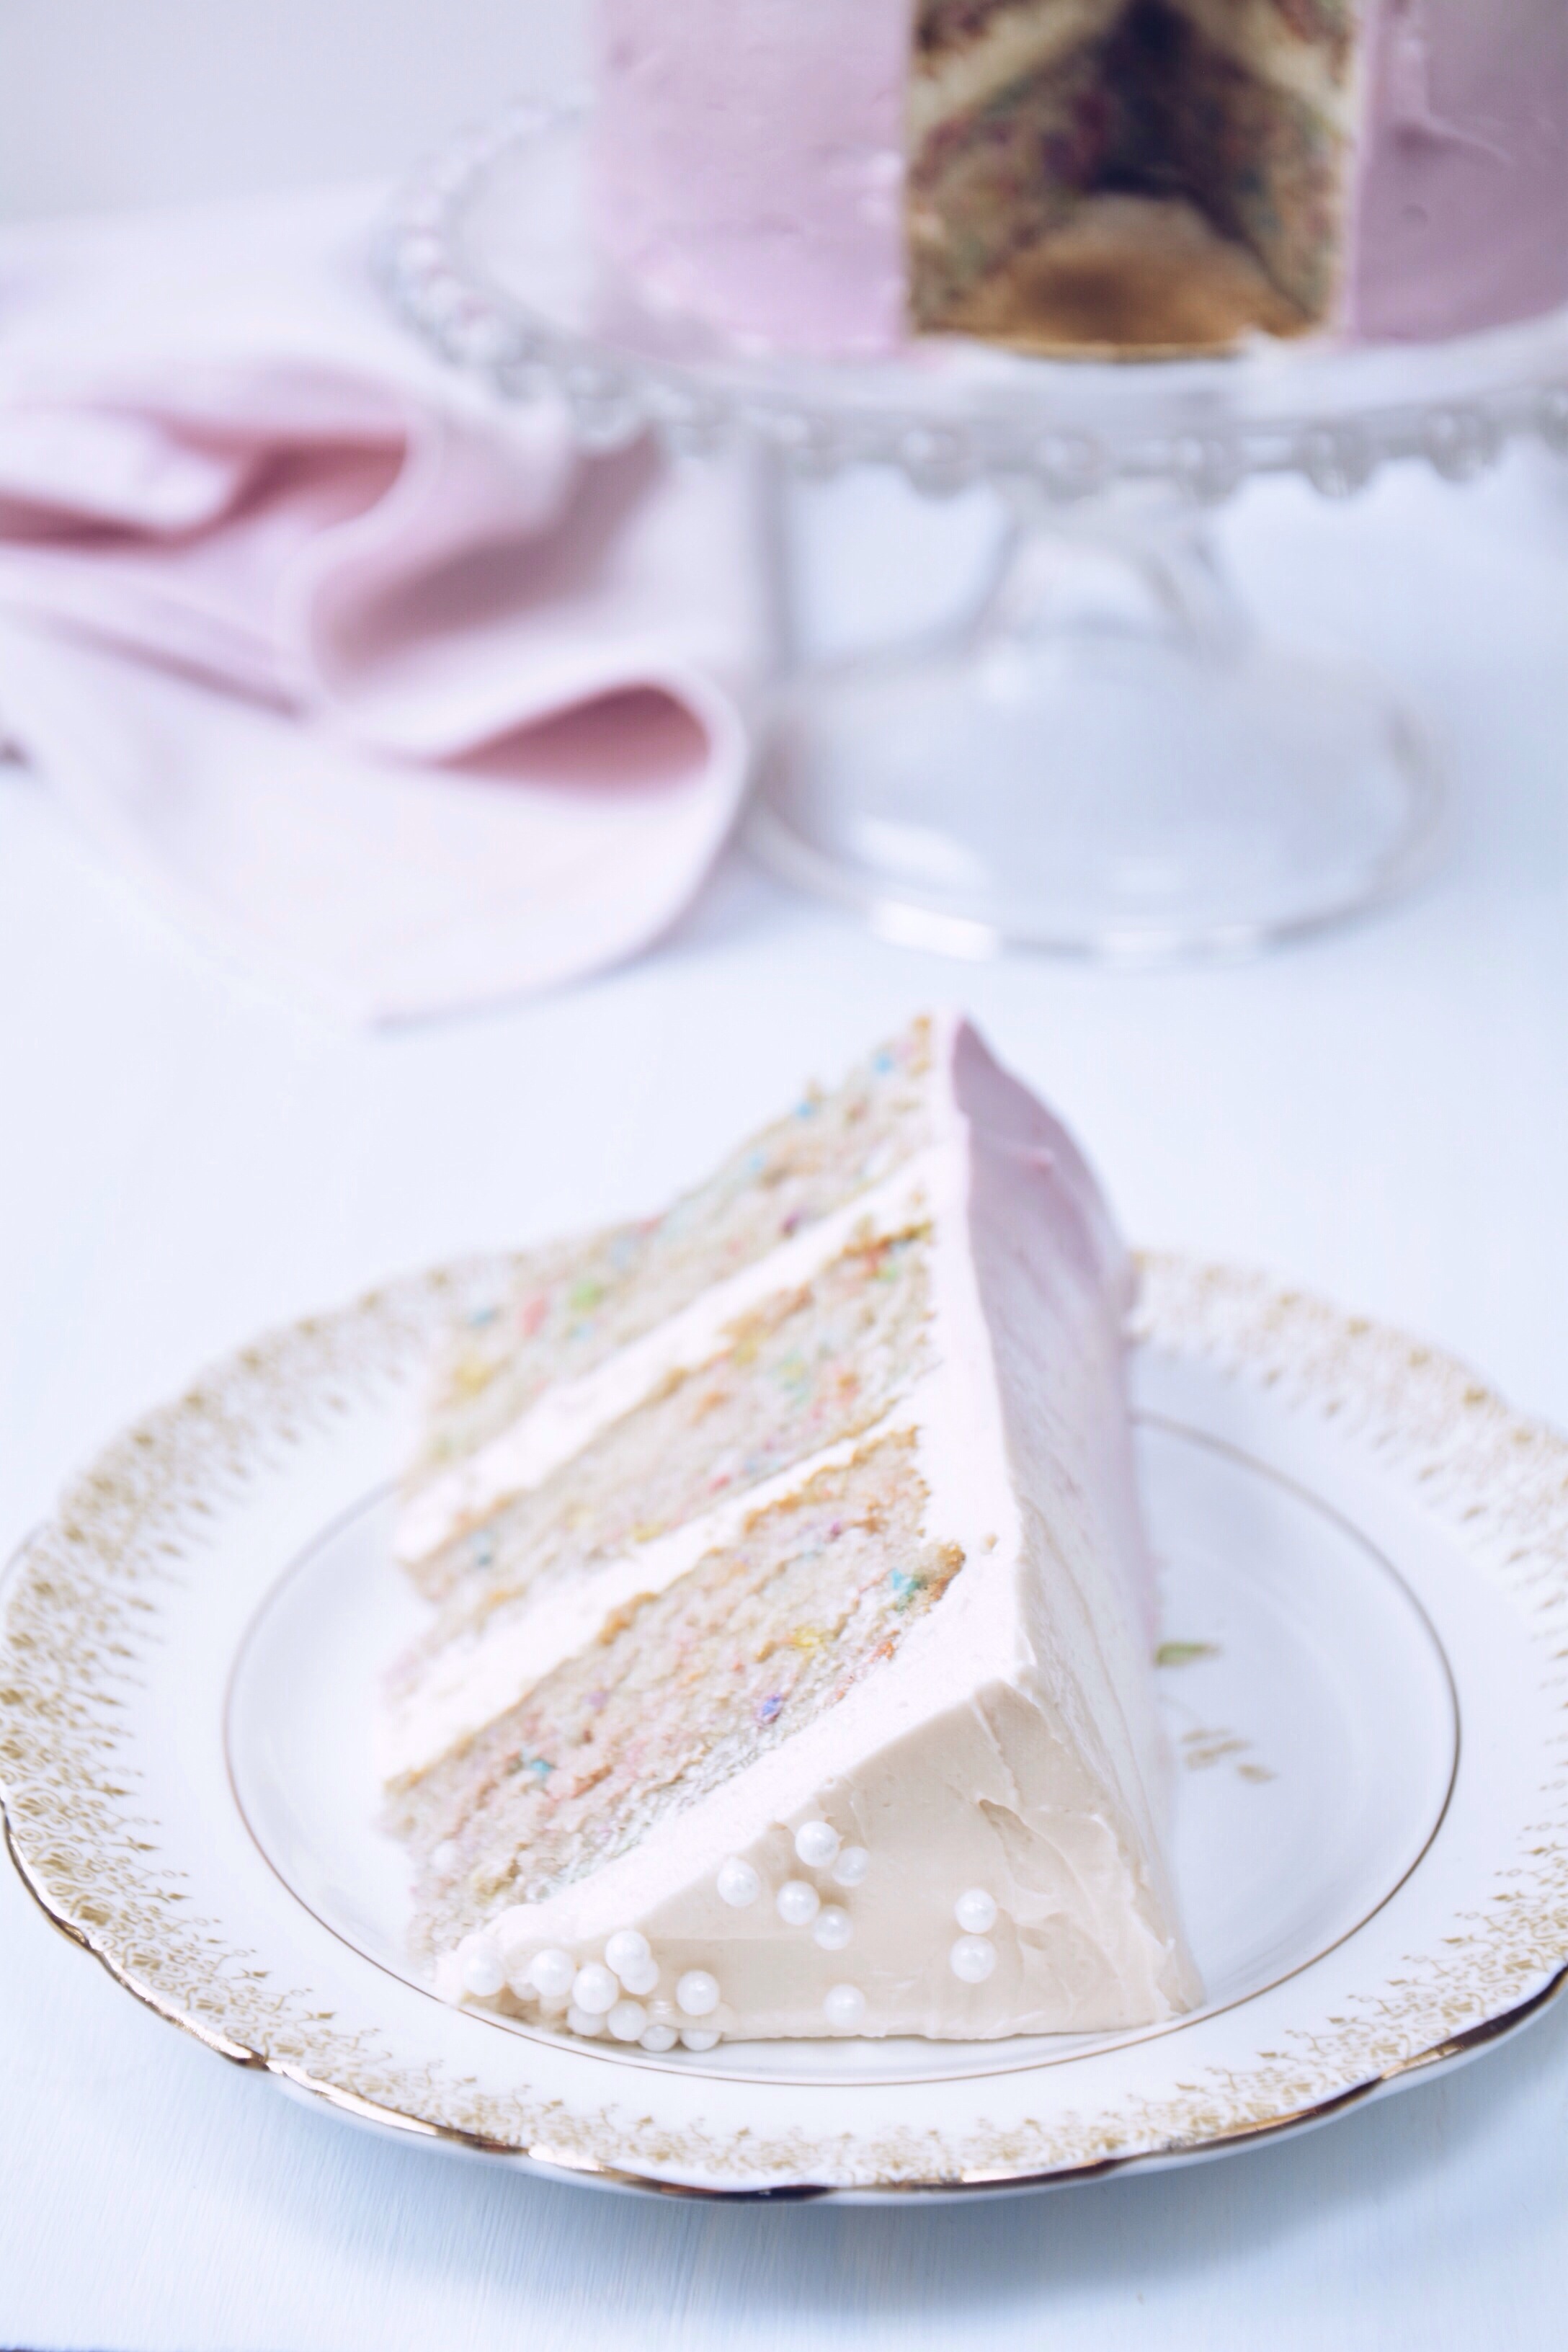
So my birthday happened. It was full of smiles, and tears, and cards and gifts and a mini-meltdown. AND CAKE. This cake.

White Velvet Funfetti Cake | Thyme & Honey

Warning. Once you make this cake you will never go back to whatever it is you used to make. You couldn’t possibly, this cake is really that great. Sure, you could make a deliciously sweet and simple birthday cake that will please all, of course you could. But if you want to wow, push the boat out and say goodbye to that bikini/similar item of clothing for men then this is the cake you need.

It is true that when you have a bit of a rep for making cakes that people don’t like making cakes for you. Over the last couple of years especially I’ve noticed the lack of cake going down when my birthday rolls around. But this year I was taken by surprise. Not one, but two cakes! First, a truly magical mascarpone/ricotta/Nutella cheesecake that was literally hand-delivered (putting me back 5lbs from beach bod 2014), and secondly an oh-so-pretty classic cake from my mum, brought to the table with out of tune singing and a firecracker in the middle. Like a boss.

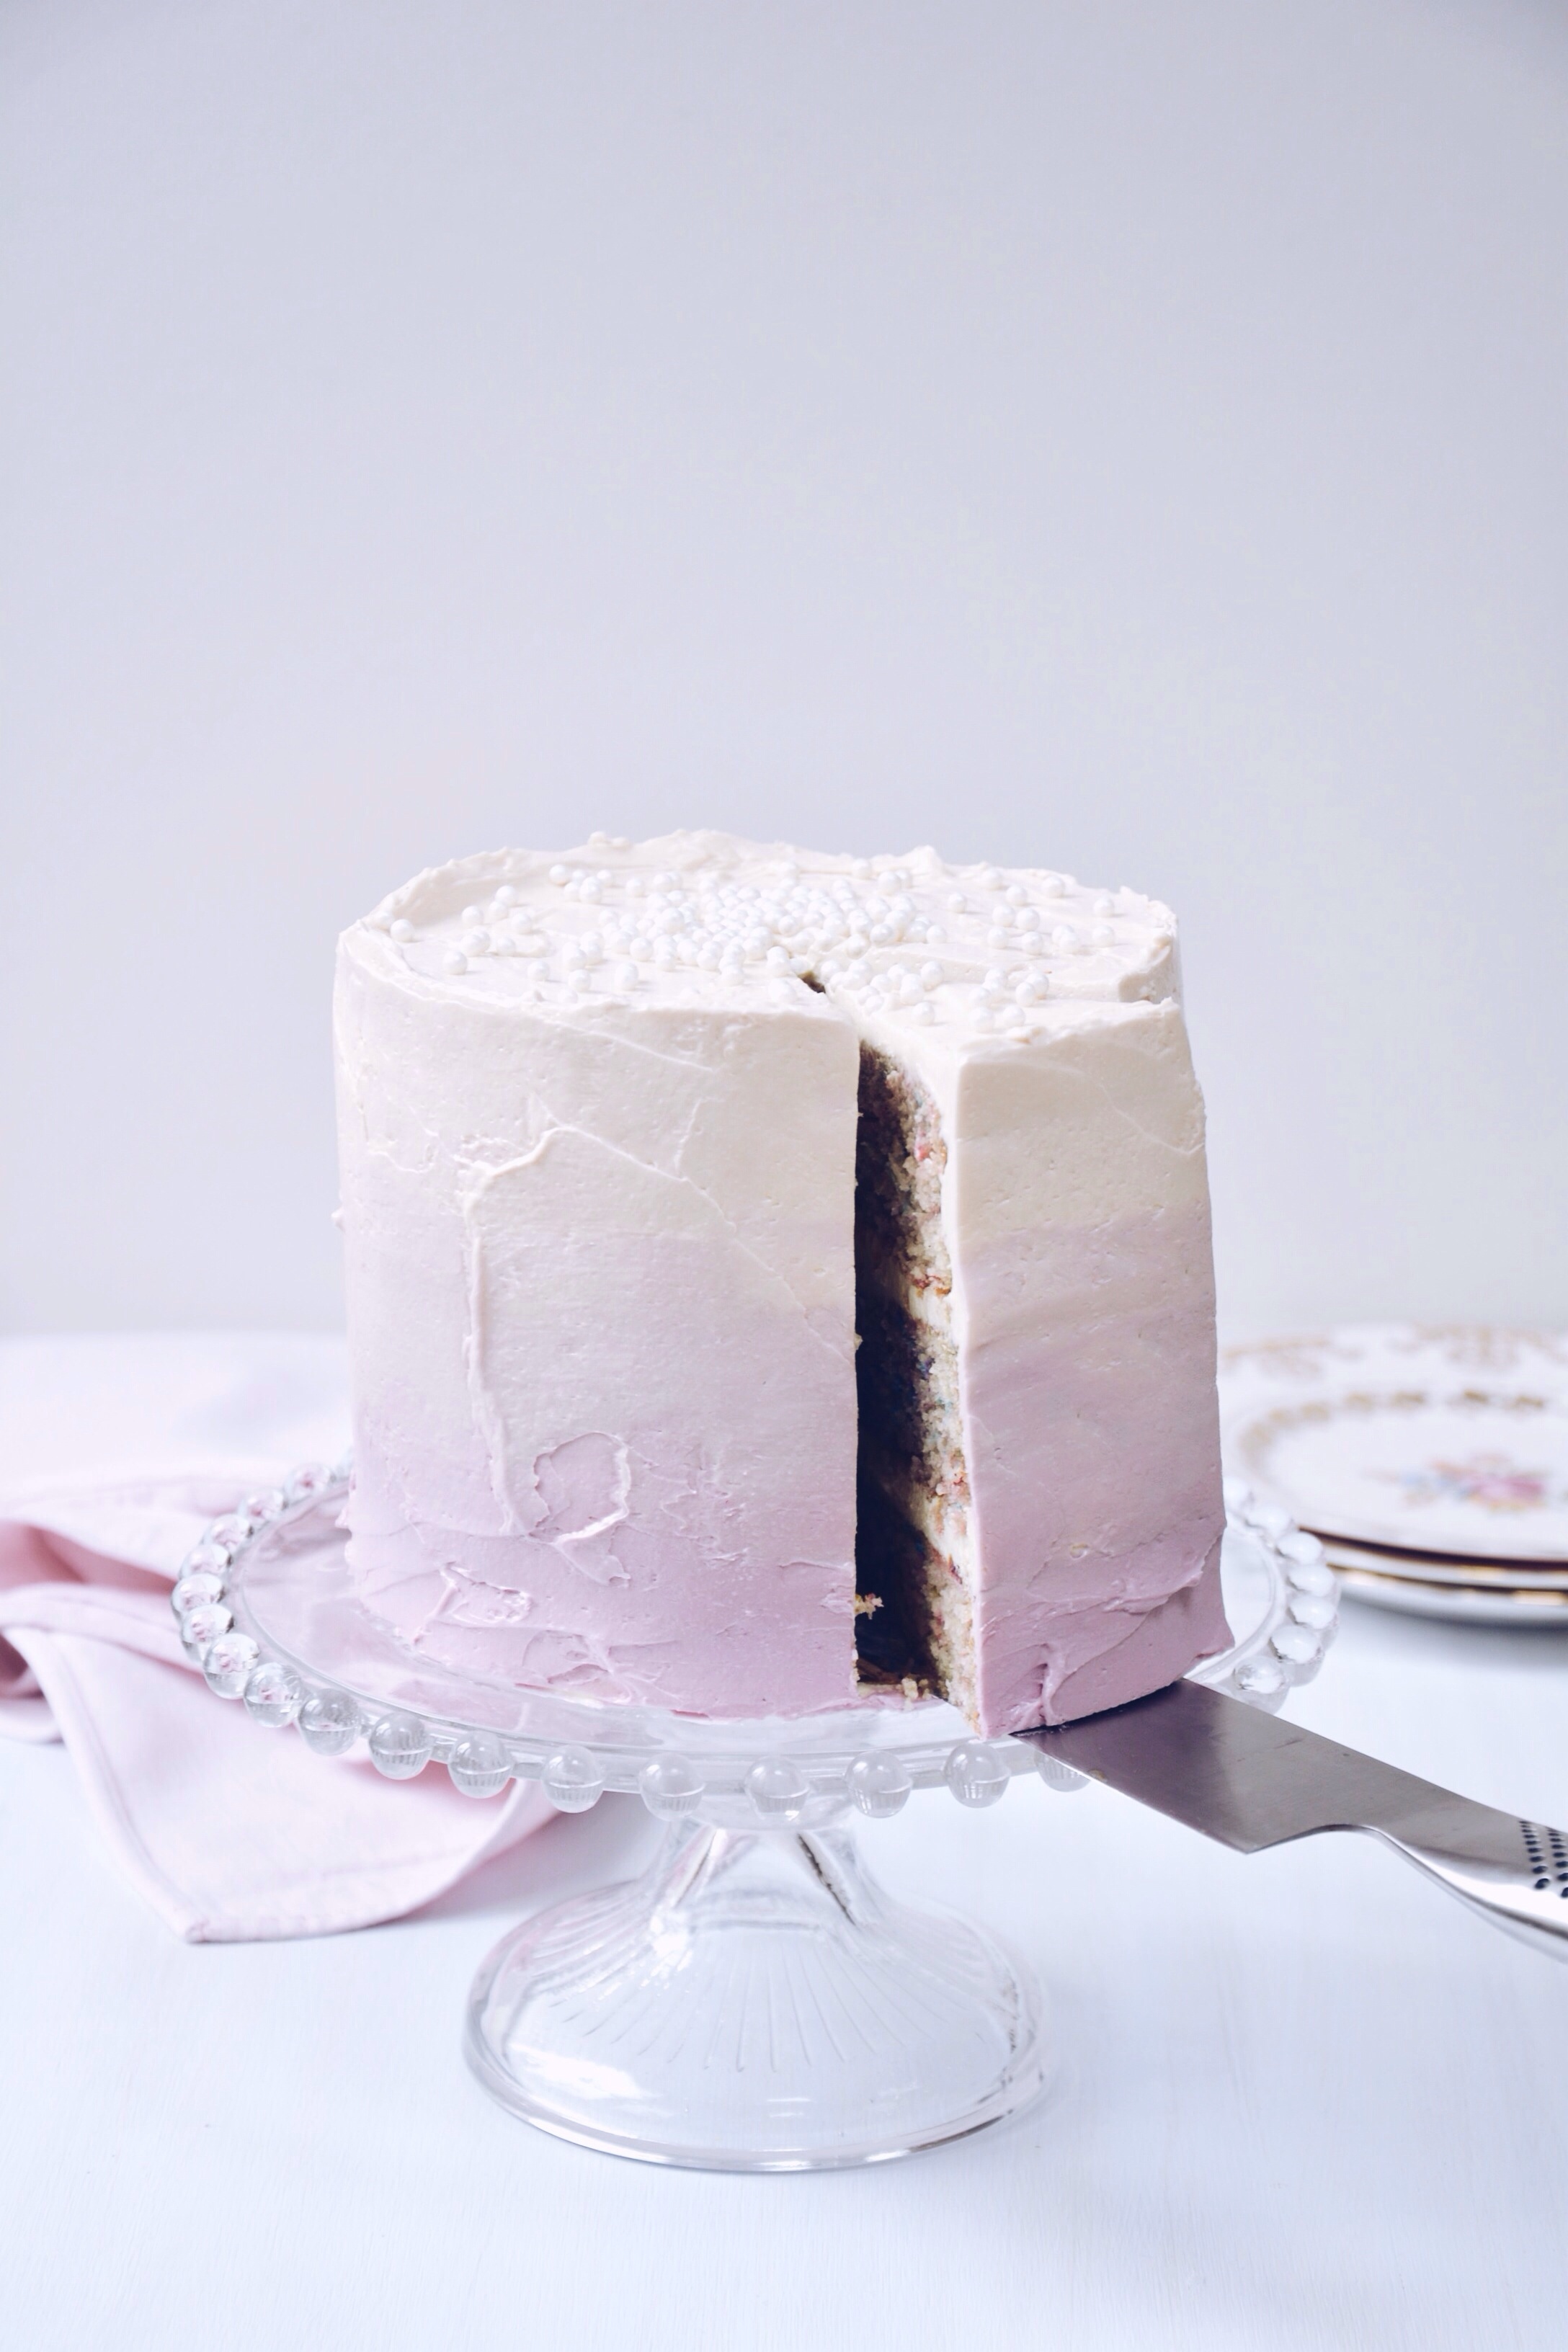
However, it is also true that when you have a bit of a rep for making cakes that you will insist on making your own birthday cake despite other people making you cakes. Let’s not discuss how sad the reality of making your own birthday cake is, but let’s look at the pictures and discuss the sheer greatness of a white velvet cake, rainbow sprinkles and appropriately Pinterest, ombre Swiss meringue buttercream.


White Velvet Funfetti Cake

For three 6" (2" thick) cake layers

White Velvet Cake – quantities adapted from Rose Levy Berenbaum’s recipe here. I can’t praise Rose’s recipe enough, it is perfect. Egg whites ensure the cake is feather light and fluffy but not dry in the slightest.

Ingredients

For the white velvet cake

4 large egg whites

190ml milk

1.5 teaspoon vanilla bean paste or extract

240g sifted all-purpose flour

240g caster sugar

15g baking powder

½ teaspoon salt

140g unsalted butter, room temperature

80g rainbow sprinkles


Method

  1. Preheat oven to 180°c (160°c fan)
  2. In a bowl lightly whisk the egg whites, 50ml milk and vanilla until just combined. Set aside.
  3. In a stand mixer add the dry ingredients and blitz to combine. Add the softened butter and remaining 140ml milk and mix on low for 30 seconds, then increase the speed to medium and beat for 1 and ½ minutes to ‘aerate and develop the cake’s structure’, as Rose puts it. Scrape down the sides then add the egg mixture in three batches, beating to incorporate the ingredients after each addition. Finally fold into the rainbow sprinkles.
  4. Scrape the batter into the prepared pans and smooth the surface with a spatula if needs be. The pans should be half full. I only have one 6” pan so I bake each layer sequentially despite how inefficient that may be. Assuming you have two cake pans like a normal person, split the batter in half and bake the first two layers followed by the third.
  5. After 25 minutes or when a toothpick inserted near the middle comes out clean they’re done! Leave the cakes to cool for 5-10 minutes in the pan before removing and leaving to cool entirely on wire racks.

For the Swiss Meringue Buttercream

200g caster sugar
10 (400g) large egg whites
600g unsalted butter, cut into cubes

Shimmer pearls to decorate

 
  1. Place the sugar and egg whites in a heatproof bowl above a pan of simmering water and whisk until the sugar has dissolved, around 3 minutes. Test by rubbing the mixture between your fingers – it should be completely smooth.
  2. Transfer to a stand mixer fitted with a whisk attachment and beat on high for 10 minutes until the mixture has completely cooled and formed stiff glossy peaks.
  3. Add the butter one cube at a time, beating until incorporated after each addition. Don’t worry if the icing curdles, it will smooth out as you continue to beat the butter in.
  4. Once all of the butter has been incorporated, switch to the paddle attachment and beat on the lowest speed for 5 minutes to get rid of any air pockets.

To assemble

  1. Add a dollop of frosting between each layer and on top to crumb coat the outside (basically a really thin, rough layer of icing). Put the cake in the fridge to set. While you’re refrigerating the cake, split the remaining icing into three bowls and mix in your chosen dye to create your ombre colours; dark, medium and light. Place each colour of icing in a piping bag and snip off the end, or use a large round nozzle.
  2. Remove the cake from fridge after 30 minutes and pipe the darkest colour around the bottom sides in a line, a couple of times should do it. Pipe the middle colour above the darkest, followed by the lightest colour which you should also pipe on the top.
  3. Use a palette knife to smooth the icing, but try not to mix the colours together too much. You can make the cake look more rustic with some fancy wrist movements and swishes, or in other words, by moving your wrist in an S shape. Decorate with shimmer balls.
  4. Serve at room temperature, ALWAYS room temperature. If you live in a hot climate (you lucky f….), then store in the fridge and bring to room temperature before serving.
Espresso Caramel Ice Cream

I’m just going to say it. Ice cream significantly improves my quality of life (apart from maybe this one time). That’s right. Not everlasting friendships, not love, not financial security. Just ice cream.

Espresso Caramel Ice Cream | Thyme & Honey

Vanilla, chocolate, coffee, caramel, cheesecake, praline, rocky road, cookie dough, strawberry, banana, fudge, chocolate again, coffee always, breakfast, lunch, dinner, weddings, Bar Mitzvahs, birthday parties, pyjama Sundays – these are just some of many flavours and occasions where ice cream makes my life just great.

The same goes for this monstrous tub of joy above, so let’s discuss.

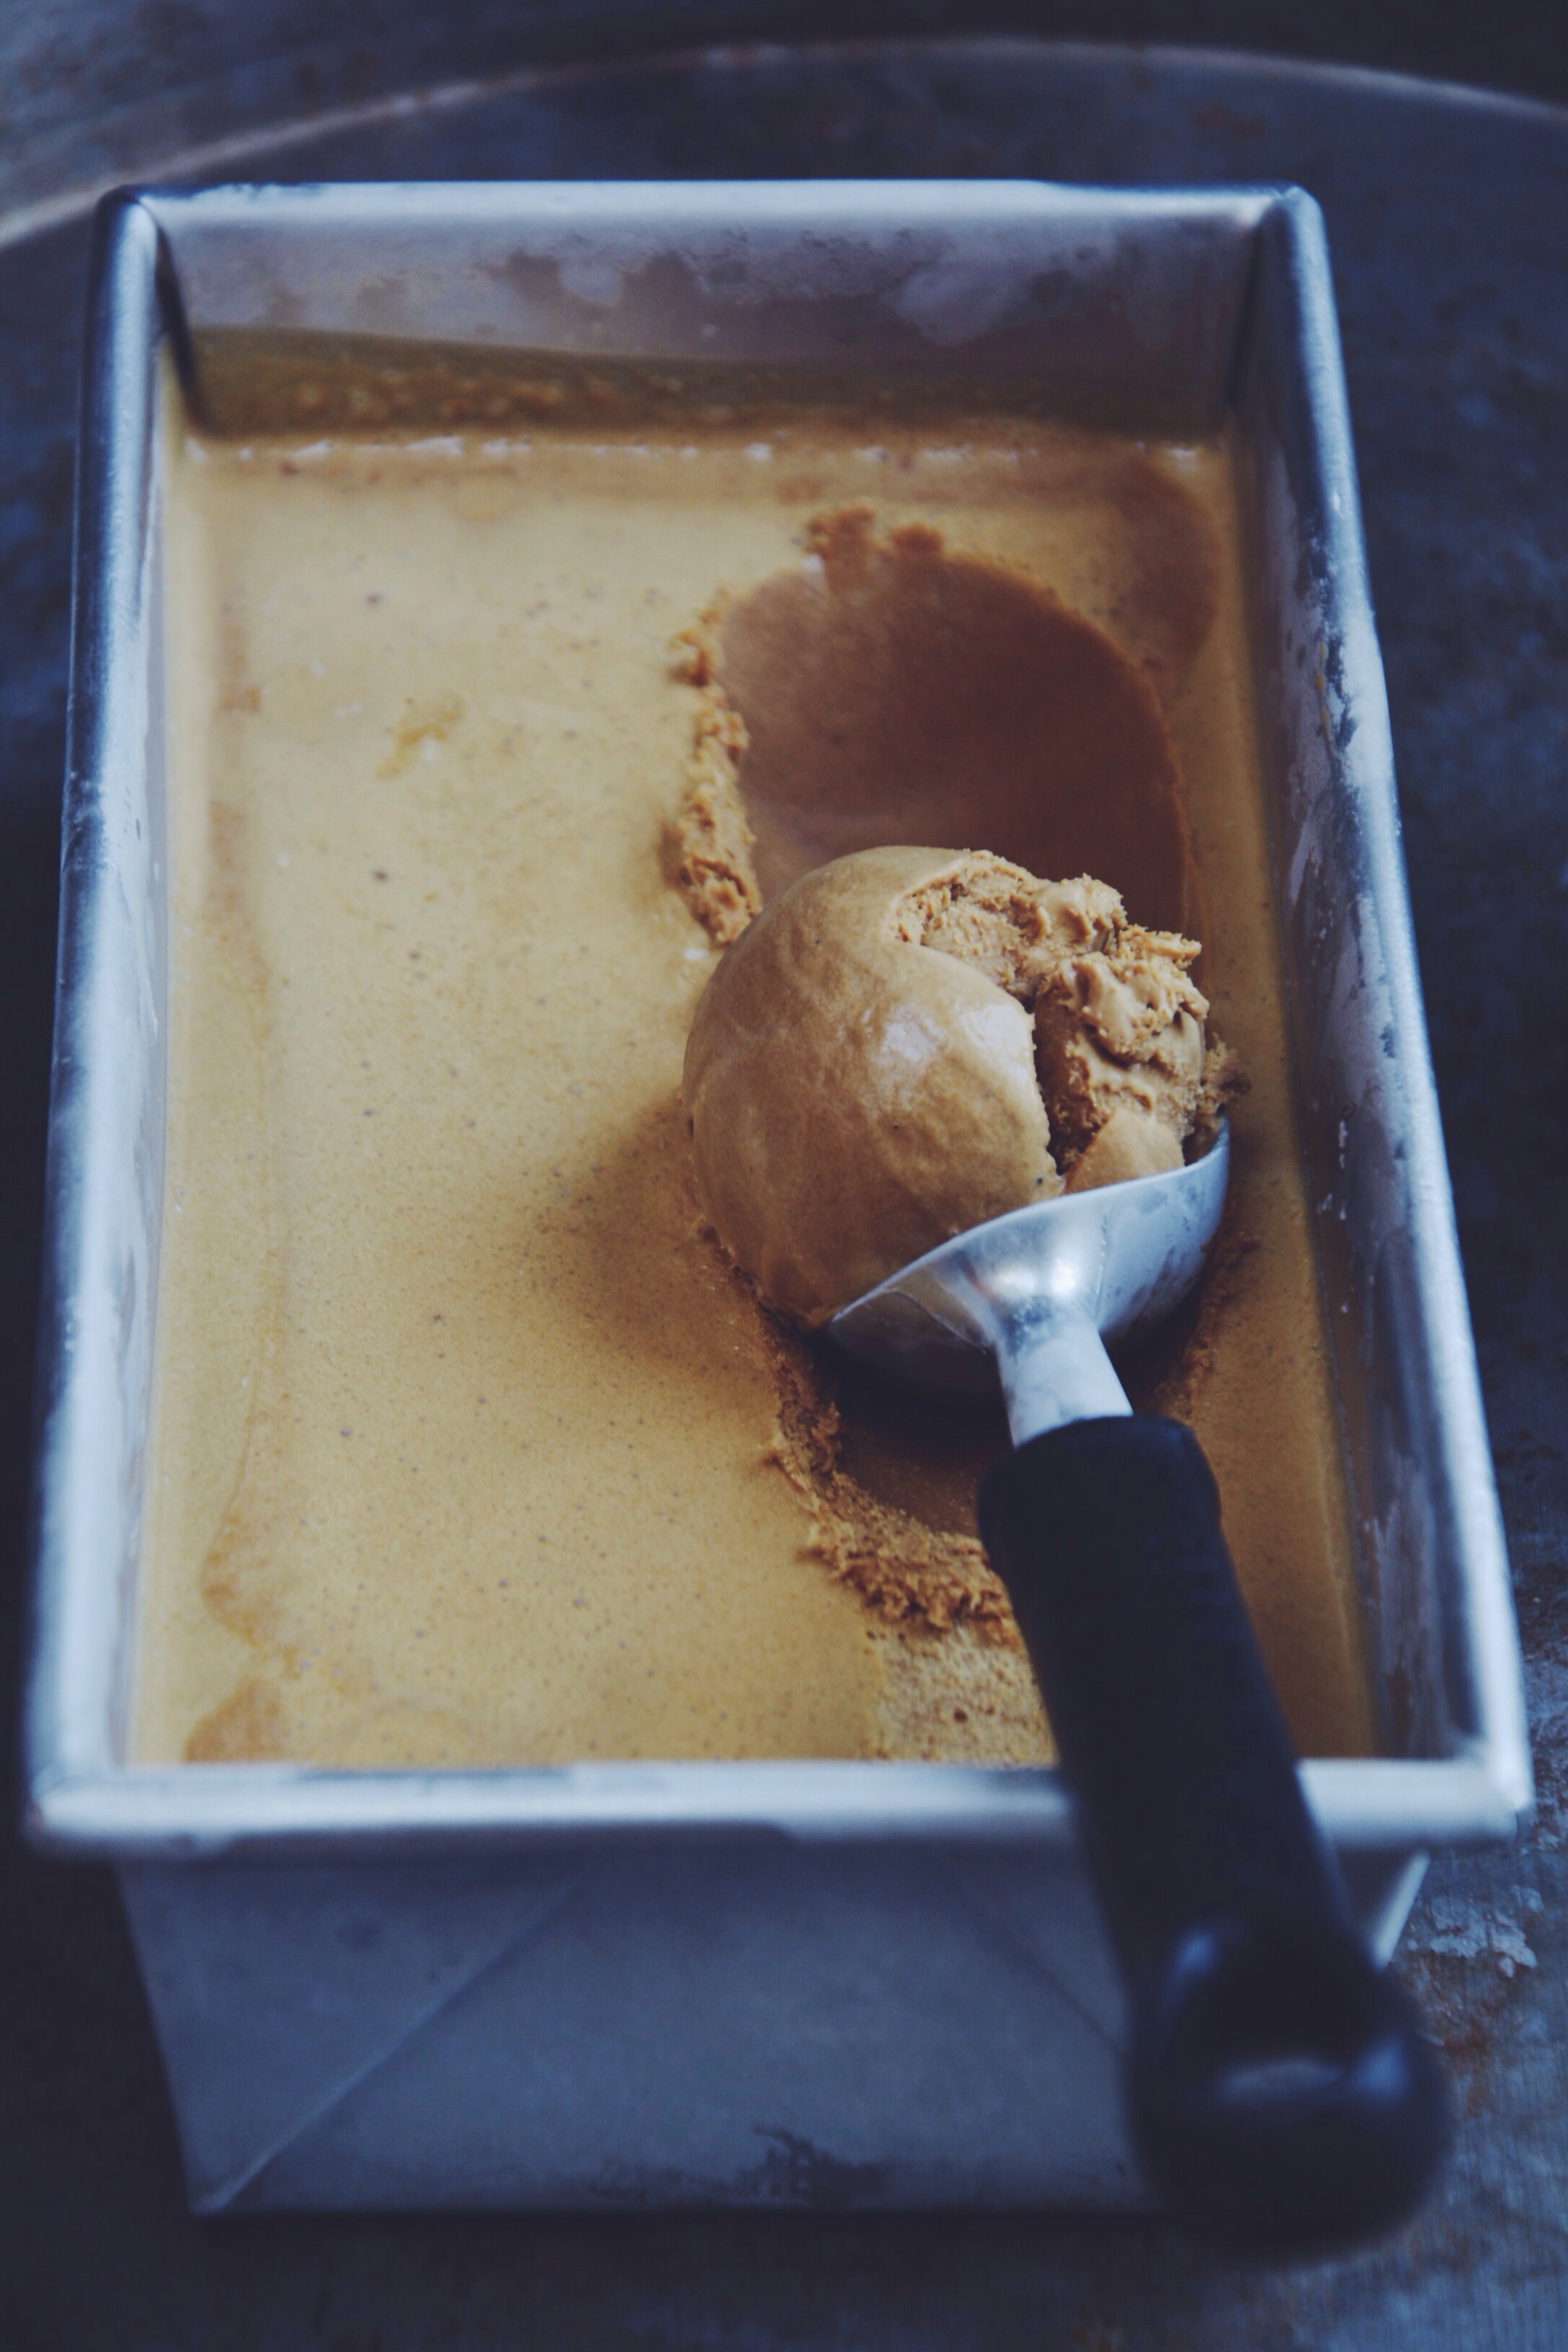
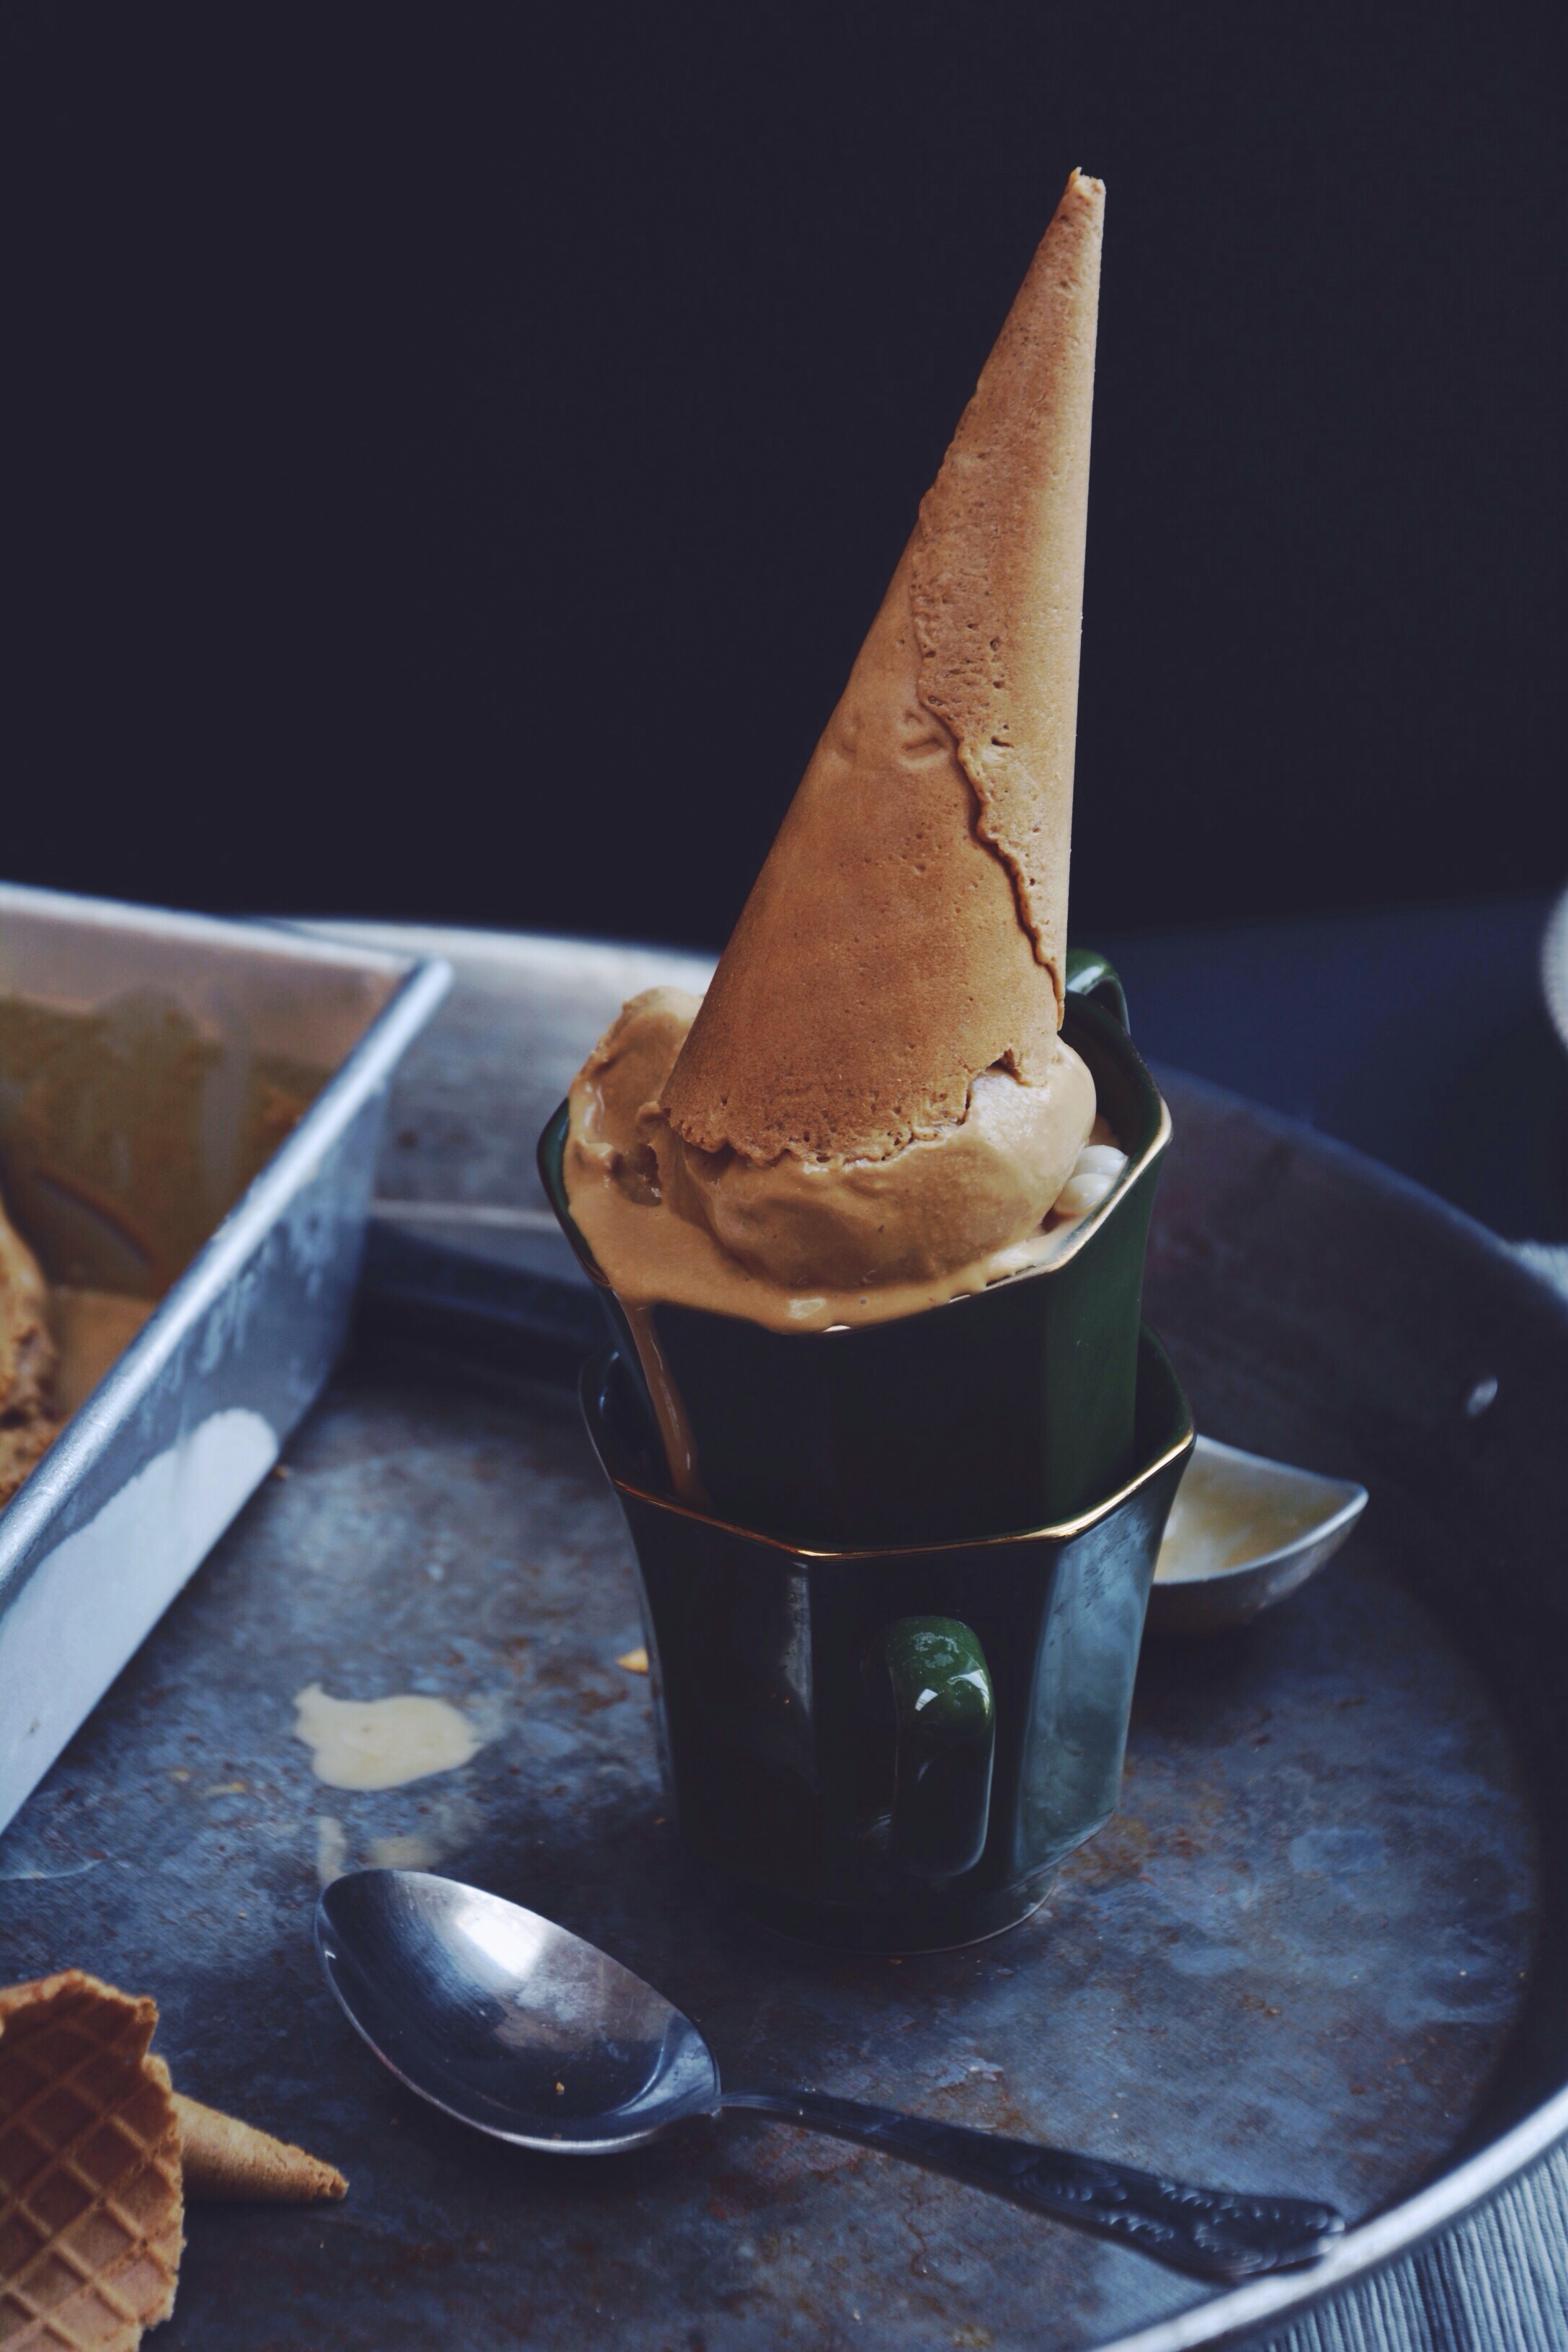
Espresso infused cream is mixed with bubbling caramel then spiked with Daim chocolate and churned to creamy perfection. The resulting ice cream is sweet but not overly so, with just the right amount of bitterness from the coffee and crunchy surprises of that Scandi favourite. The coffee in this means it’s entirely acceptable to eat this for breakfast behind closed doors. I don’t think it really gets better than this.

I can just hear some of you screaming ‘but what about donuts?!’ – coming soon my friends… just you wait.

In other news spring decided to show up, which means this song is getting its annual airtime. Enjoy!

Espresso Caramel Ice Cream | Thyme & Honey

Espresso Caramel Ice Cream

Serves 8

Ingredients

480ml double cream

240ml whole milk

1 vanilla bean, split and seeds removed

200g granulated sugar

60ml water

3 egg yolks

2 tablespoons instant espresso powder, mixed to a paste with splash of water (optional for all y’all haterz out there)

100g Daim bar chocolate, roughly chopped


Method

  1. Mix together the cream, milk, seeds from the vanilla bean and espresso paste and set aside.
  2. In a heavy pan, heat the sugar and water until it caramelises and turns dark amber in colour – around 6 minutes. Remove from the heat and whisk in the cream mixture, then quickly return to a low heat to keep warm.
  3. Whisk the egg yolks for 5 minutes until pale yellow. Temper the eggs by pouring in about 1 cup of the caramel sauce, then whisk the egg mixture back into the caramel and heat on low while stirring until it coats the back of a spoon.
  4. Remove from the heat, strain into a large bowl and leave to cool to room temperature.
  5. Once the mixture has cooled stir in the chopped Daim chocolate and simply add it to your ice cream maker and churn according to manufacturer instructions, then transfer the ice cream to a tub and freeze for at least 3 hours or overnight to firm up.

Keeps for one week.

Brown Butter Banana Bread

I’ve been told the three most stressful things in life are death, divorce and buying a house.

Brown Butter Banana Bread | Thyme & Honey

I’ve sadly experienced death, luckily never divorce and for the first time ever I am finding out what it’s like to buy and build a home. I’m basically at the mercy of arrogant estate agents who haven’t got the time of day in a seller’s market, in a city where buying a house is like some kind of competitive sport. Like a 200m sprint for a period conversion close to a tube station. And what’s with all the phone calls? Have any of these property negotiators heard of email? SIGH.

It is a stress that prior to a few weeks ago I never knew, which is why I’m now feeling very stupid having scoffed when my dad warned me about the absolute ball ache that buying a house is. Why can’t buying a house just be easy, a good old fashioned spit and shake on the sale? WHY?

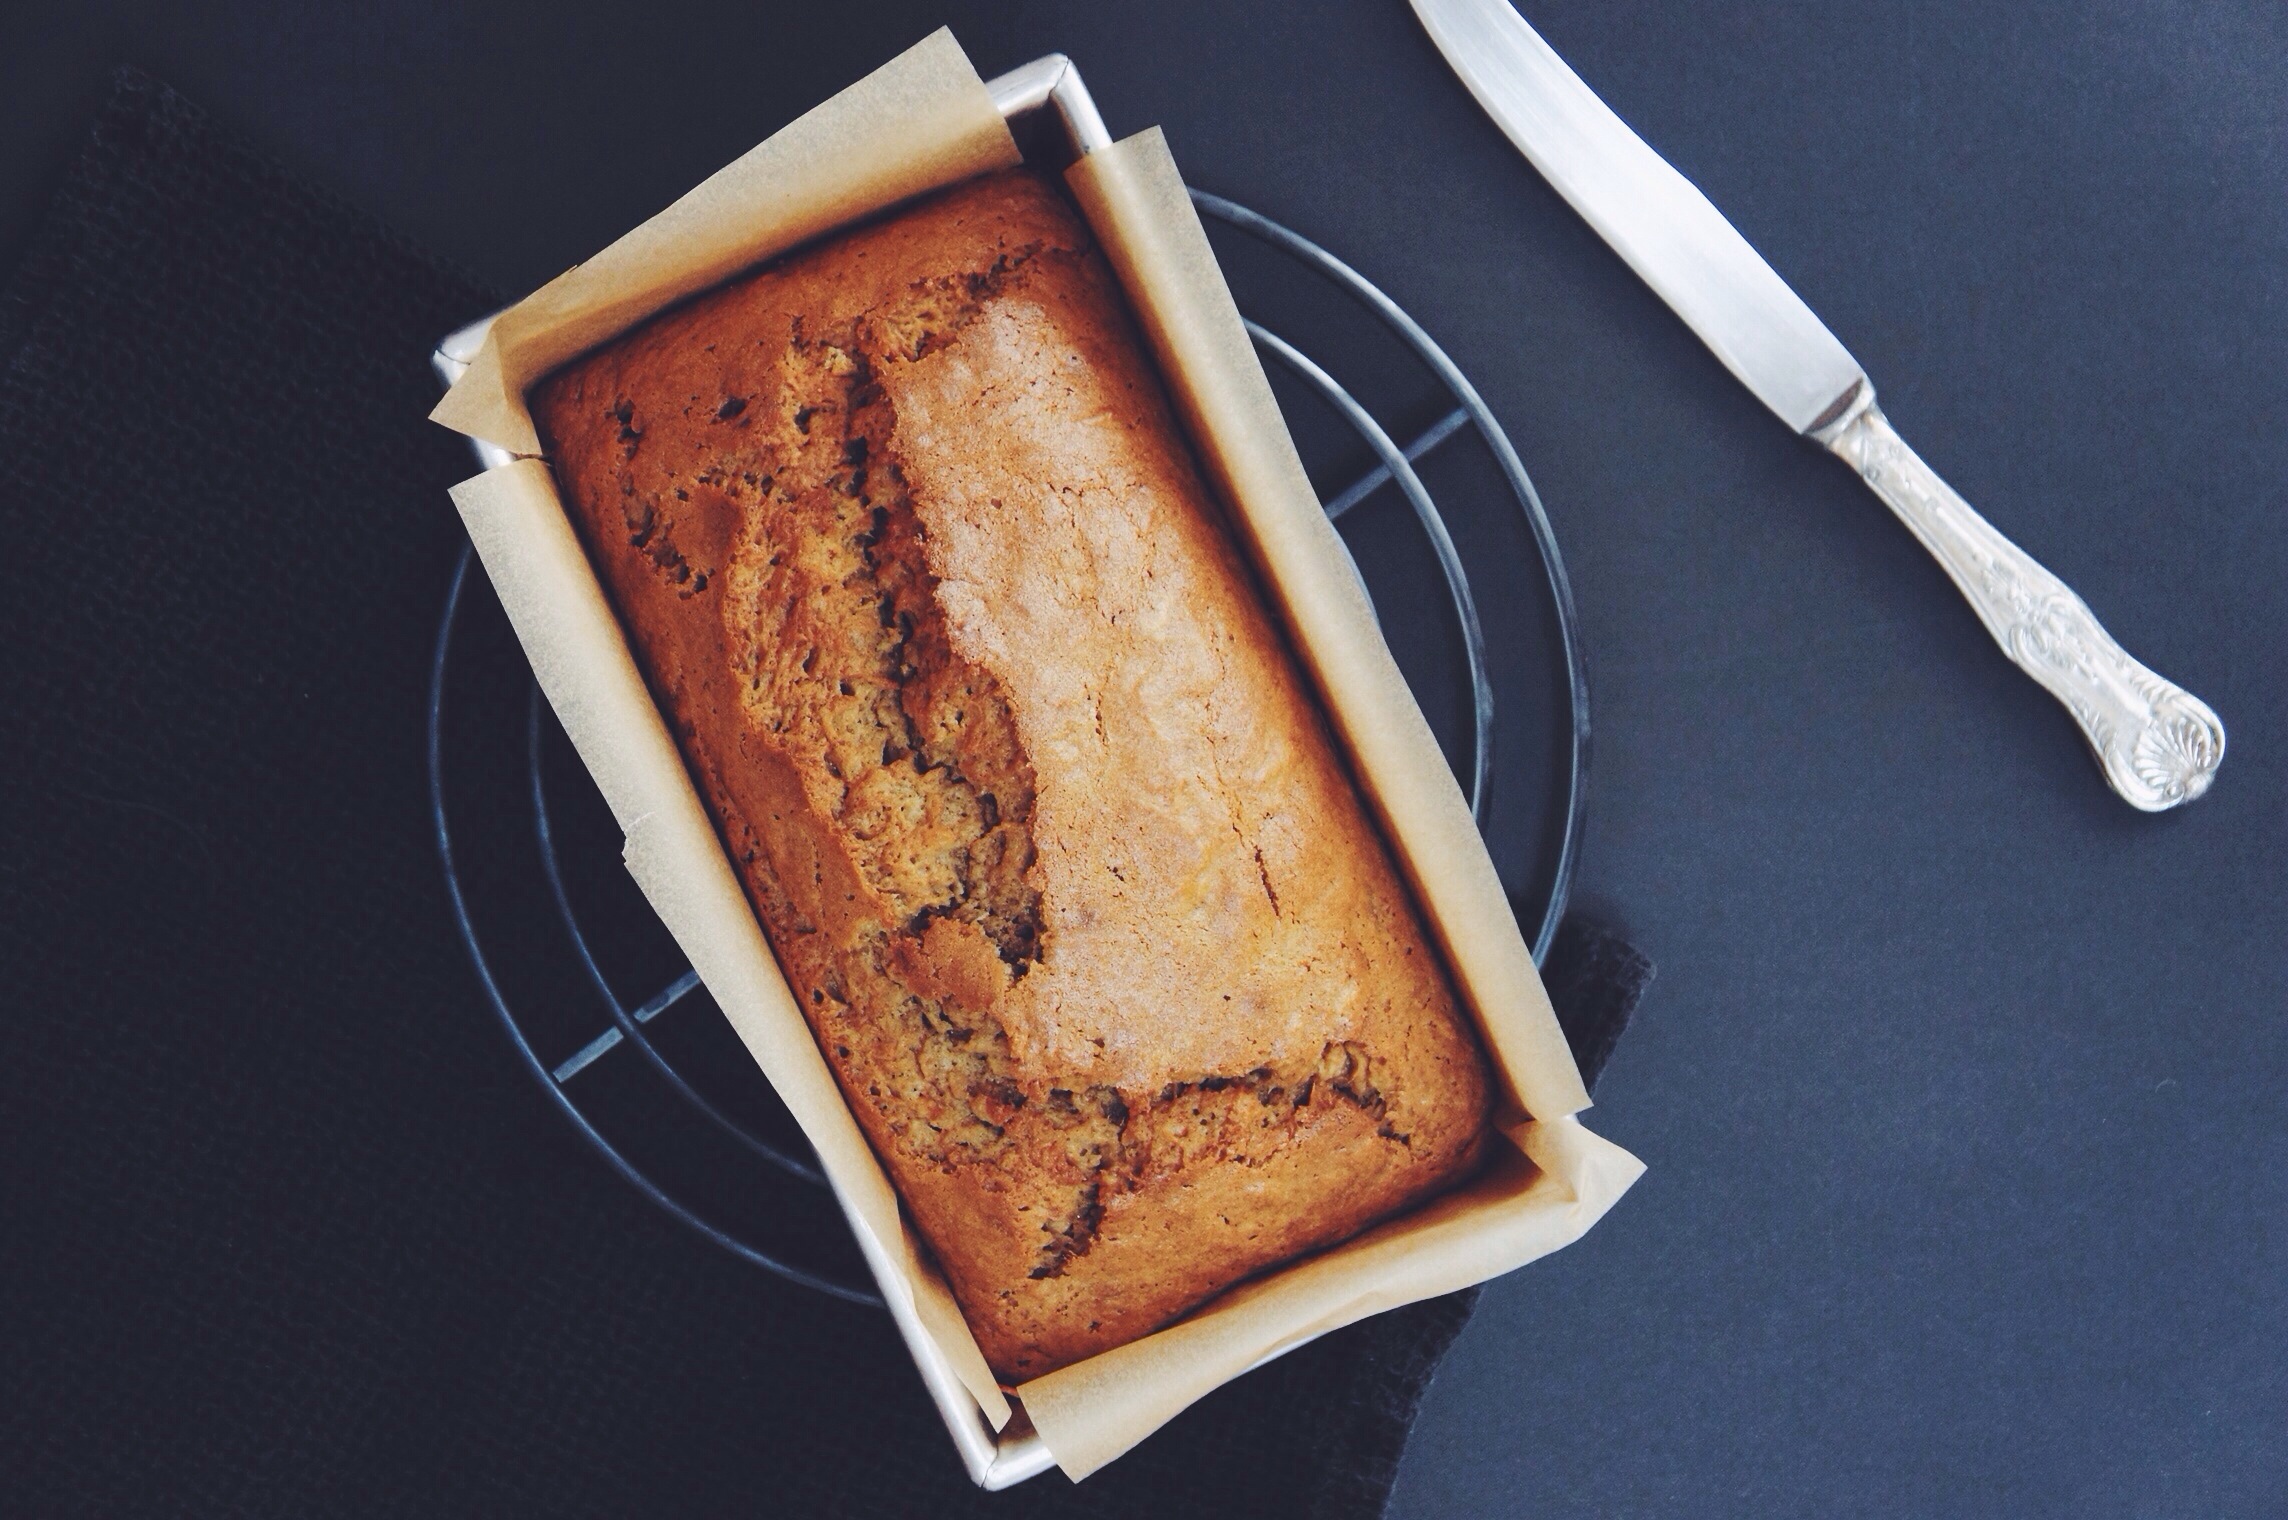
Anyway, thanks to the aforementioned stress I’ve been under, I’ve been keeping it simple in the kitchen recently. Baking is therapeutic, and banana bread is the epitome of simple. Plus it gives me a great excuse to ignore calls from estate agents.

Enjoy!

Brown Butter Banana Bread | Thyme & Honey

Brown Butter Banana Bread

Makes one 9x5" loaf

Ingredients

175g unsalted butter

240g all-purpose flour

1 teaspoon bicarbonate of soda

1/2 teaspoon salt

2 large eggs

60ml buttermilk

1 teaspoon vanilla bean extract

350g ripe banana, roughly mashed with a fork

175g dark brown soft sugar


Method

  1. Preheat oven to 180°c (160°c FAN) and prepare a loaf tin with parchment paper
  2. First brown the butter. On a medium heat melt the butter, whirling the pan occasionally. It’ll crackle and pop for a while, then it will stop. Give it a few swirls then pour it into a bowl to stop it from burning and to allow it to cool slightly.
  3. Whisk together the flour, salt and baking powder in one bowl, then in another whisk together the eggs, vanilla and buttermilk.
  4. Add the sugar and whisk well, then add the banana and finally the brown butter. Next add the dry ingredients to the wet ingredients and whisk roughly.
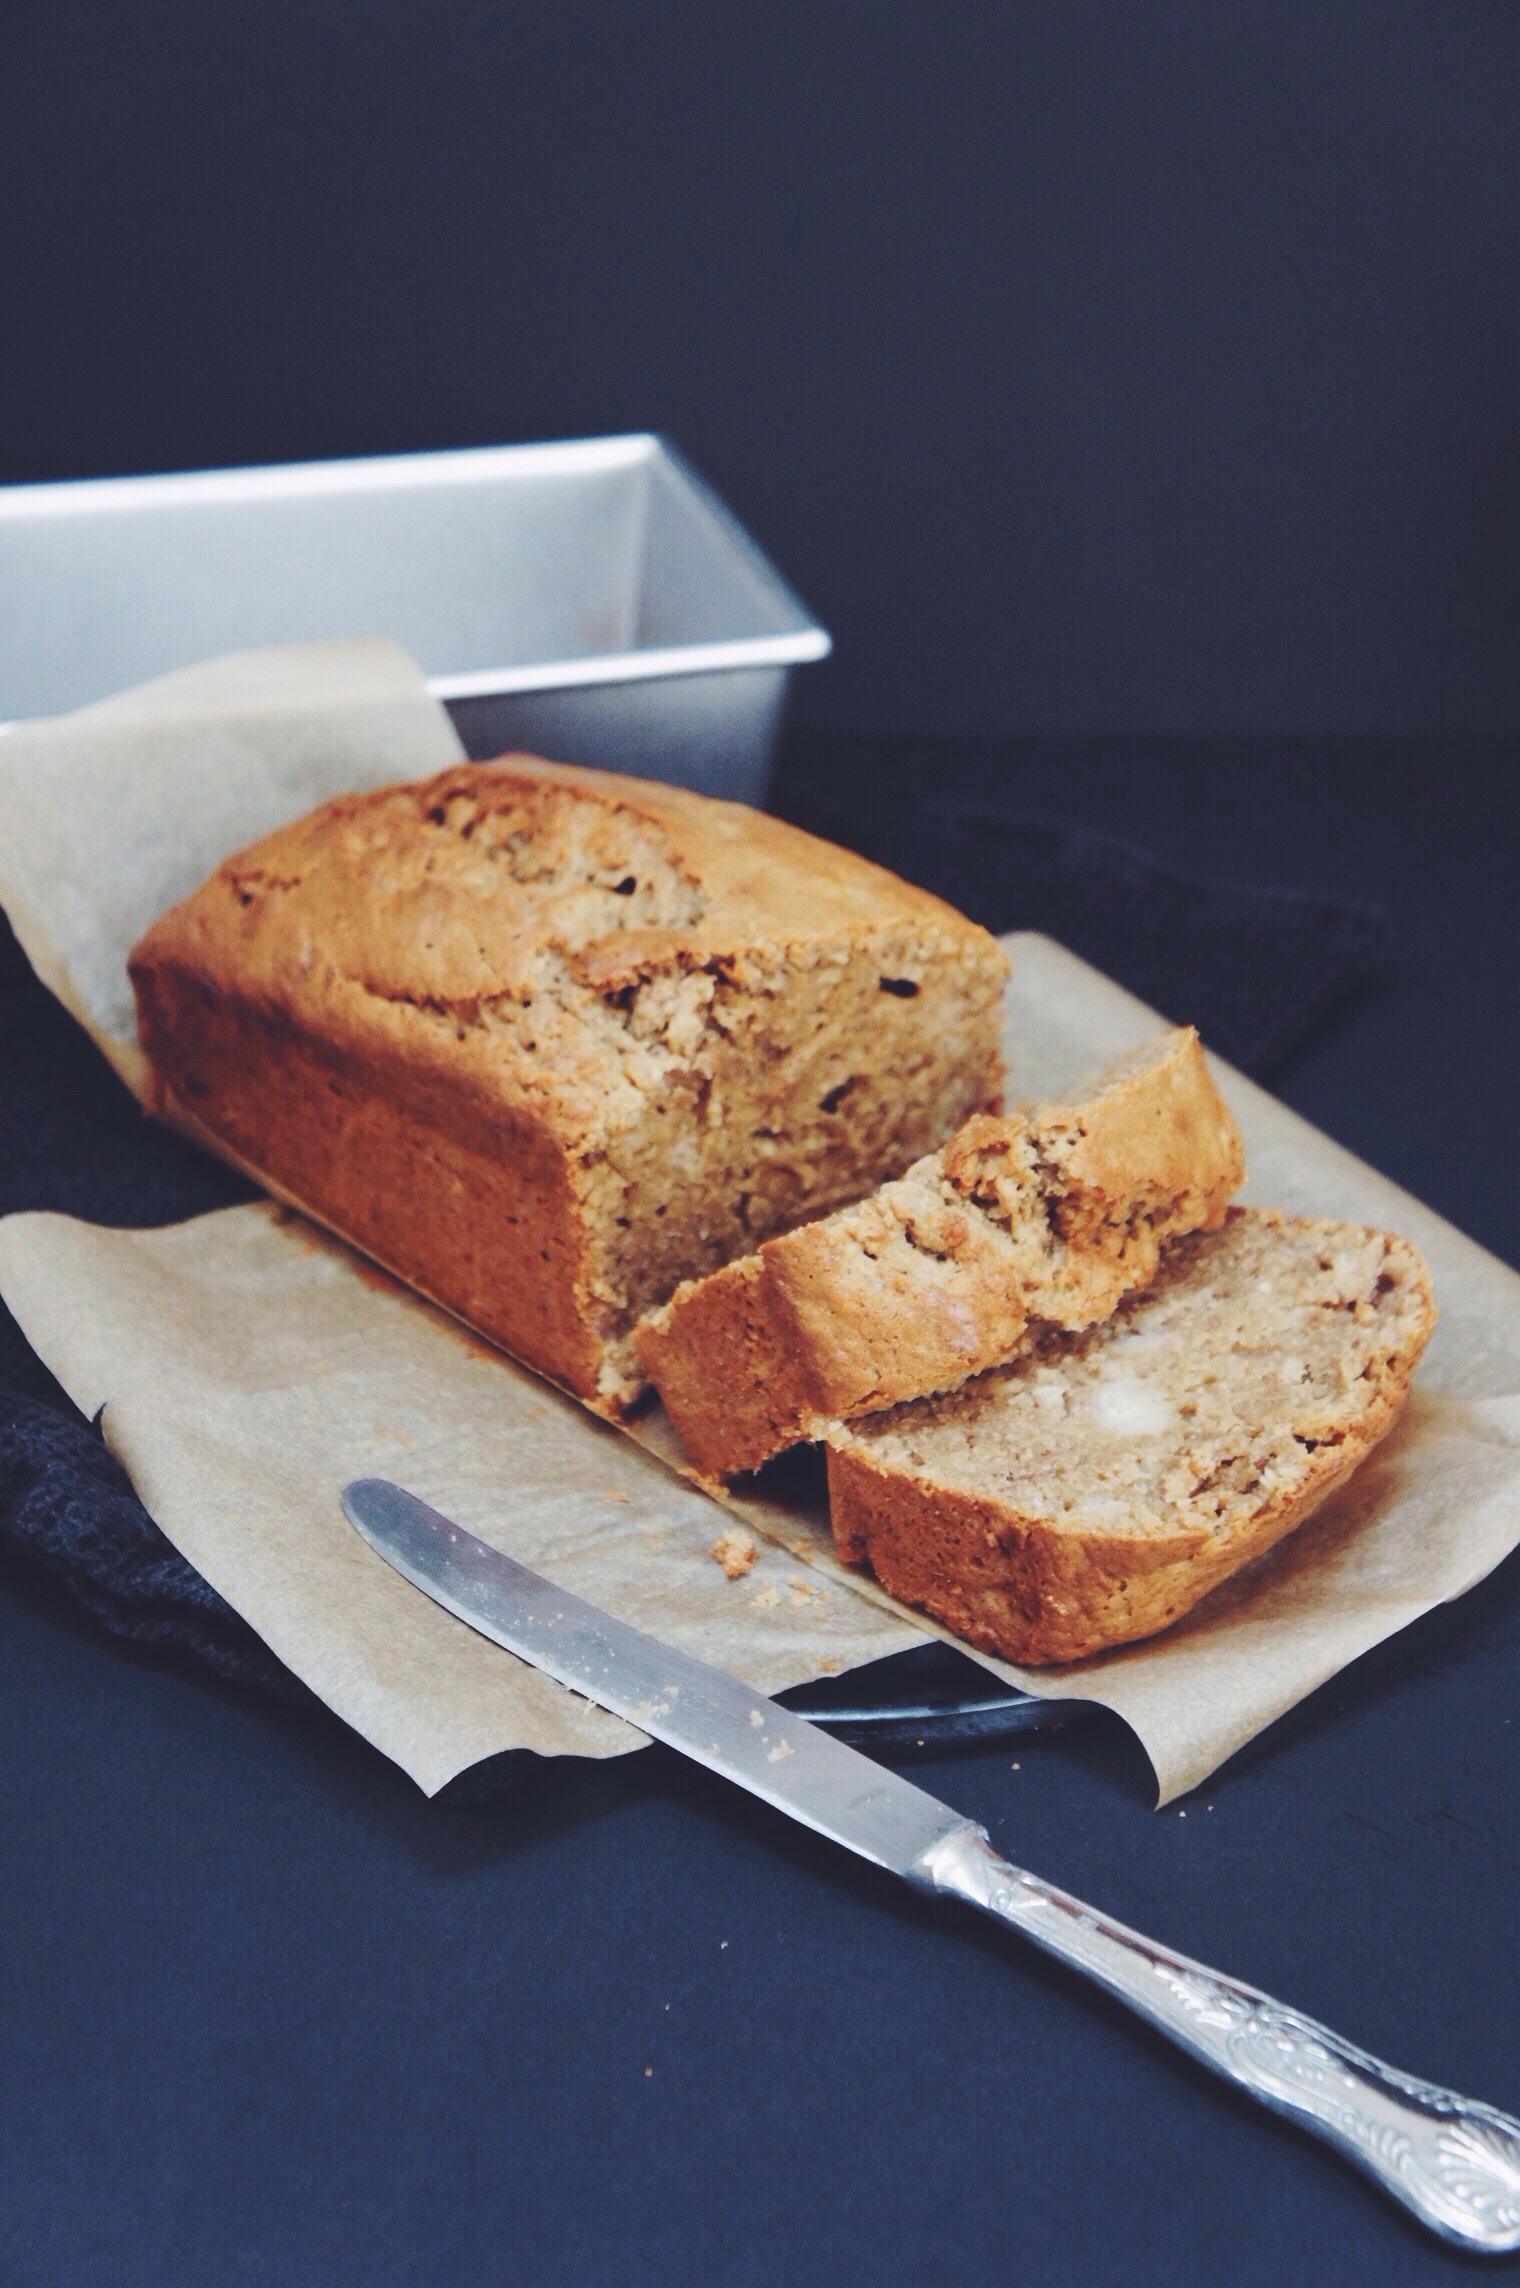
  5. Pour into your loaf tin and bake for 1 hour or until a toothpick comes out clean. Cut into mega thick slices and serve with butter. Lots and lots of butter.
Cinnamon Pull-Apart Buns

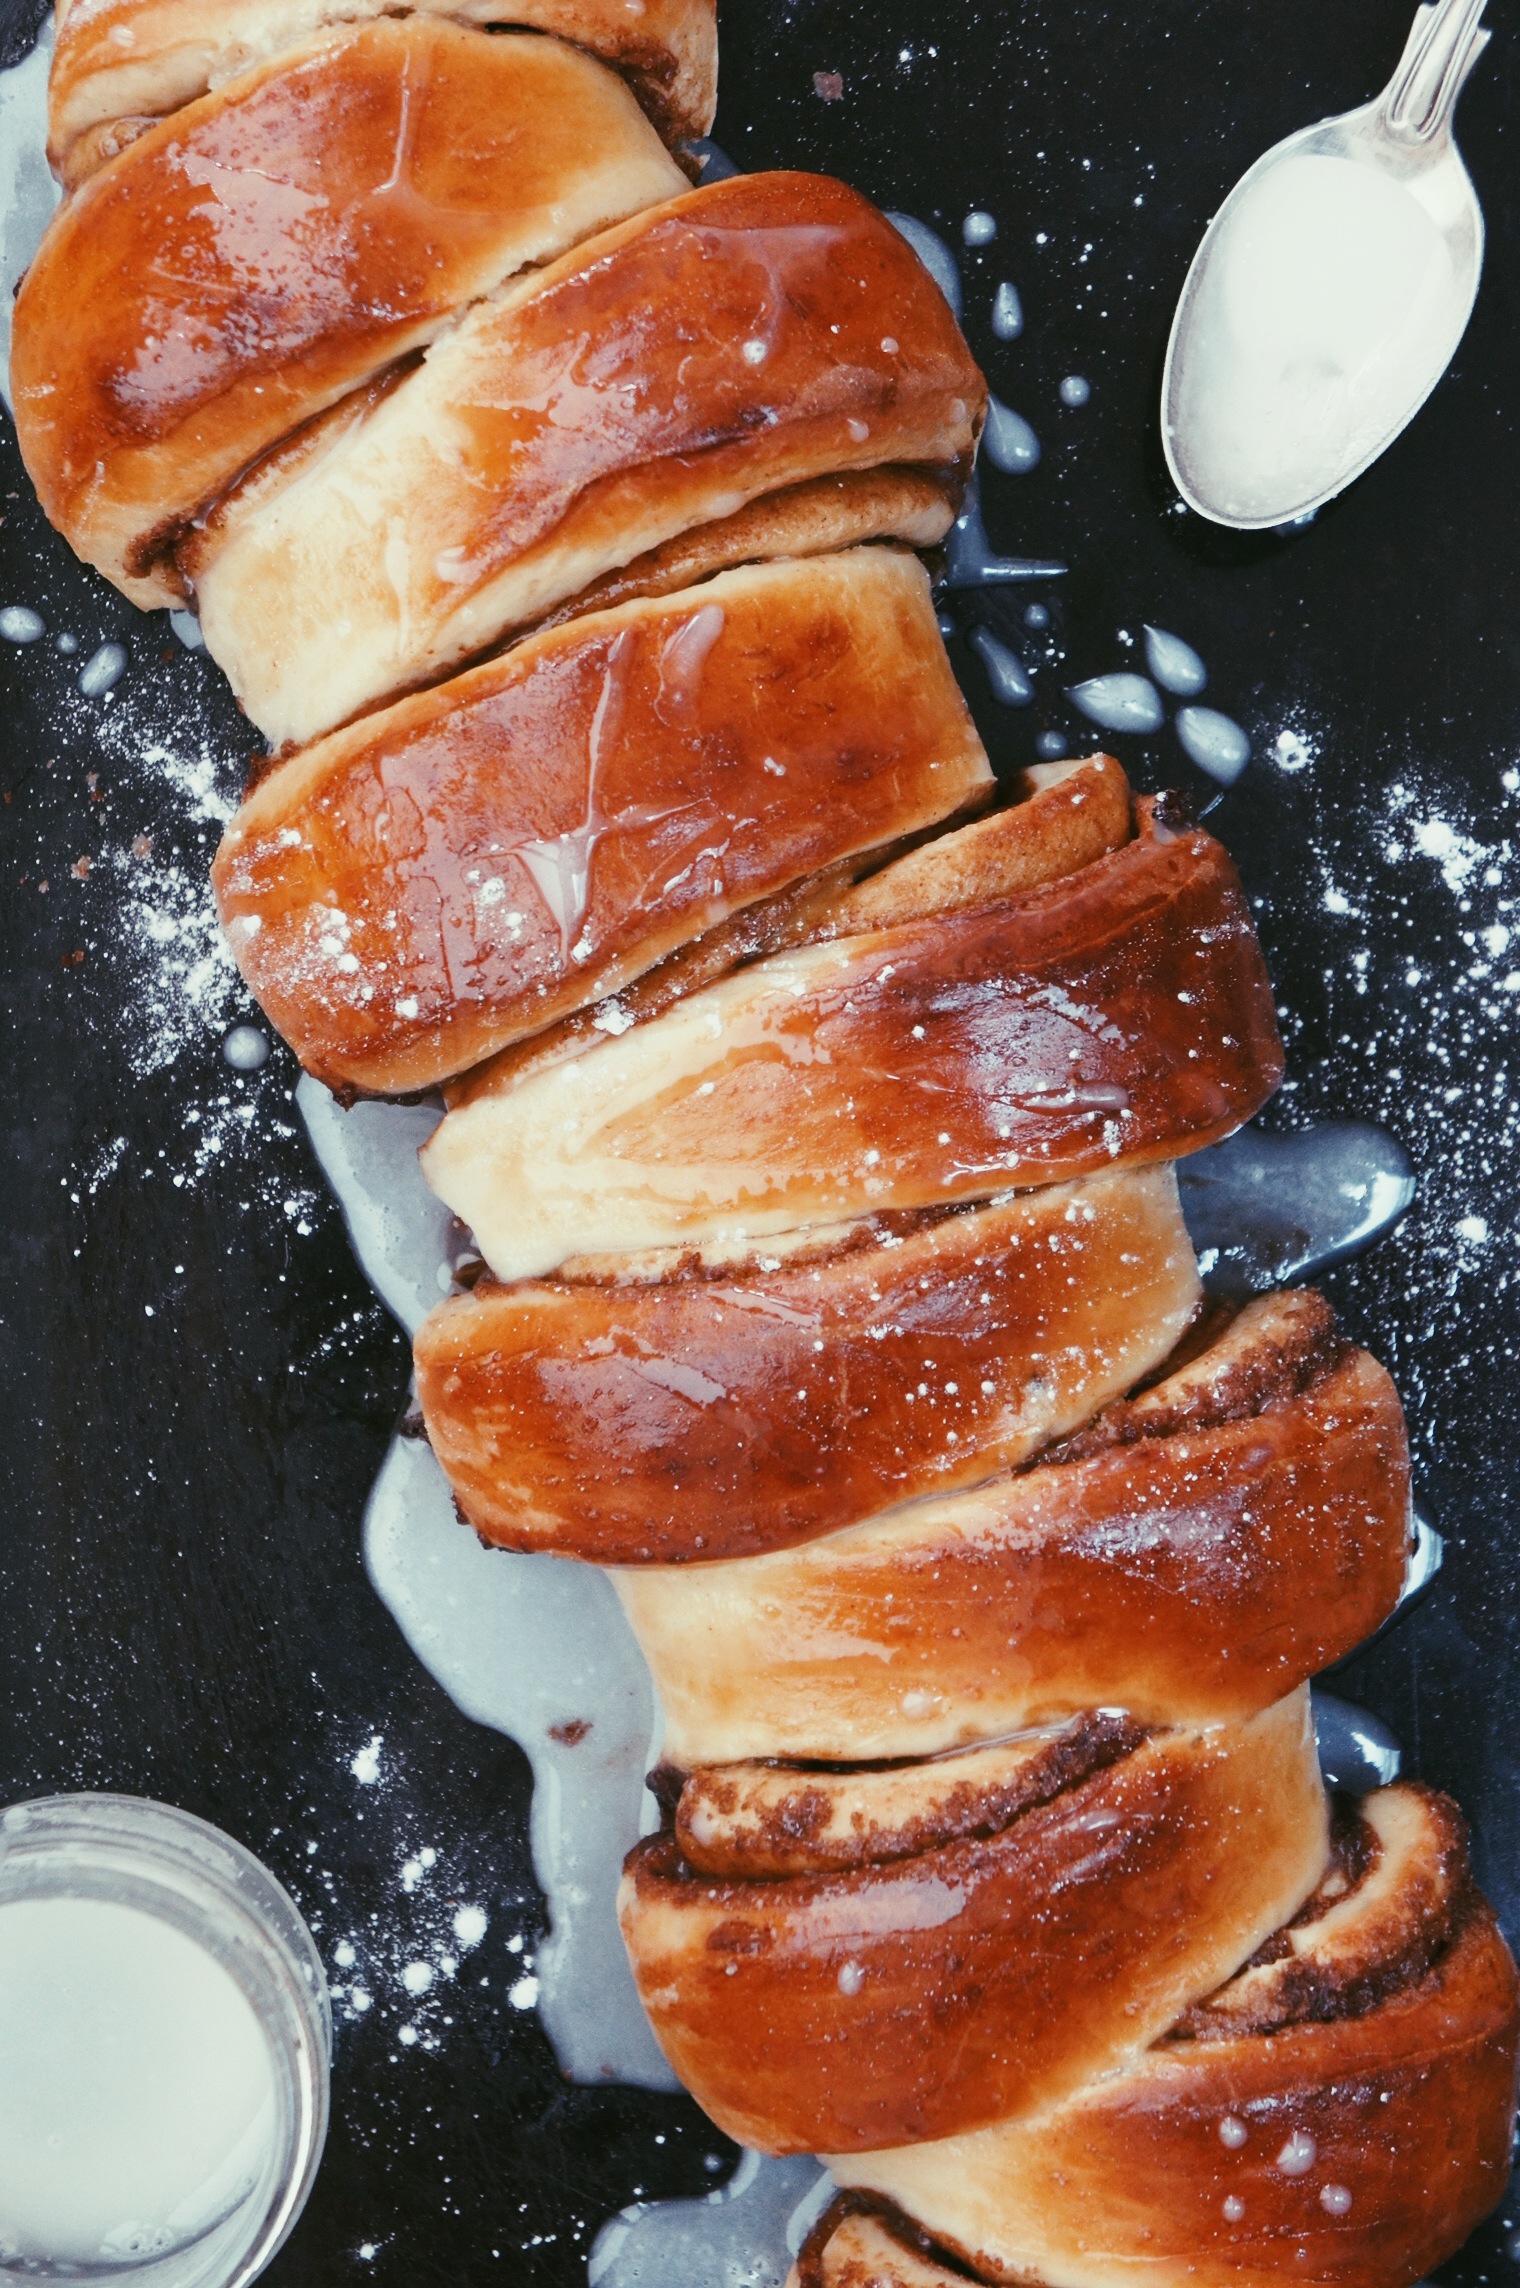
Hi! So it’s Tuesday and we should talk about cinnamon buns. 

If I were to rate my attempt at sticking to my New Year’s resolutions on a scale of 1 to 10, 10 being absolutely feeble, then I’d most definitely be sitting at 9.5. These cinnamon buns have been my undoing. Has it been worth it?
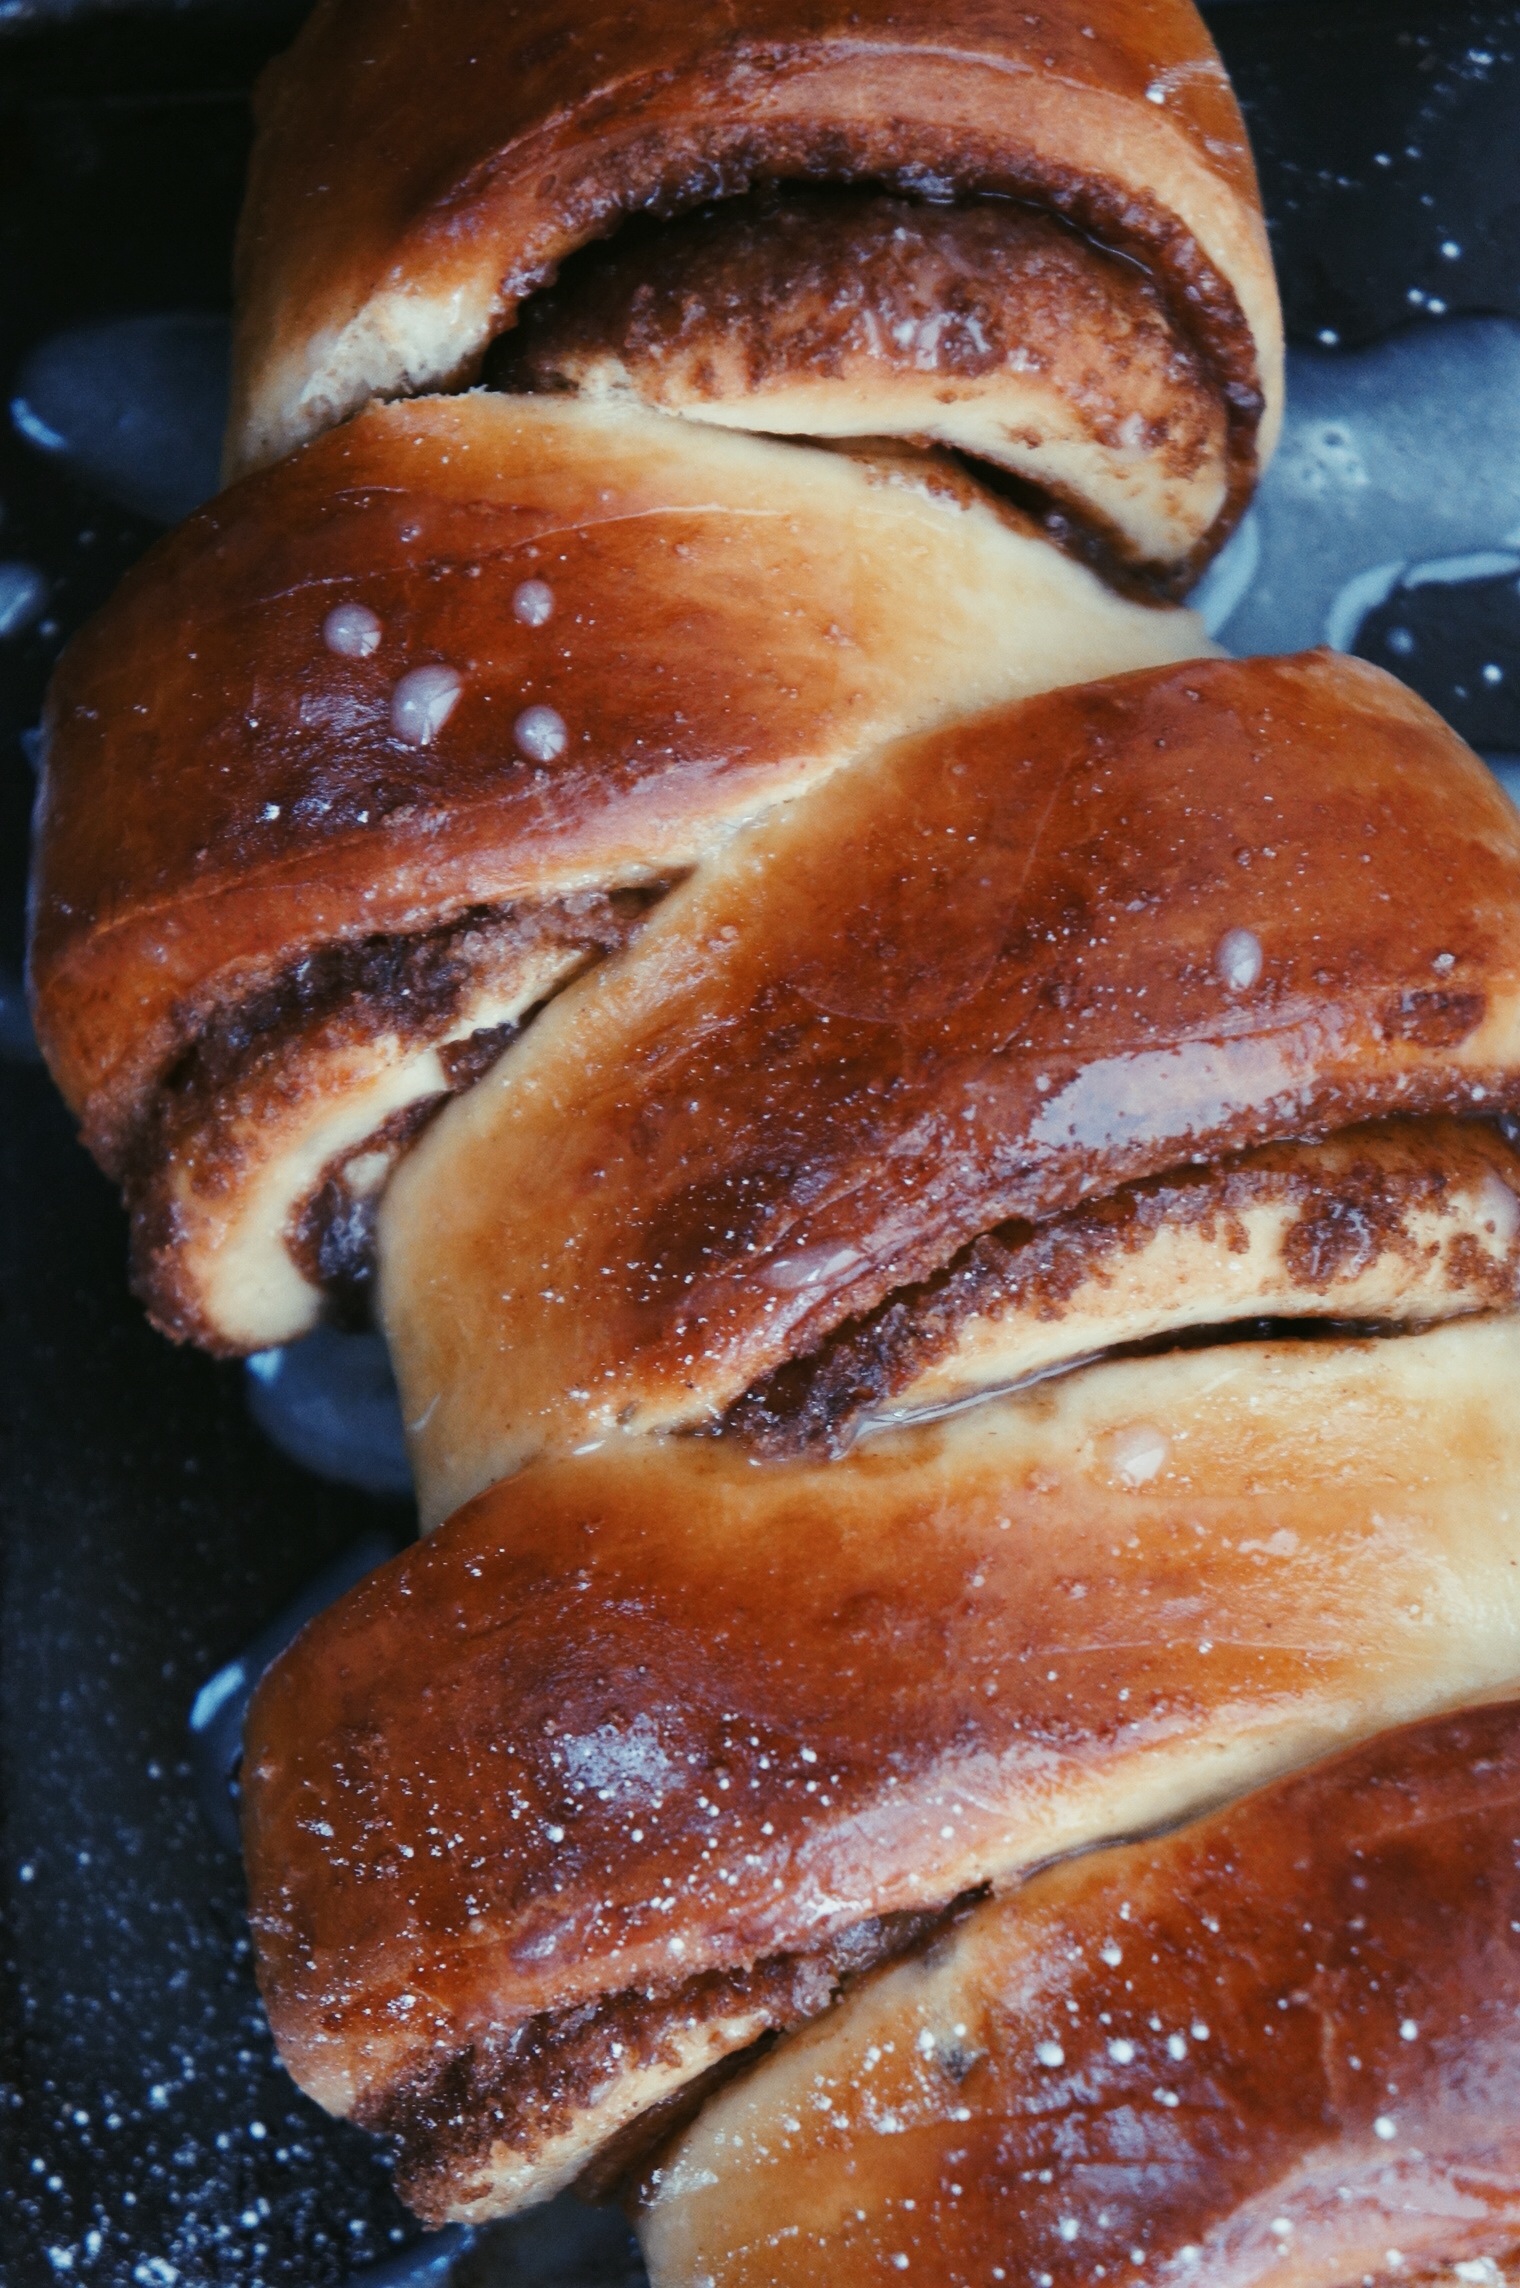
Trick question. As far as sweet pastries go I’ve always been a Danish/Cinnamon Swirl kinda gal. I mean, what is not to love? If you were even going to try and answer that then just go, go right now and don’t come back. Because what you’re about to see should probably be illegal.

I’m going to go ahead and pad this post out with a string of adjectives. Scroll down for the good stuff.

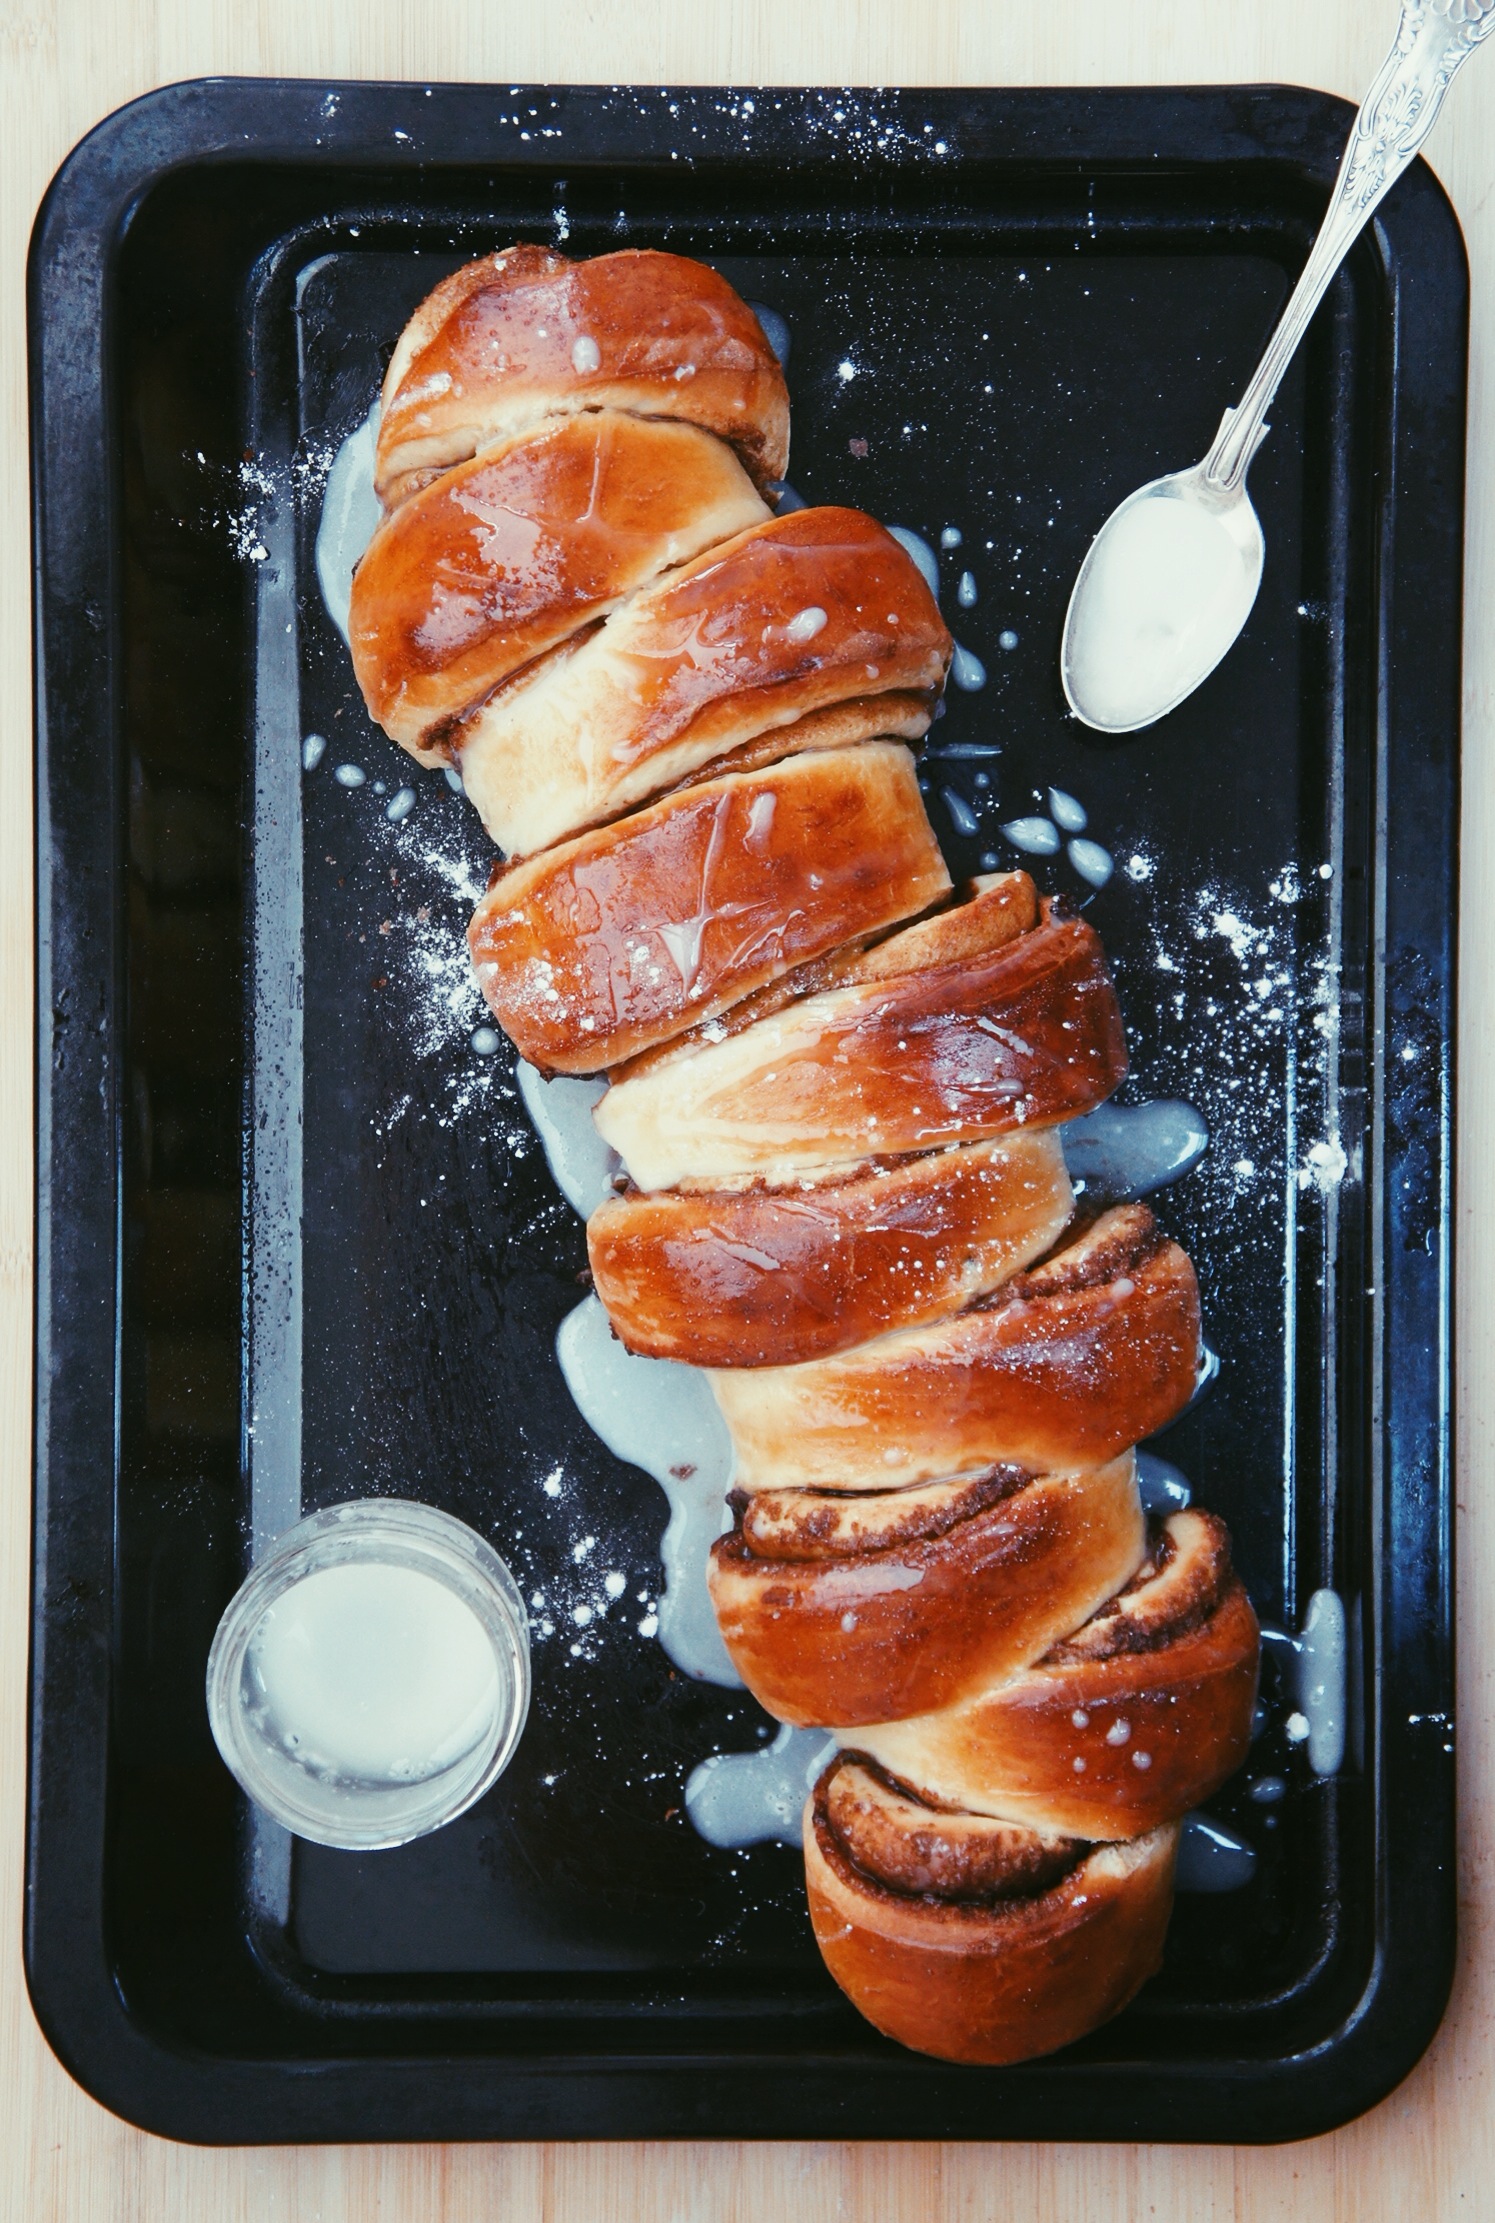
Beautiful, blissful, freshly baked and fresh out of the oven, a pleasurable fit for the gods. Fluffy on the inside, sticky, sweet, scrumptious and if we’re serious, sinful. Swirled, glazed, homemade and indulgent. Ladies and gentlemen I give you, Cinnamon Pull-Apart Buns.

Cinnamon Pull-Apart Buns

Makes 10-12 buns

Adapted from Joy the Baker and Pinch of Yum

Ingredients

For the dough:

Half a sachet (3.5g) active dry yeast

60ml warm water

120ml whole milk, scalded

100g caster sugar

1/2 teaspoon salt

480g all-purpose flour

2 eggs, beaten

60g unsalted butter, melted

75g sultanas

For the filling:

30g unsalted butter, room temperature

1 heaped tablespoon ground cinnamon

135g brown sugar

For the sticky glaze:

1 egg, beaten (to brush)

6 tablespoons icing sugar

3 tablespoons whole milk


Method

  1. Add the yeast to warm water and stir to dissolve. Leave for a few minutes until it begins to froth, then transfer it to the bowl of a stand mixer fitted with a dough hook attachment. Add 120g of the flour, sugar, salt, beaten eggs and the hot milk and mix on a low speed for a few minutes until the dough has come together, then add another 180g of flour and turn the speed up a bit until it’s been incorporated. Finally add the melted butter and the remaining 180g flour and knead the dough for around 5 minutes. The dough will be super sticky and elastic, but panic not! Scrape (literally) the dough into a lightly greased bowl, cover with clingfilm and leave to rise in a warm spot for an hour.
  2. After an hour of proving, tip the dough out onto a lightly floured surface and with your hands, knead in the sultanas. Work the dough for 5 minutes or so until it is springy and pliable, and doesn’t stick to the work surface. Shape the dough into a ball, place back in the bowl, cover and leave to rise for another 30 minutes.
  3. After the second prove, take the dough and roll out onto a lightly floured surface. Roll it into a rectangle around half an inch thick and transfer to a sheet of parchment paper. Spread the softened butter over the entire surface of the dough. Mix together the sugar and cinnamon then sprinkle it gently dump it all over that beast of glory and spread evenly. NOTE: the amount of sugar in this recipe results in oozing, sticky, delicious cinnamon buns. If you’re not into that, then please click the top right button… or left if you’re on a Mac.
  4. Roll the dough away from you into a log and sit seam-side down. Cover with a clean dish towel and leave to rise for another 20 minutes – I know, the suspense is killing me too. Preheat the oven to 200°c to pass the time.
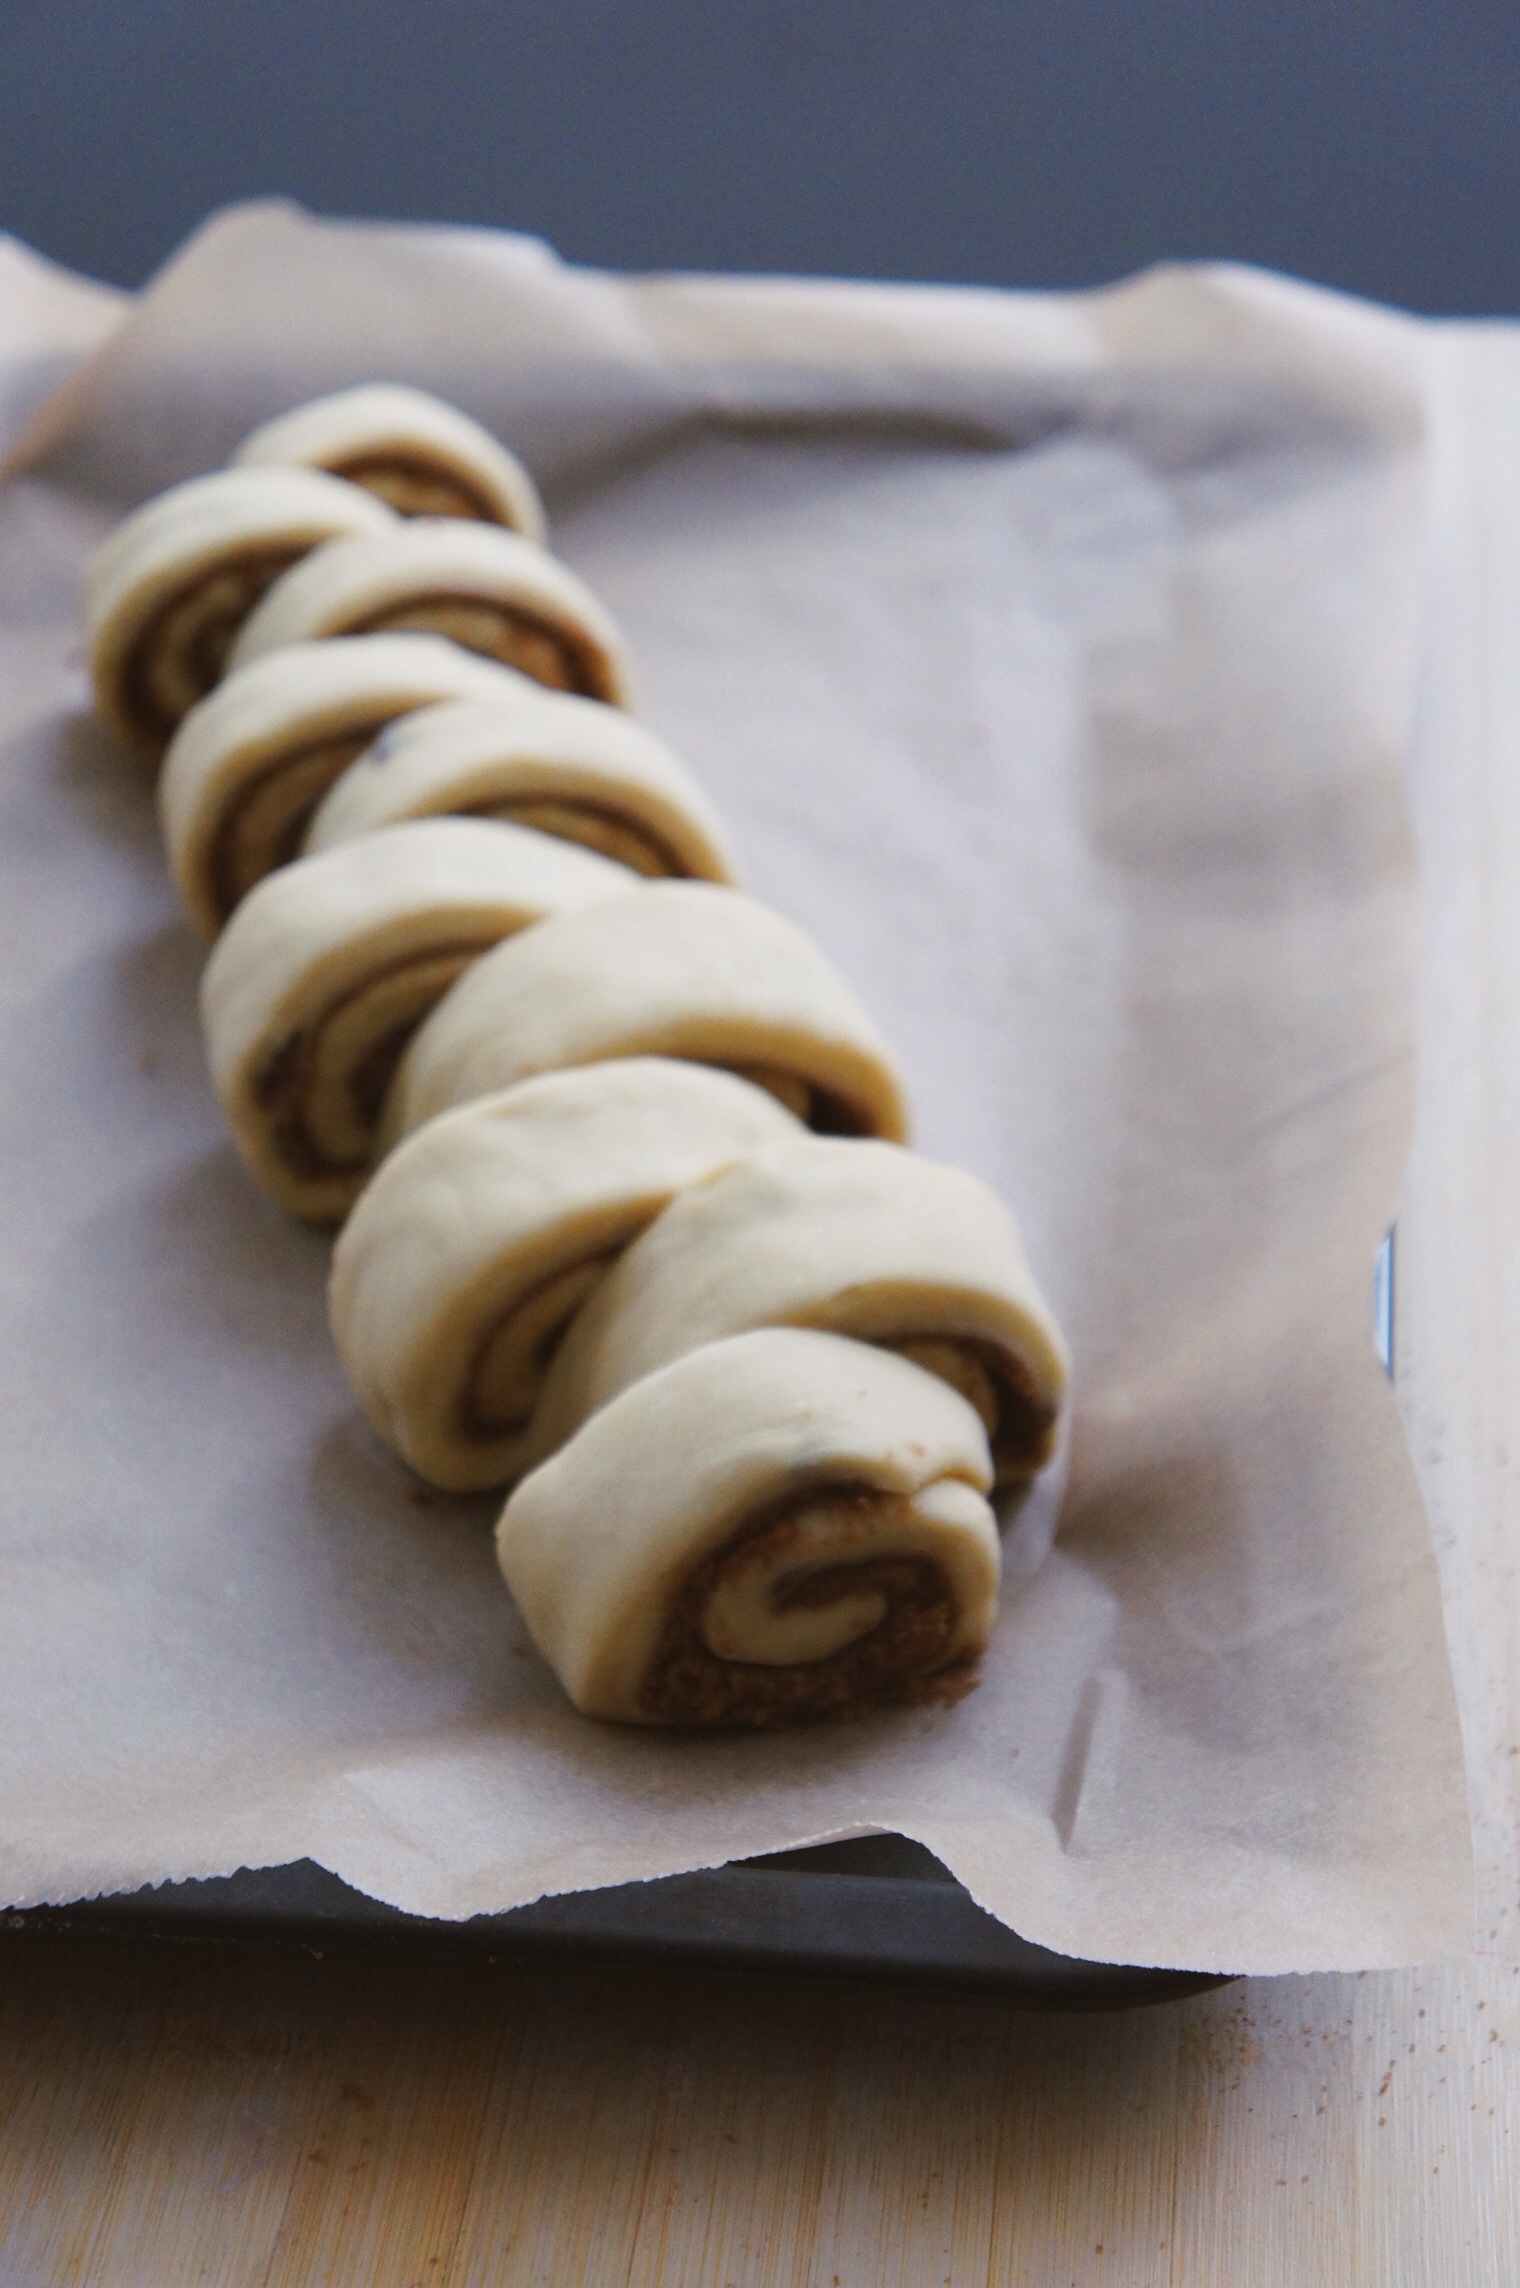
  5. FINALLY – it’s time. Slice the dough-log-thing almost all of the way to the bottom, leaving about an inch between each slice. You should get between 10 to 12 slices. Then arrange each cut section so that they lean to alternate sides. Brush the dough all over with the beaten egg. Slide the parchment paper with the cinnamon buns onto a baking sheet.
  6. Bake in the middle of the oven for 20-25 minutes until puffed up and golden and oozing and until the house smells so damn good you literally can’t handle life any more. I’m so sorry for sharing this with you.
  7. Sticky glaze:
  8. Whisk together the icing sugar and milk and drizzle all over the cinnamon buns. For a thicker glaze use more icing sugar.
  9. Pull-apart and die happy.
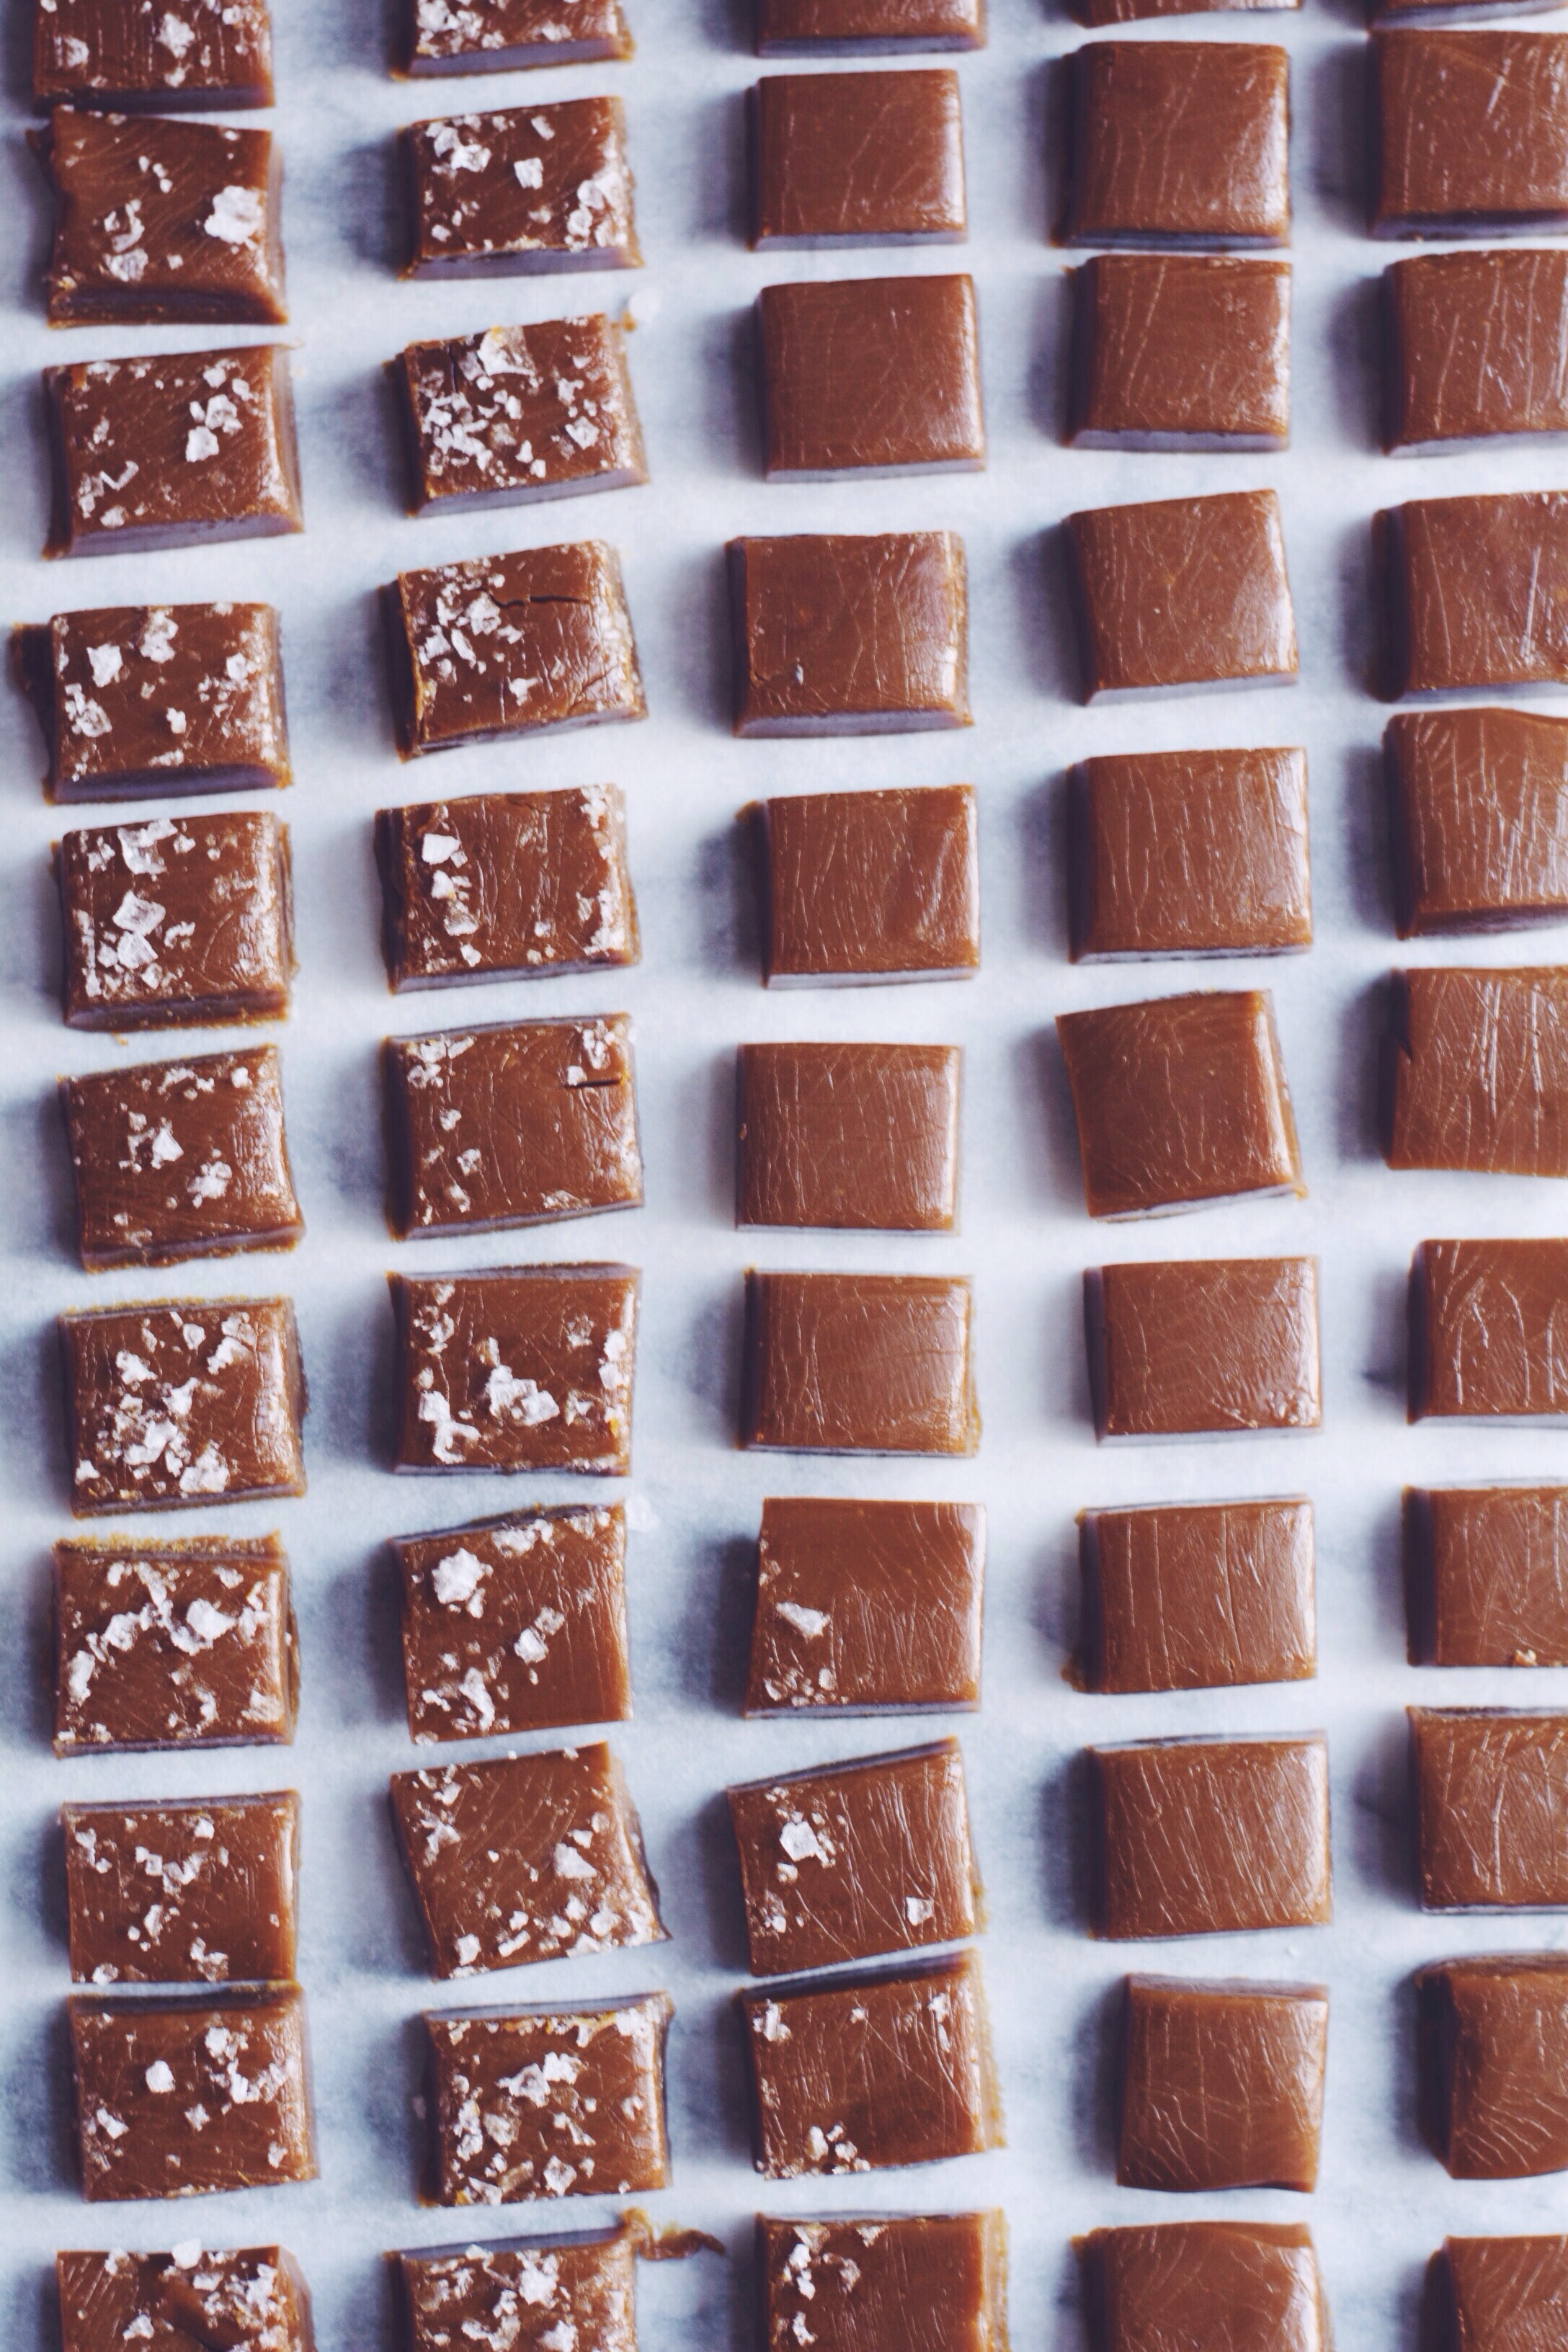
Salted Butter Caramels

So it’s getting to that time of year… the BEST time of year. Fine, I won’t start wearing my Christmas jumpers and cheer until the 1st December, but I will start prepping for Christmas lunch (yes, really) and thinking about gifts. Haters gonna hate.

Salted Butter Caramels | Thyme & Honey

A few years ago I made homemade gifts for some of my friends, partly because I was totally broke yet didn’t want to come across as a total Scrooge. This was back when salted caramel was having a ‘thing’ and everywhere I looked there was salted caramel this and salted caramel that. It seemed like a sign, so off I went and picked up a cheap candy thermometer to get the party started. The resulting caramels were deeelicious, and received as thoughtful and “so cute”. Winning.
Finding myself in a similar predicament to that cold and penniless Christmas, I’m getting my Martha Stewart on once again and am planning an array of homemade treats to gift to friends. I’m thinking jams, nut butters, cookies – the works. And these devilishly buttery salted caramels are definitely making a comeback.
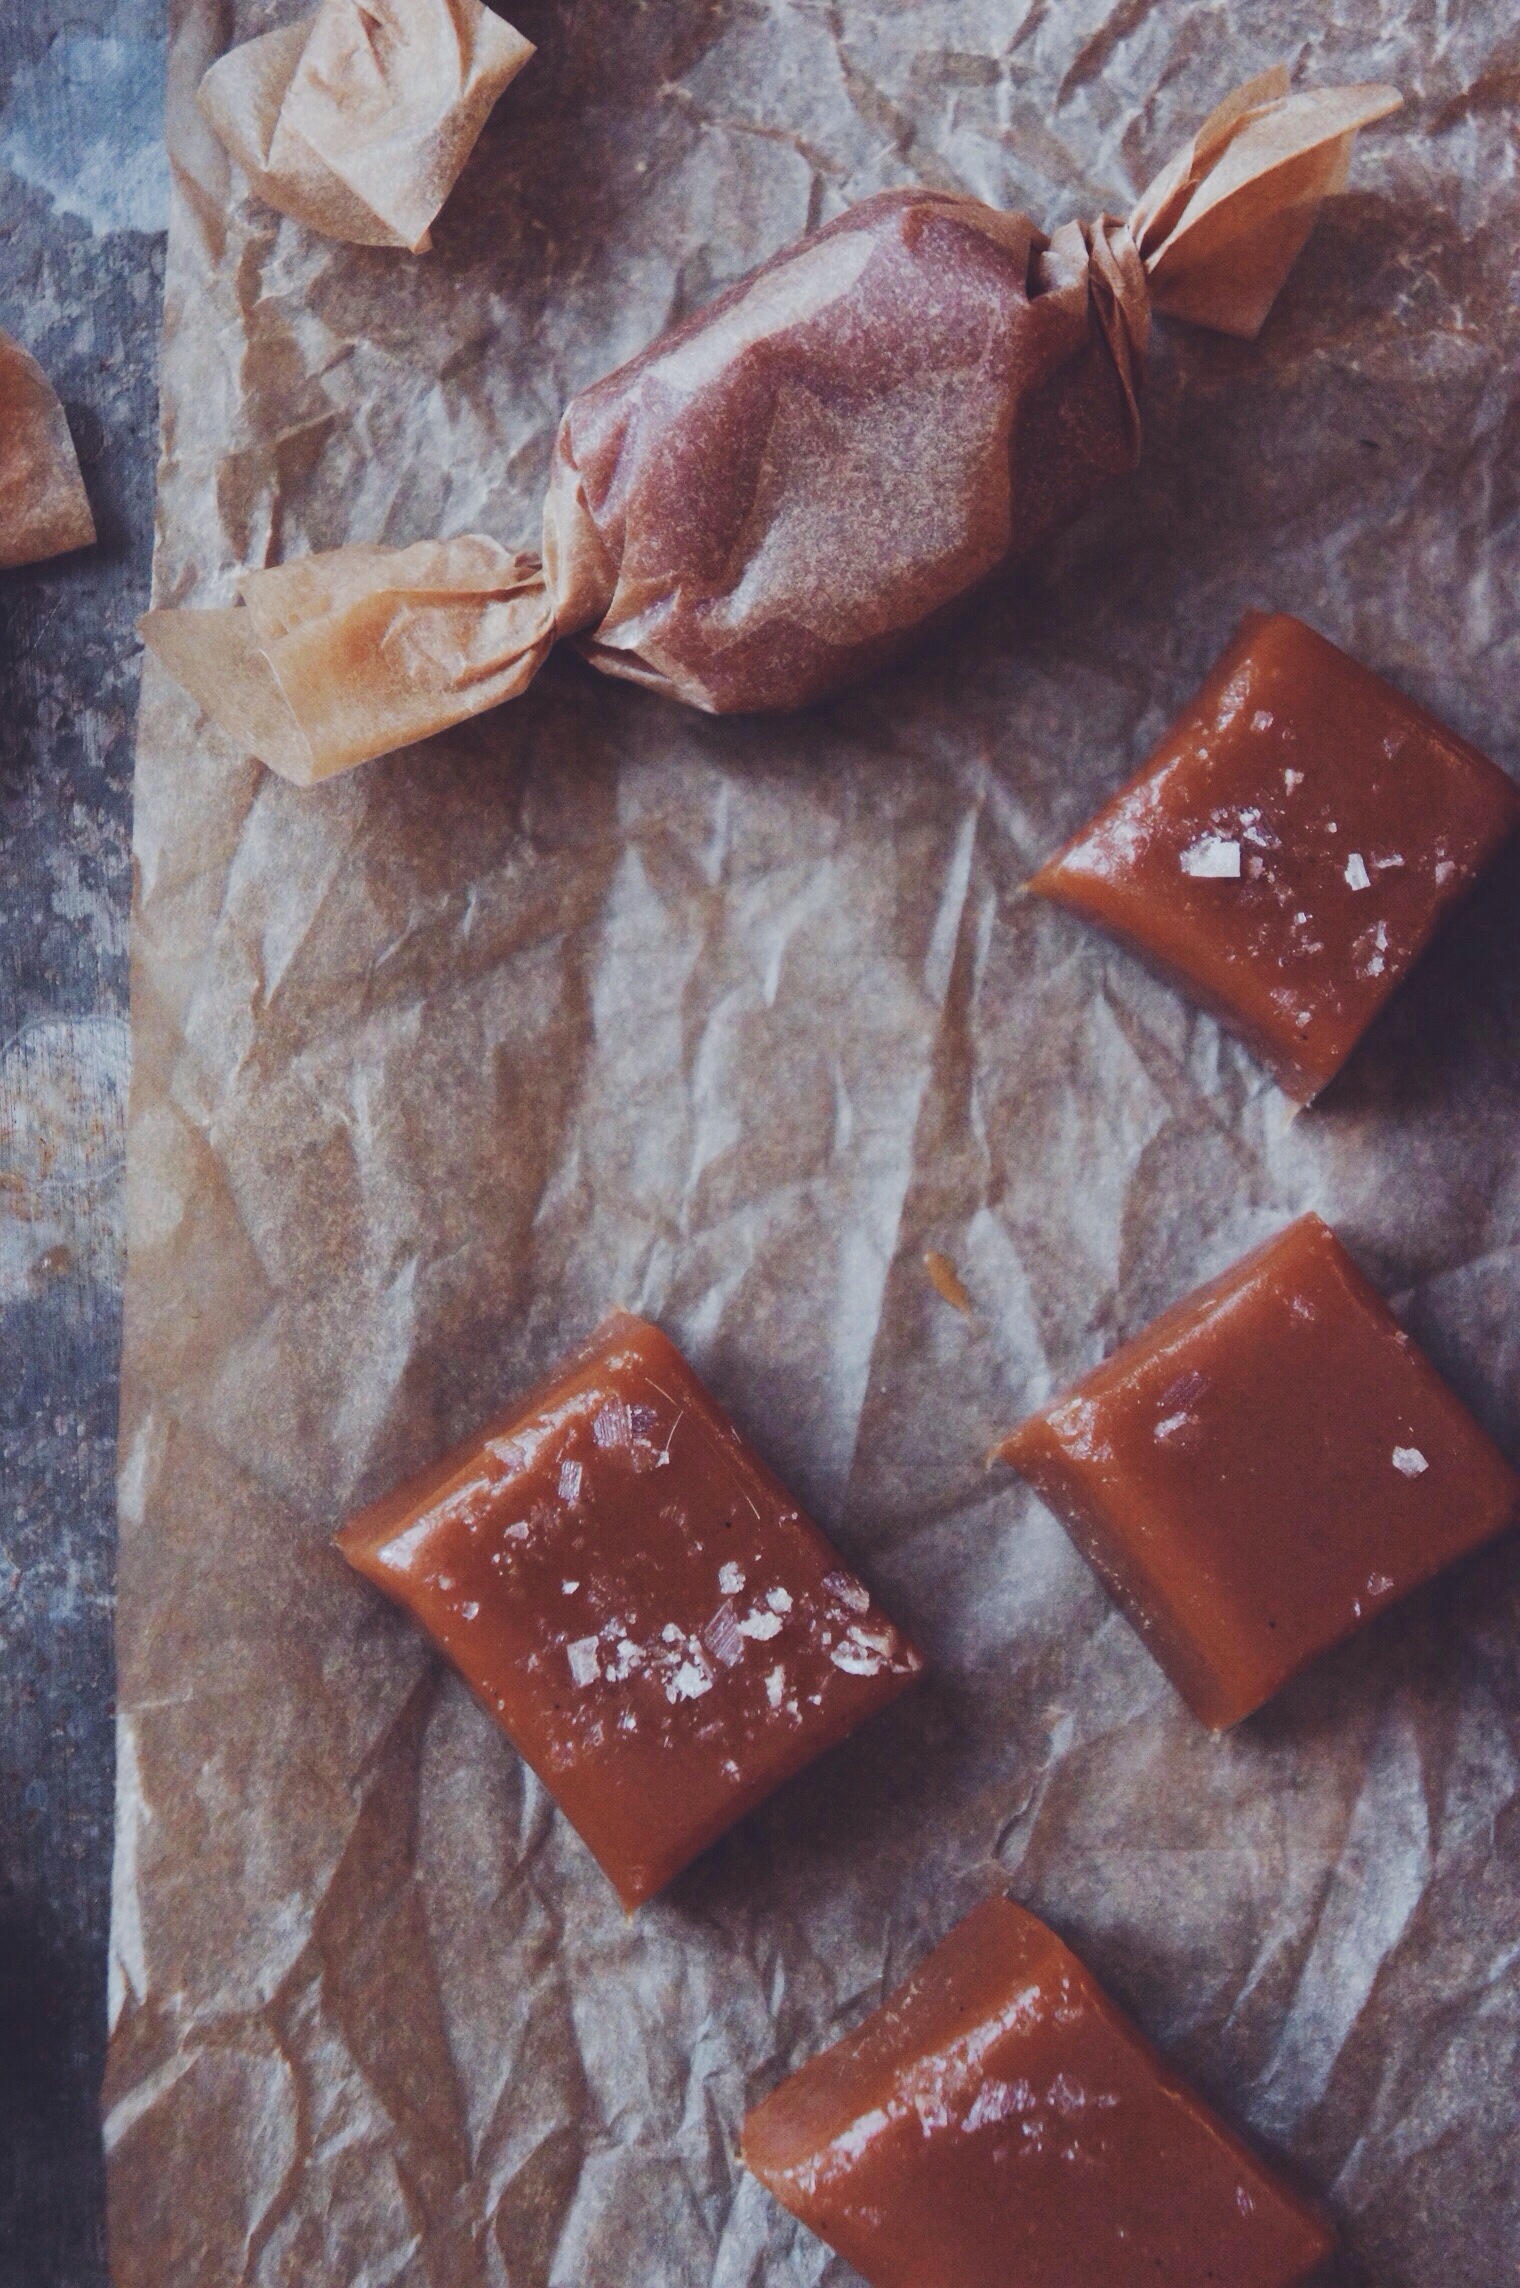
Although these sticky sweet mouthfuls of joy may seem intimidating, it’s more about patience and keeping a watchful eye on the temperature than actual skill. Heat two pans of cardiac arrest, mix them together and heat again – voilà.


SALTED BUTTER CARAMELS

Makes 60 caramels

Ingredients

150g soft light brown sugar

125g golden syrup

100g unsalted butter, cut into cubes

250ml thick double cream

150g caster sugar

1 teaspoon vanilla bean paste

Smoked sea salt flakes


Method

You’ll need: a candy thermometer, parchment paper to wrap the candies in, or if you’re a fancy so and so, candy wrappers.

  1. Firstly prepare a tin for your caramel to set in by greasing with sunflower oil and lining with parchment paper.
  2. In a pan add the brown sugar, golden syrup, butter and cream and place over a low to medium heat. Heat the mixture until smooth and hot, stirring occasionally. Remove the pan from the heat and set aside.
  3. In a heavy duty pan add the caster sugar and 2 tablespoons of water, and start to dissolve over a low heat. Once dissolved you can bring the heat up a little and keep melting the sugar syrup until it caramelises and turns amber in colour. NOTE: You don’t want to stir the syrup unless there are specific spots where the sugar isn’t melting, rather whirl the pan.
  4. Once the sugar syrup has caramelised, remove the pan from the heat and pour in the butter and cream mixture, while exercising caution – this stuff is H O T.
  5. Put the pan back on the heat and pop your candy thermometer in. Bring the mixture up to 250°f and then immediately remove from the heat. Stir in about 1/2 teaspoon of smoked salt and a teaspoon of vanilla bean paste, then pour into your prepared tin and sprinkle the top with extra smoked salt.
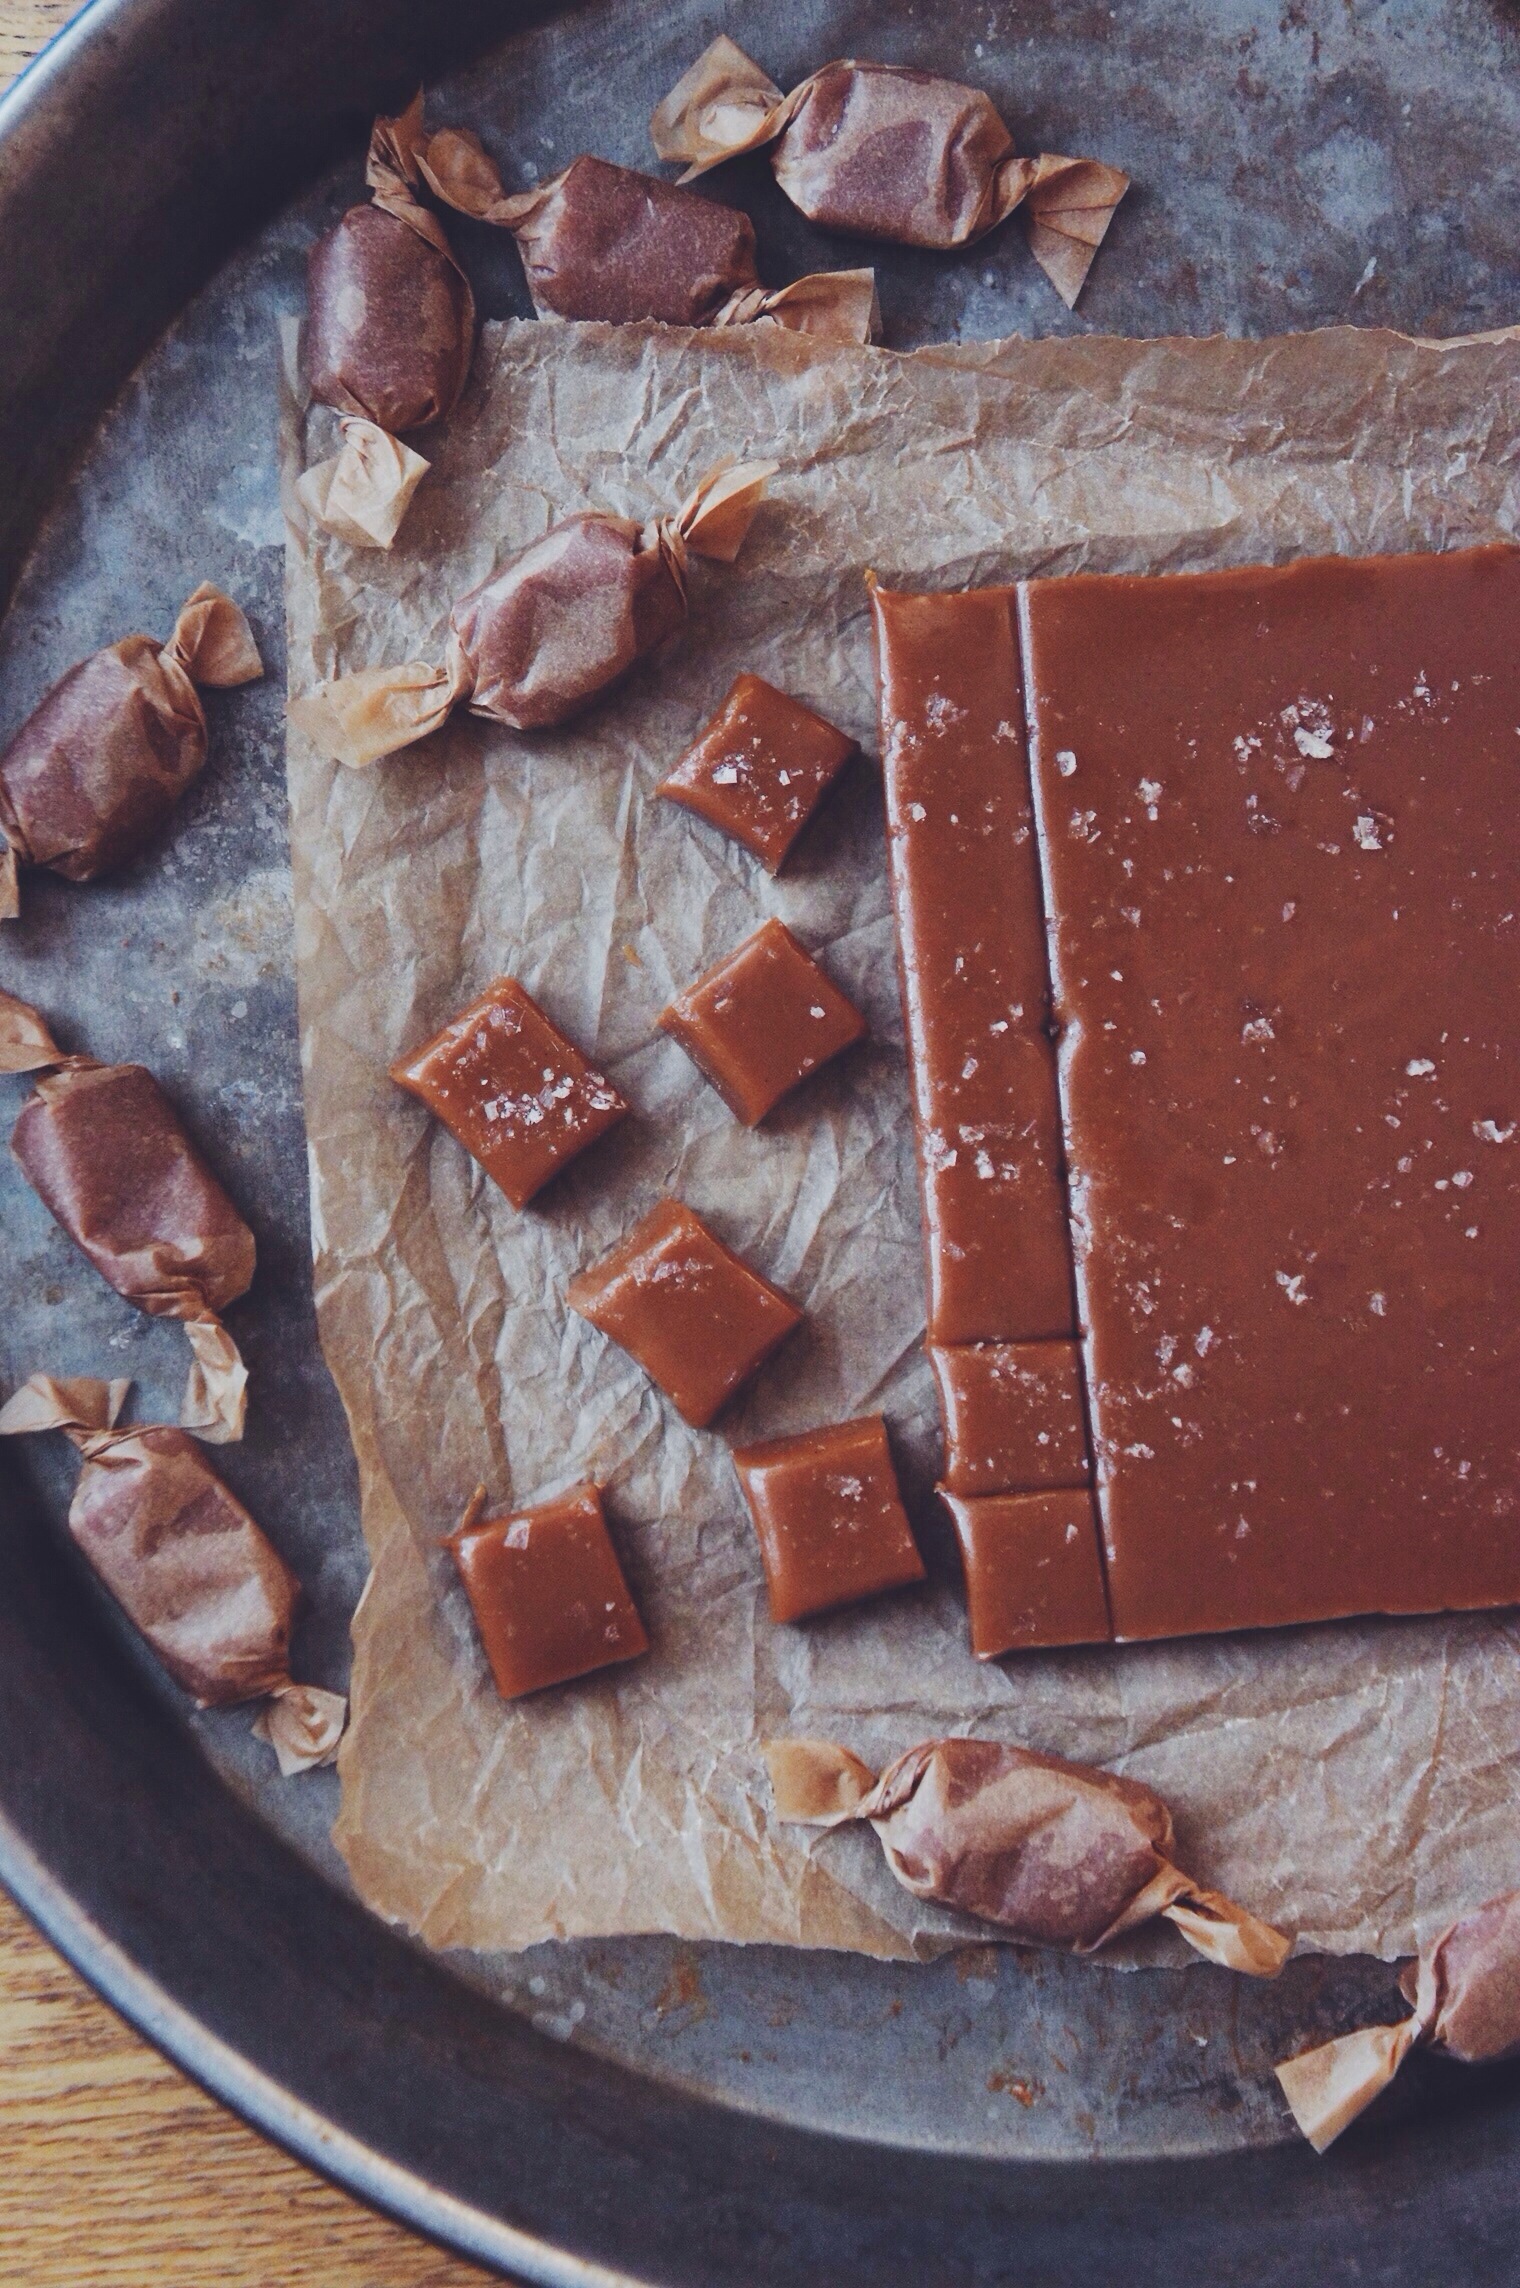
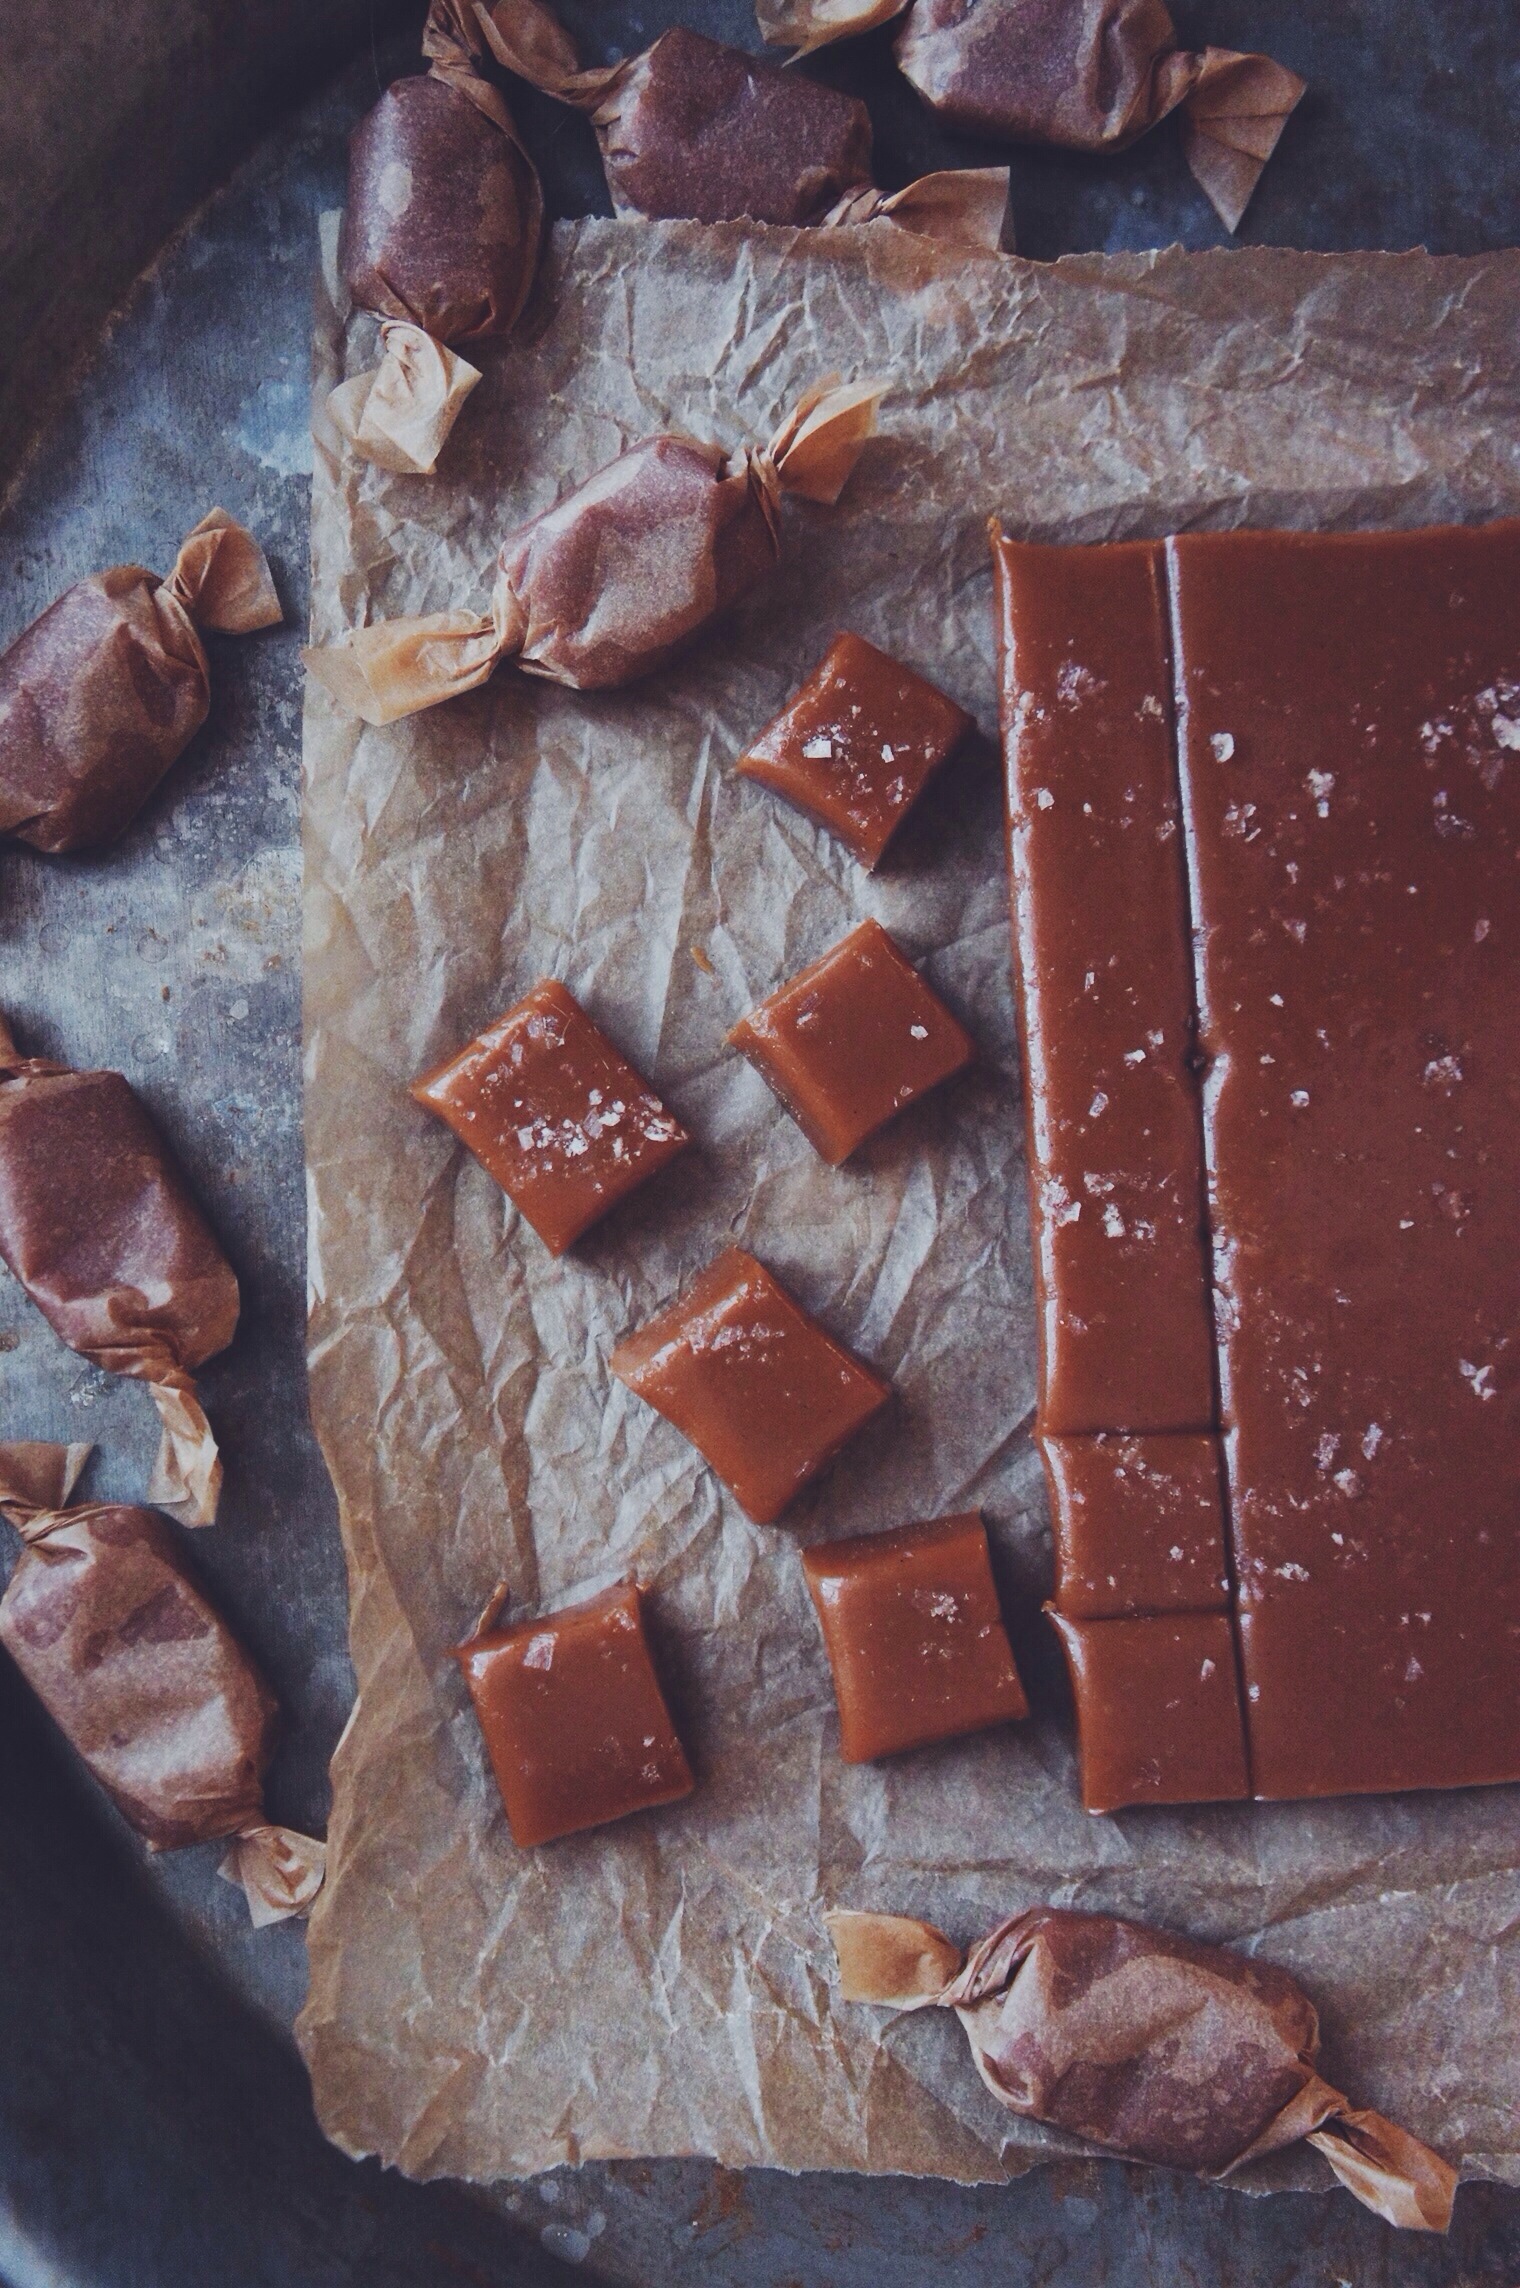
  6. Leave (out of the fridge) for at least 5 hours or overnight before cutting into small squares and wrapping individually. These will keep for a good 2 weeks stored in an air-tight container.

First time? The first time I made caramels I followed David Lebovitz’ recipe, which provides detailed advice and guidance for anyone making caramels for the first time. He instructs to heat the caramel until 260°f, basically resulting in a slightly firmer candy. The above recipe makes beautiful, melt in your mouth, soft candies.