My quest for the perfect chocolate chip cookie began some time ago, you could say to the point of obsession. I've been playing around with recipes for a good couple of years, determined to find the holy trinity of cookie greatness; that crunchy Maryland style exterior, chewy Millie's Cookies vibe and a hint of shortbread madness, and up until now my attempts have been futile and full of failure - tasty failure - but still failure nonetheless.

And then I found the one. I first tasted the best cookie in the world at Cafe Grumpy in Chelsea, NYC. I clocked that bad boy through the glass counter, skeptical of its vegan title given its clear good looks. Obviously I felt compelled to try it, keen to prove its mere existence wrong - surely it couldn't be good and vegan, I scoffed. I carefully removed it from the grease-marked brown paper it had been wrapped in and dove right in.
It was delicious. The first bite took me by surprise, 'but it's vegan!' my brain screamed at itself, sure that there had been some kind of error on the labelling. 'Those grumpy coffee aficionados must be messing with me', I concluded before inhaling the rest of the best cookie I had ever tried in about 0.3 seconds flat.
When I got back to London I began trying to recreate the magic, and settled on using Ovenly's vegan choc chip cookie as a base. The first attempt was incredible, following their recipe pretty much to the T I found that I had a deliciously classic, chewy and slightly crunchy cookie - but it was missing that shortbread aspect I like so much. I wanted it to be crunchy, chewy and crumbly all at the same time. What can I say, I'm hard to please.
I revisited the recipe, this time subbing canola for coconut oil and found that I had struck GOLD. The dough itself was more shaggy and crumbly, but came together nicely when I pressed it into mounds - like a shortcrust pastry would. When the cookies emerged from the oven, just crisp yet almost lava-like before cooling, I basically couldn't handle my life.
But I still wasn't 100% happy. They didn't have that speckled chocolate flex that I'm all about, the choc chips instead gave off too much of a cookie next door all-American vibe, plus I wanted a more balanced salt flavour, rather than a heavy game on top.
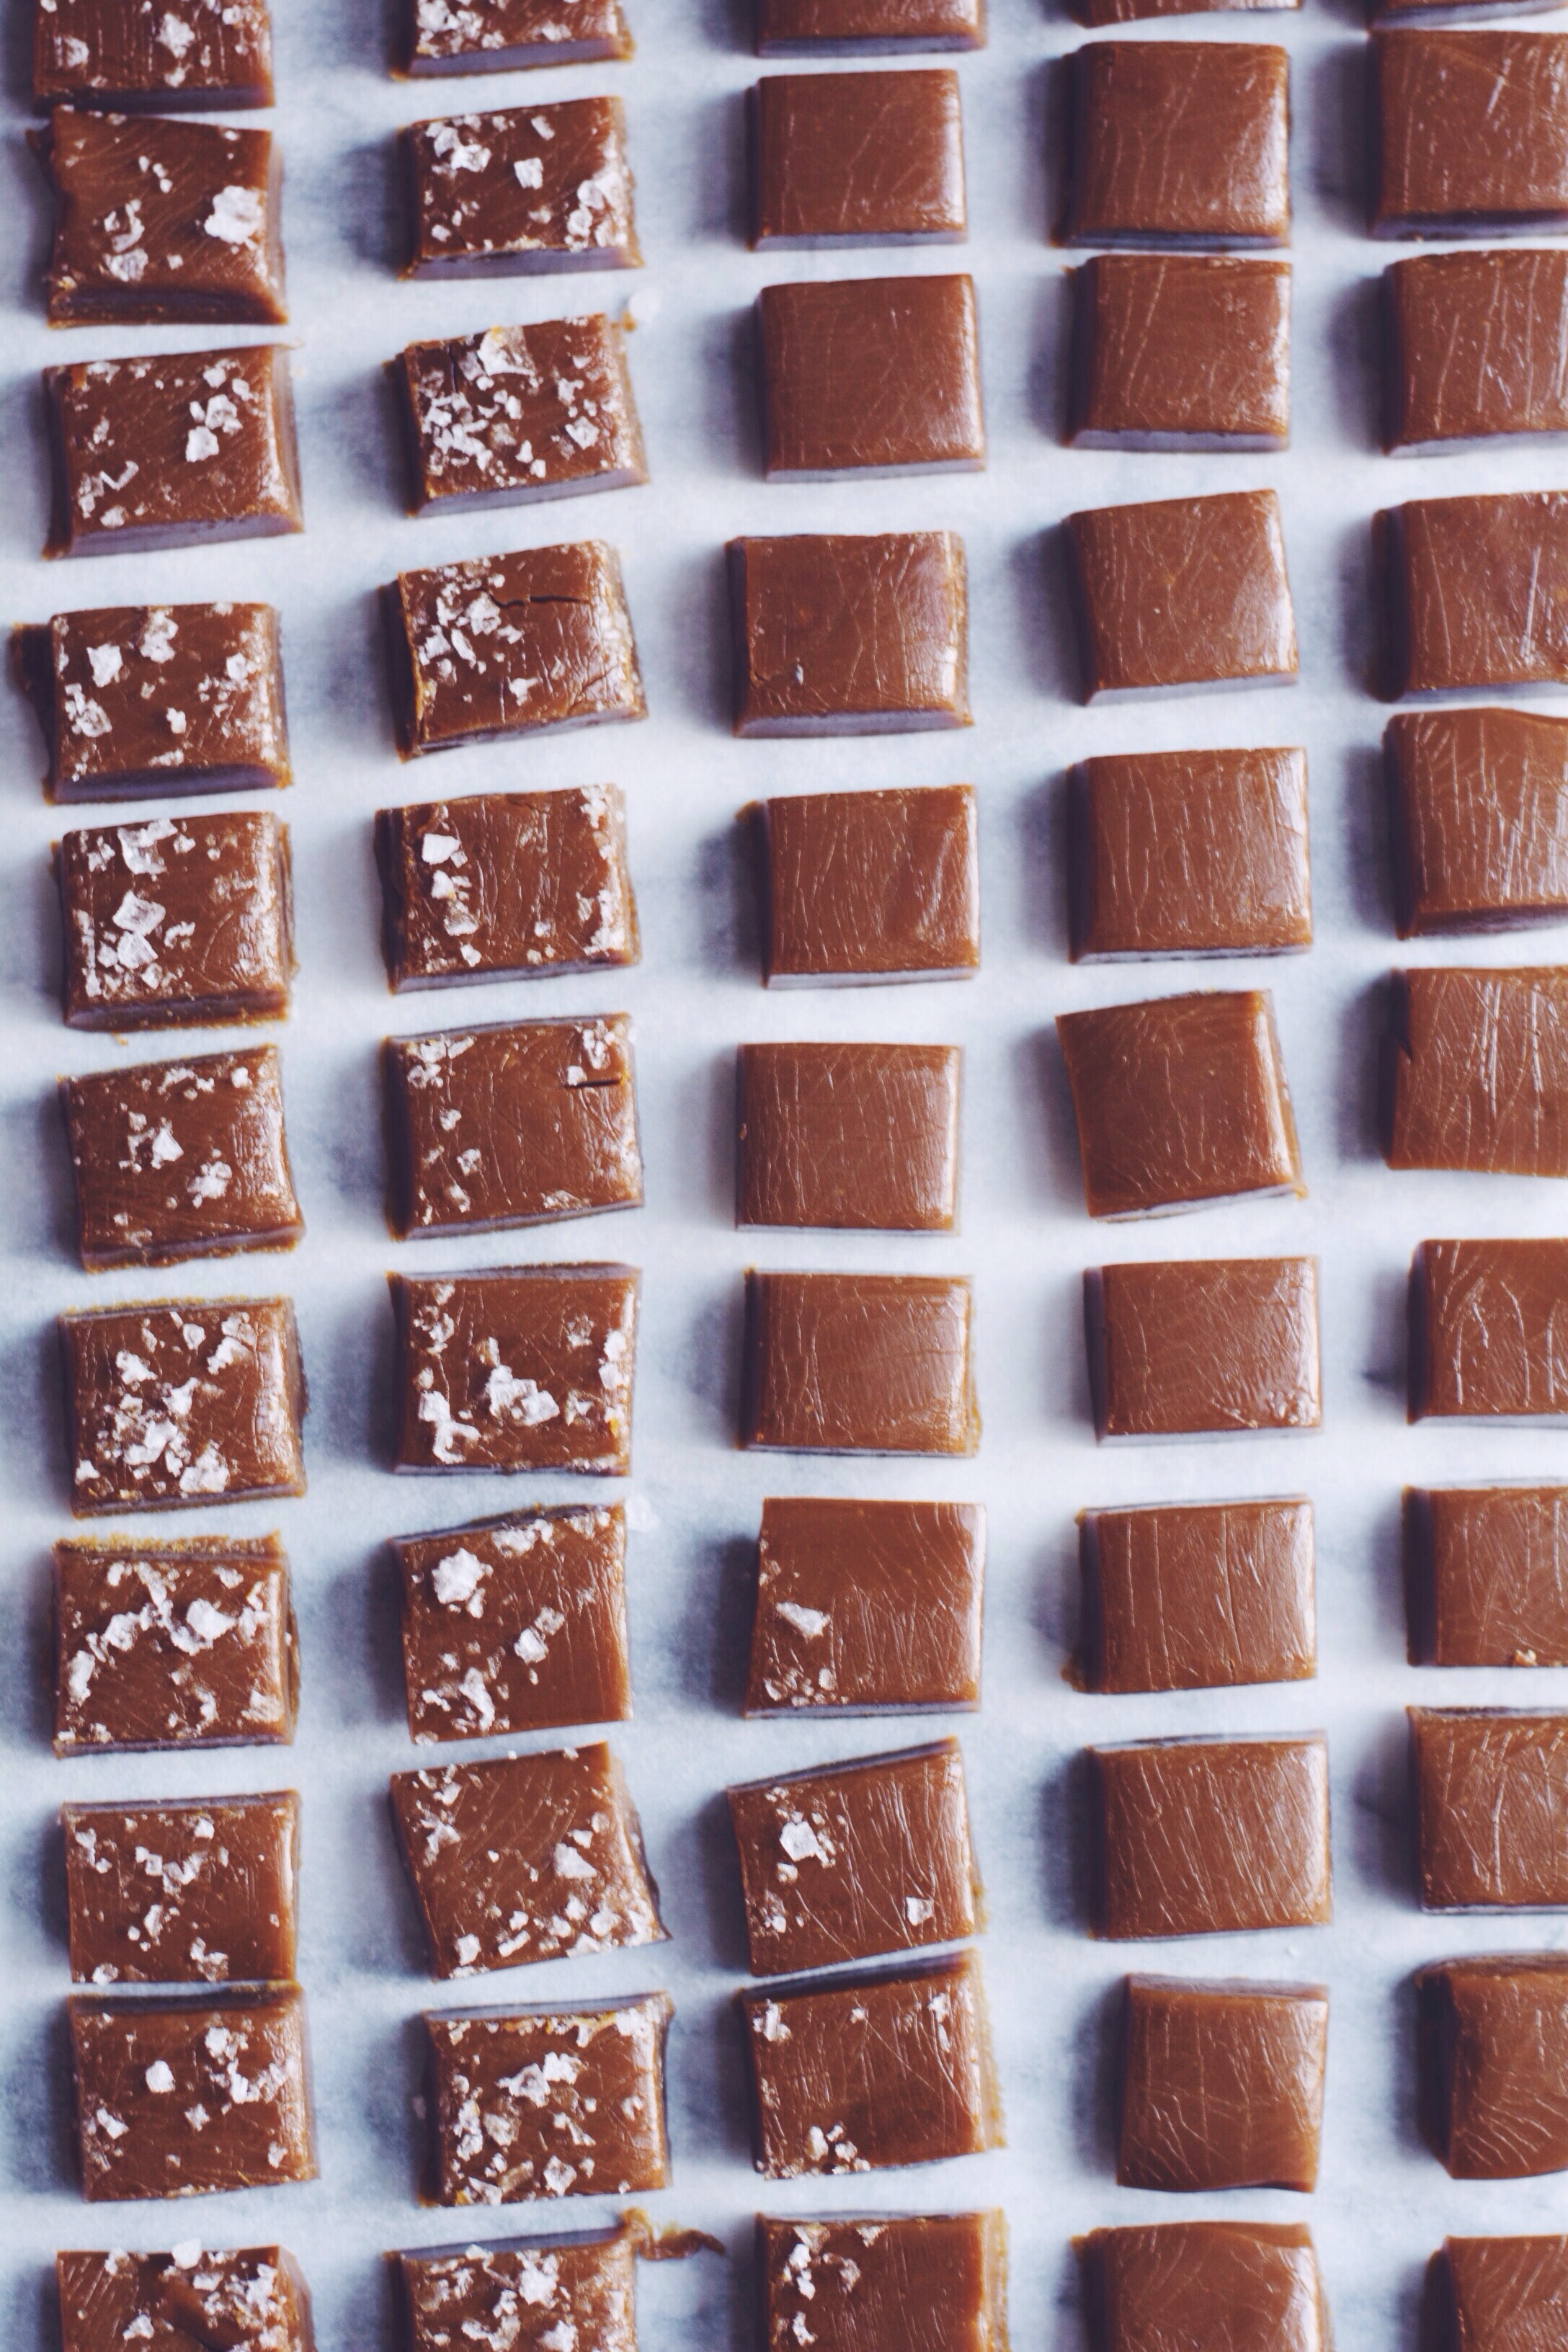
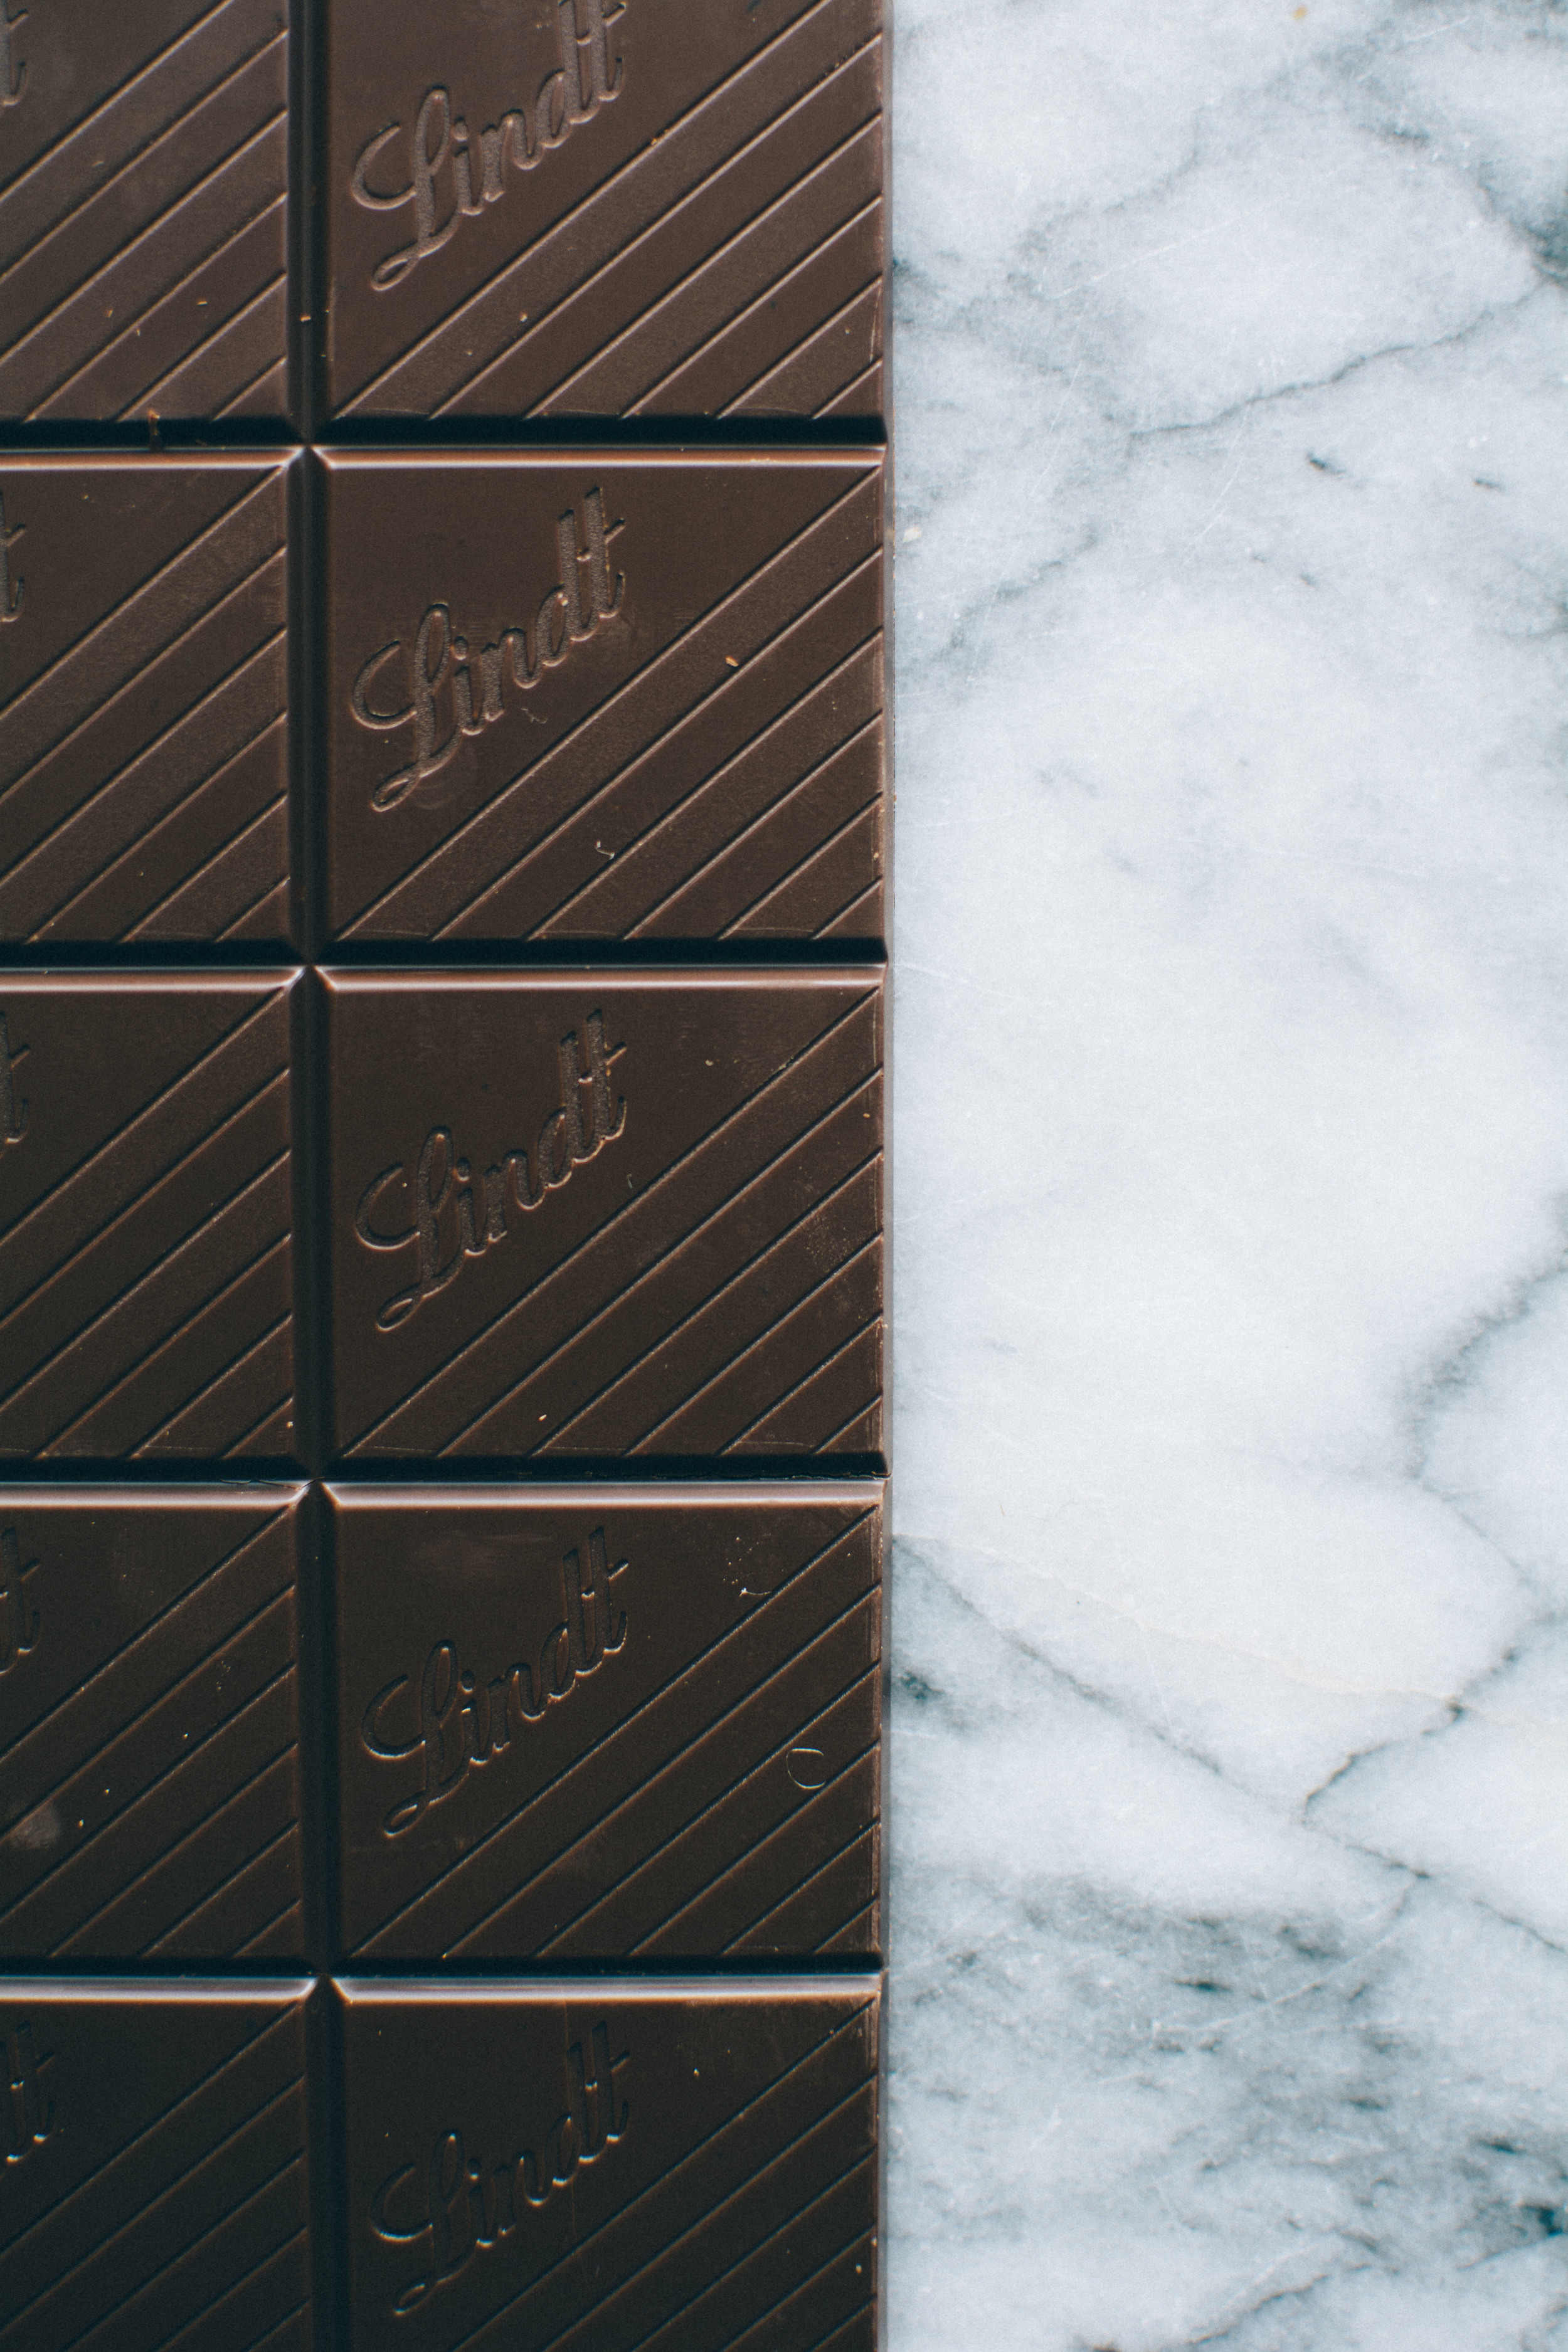
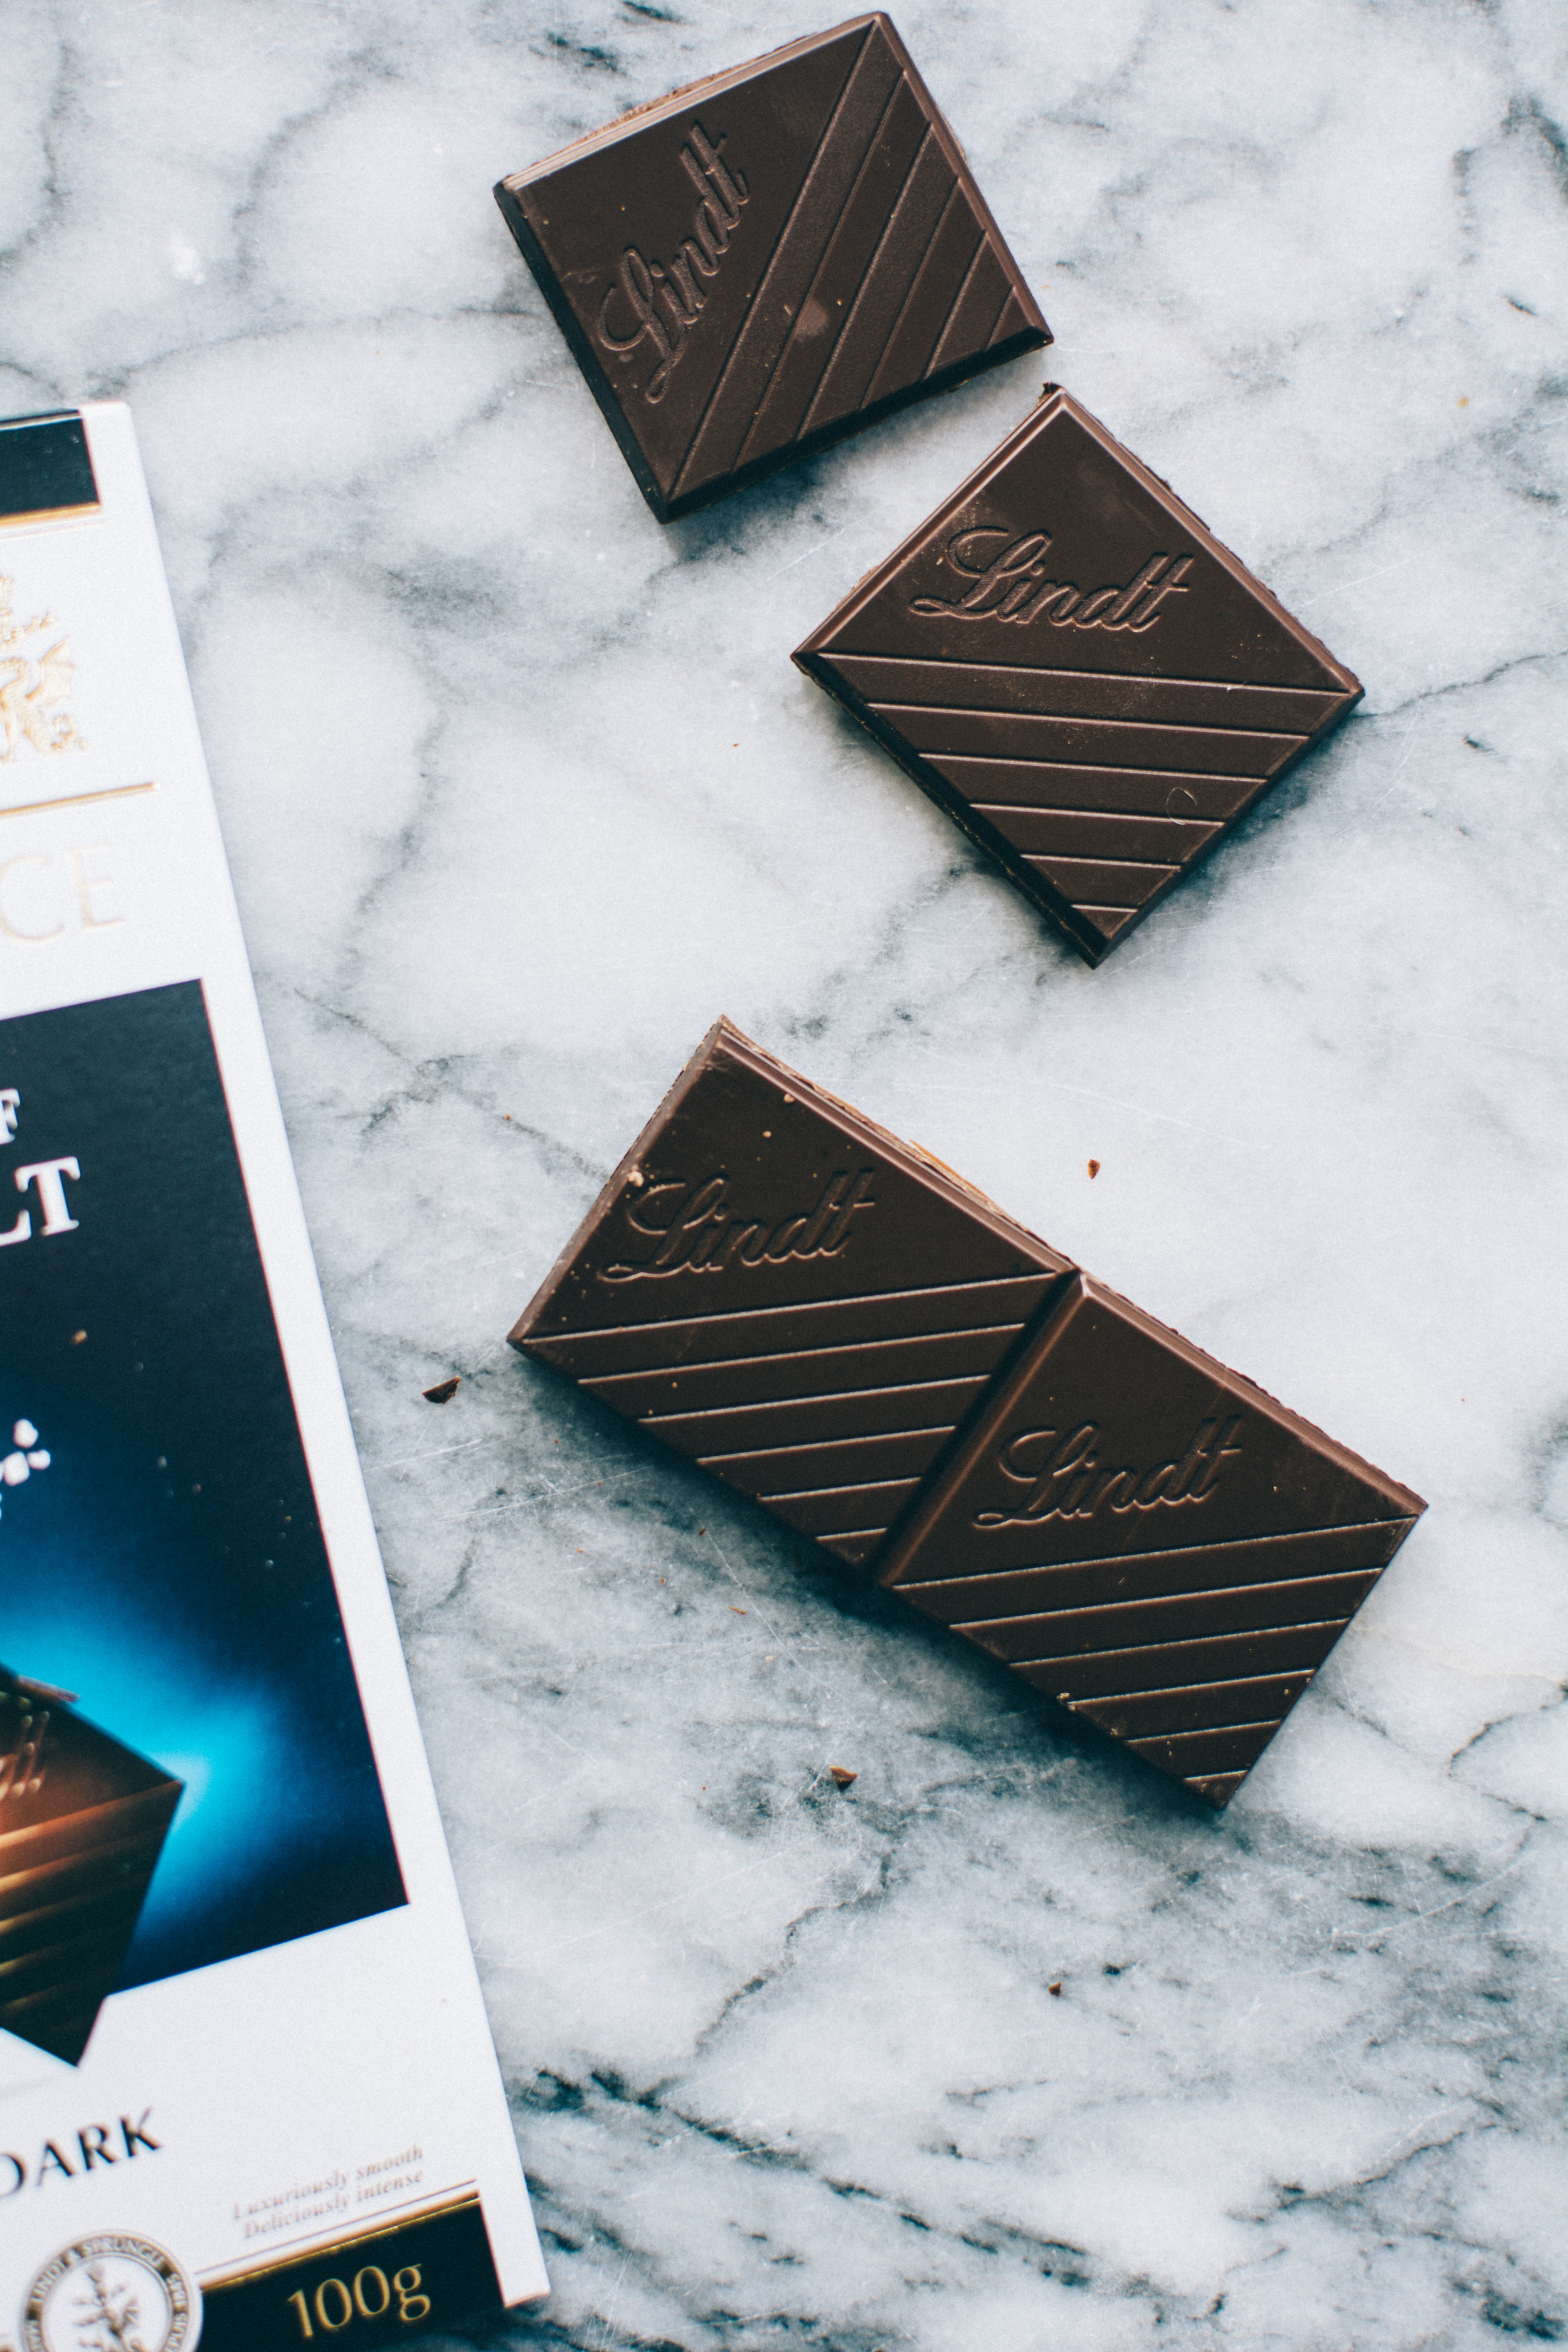
This is where Lindt's Dark Chocolate with Sea Salt came in. Not too much salt but not too little that the flavour fails to come across, I chopped a couple of bars into chunks and shards and threw them into the mix. The result? Speckled, salty, crunchy, chewy, ever so slightly crumbly - everything you could want in a cookie.
Suck on that, Chips Ahoy.


Dark Chocolate + Sea Salt Cookies
Yields approx. 18
Recipe adapted from Ovenly's heavenly Vegan Choc Chip Cookies
Ingredients
240g all-purpose flour
1 + 1/4 teaspoon bicarbonate of soda
1/2 teaspoon salt
200g Lindt Dark Chocolate with a Touch of Sea Salt
80g caster sugar
70g soft light brown sugar
100g coconut oil
60ml water
Coarse sea salt flakes like Maldon for garnish
Method
- In a large bowl whisk together the flour, bicarbonate of soda and salt. Chop up the chocolate into small chunks and shards and stir into the flour mixture.
- In another bowl combine the two sugars, breaking up any clumps with your hands or the back of a spoon.
- Heat the coconut oil until melted, then add to the sugar along with the water - whisk until smooth.
- Add the sugar mixture to the flour and stir to combine with a wooden spoon until no flour is visible and the dough just comes together - it should be quite shaggy, don't worry about this.
- Cover the bowl with cling film and refrigerate for 12-24 hours - DON'T SKIP THIS STEP!
- After the dough has rested in the fridge, preheat the oven to 180°c (165°c FAN).
- Using your hands roll the dough into 2 inch balls (you should be able to make about 18) and place them on a baking sheet lined with parchment paper.
- Use a spoon to gently press down the balls slightly, and sprinkle the a pinch of sea salt flakes.
- Bake for 13-15 minutes until the edges are just golden.
- Leave to cool completely before serving.