Posts tagged homemade
Homemade Goat's Ricotta

Recently I've been trying my hand at making as much as I can from scratch. From nut milks and butters to jams, bread and pasta, I've been searching for ways to make the food that I cook more clean, economical and most importantly resulting in less wastage.  

Of course there is the added wow factor of a meal made in its entirety by your own hands, a certain smugness when telling those eating it how you spent time peeling the tomatoes that would come to be in the most delicious sauce, or kneading the dough that would eventually be the toast on their plate. Yes, a little bit of smugness might irritate even the politest of guests (read: live-in boyfriend), but you know - modesty is a virtue, right? 

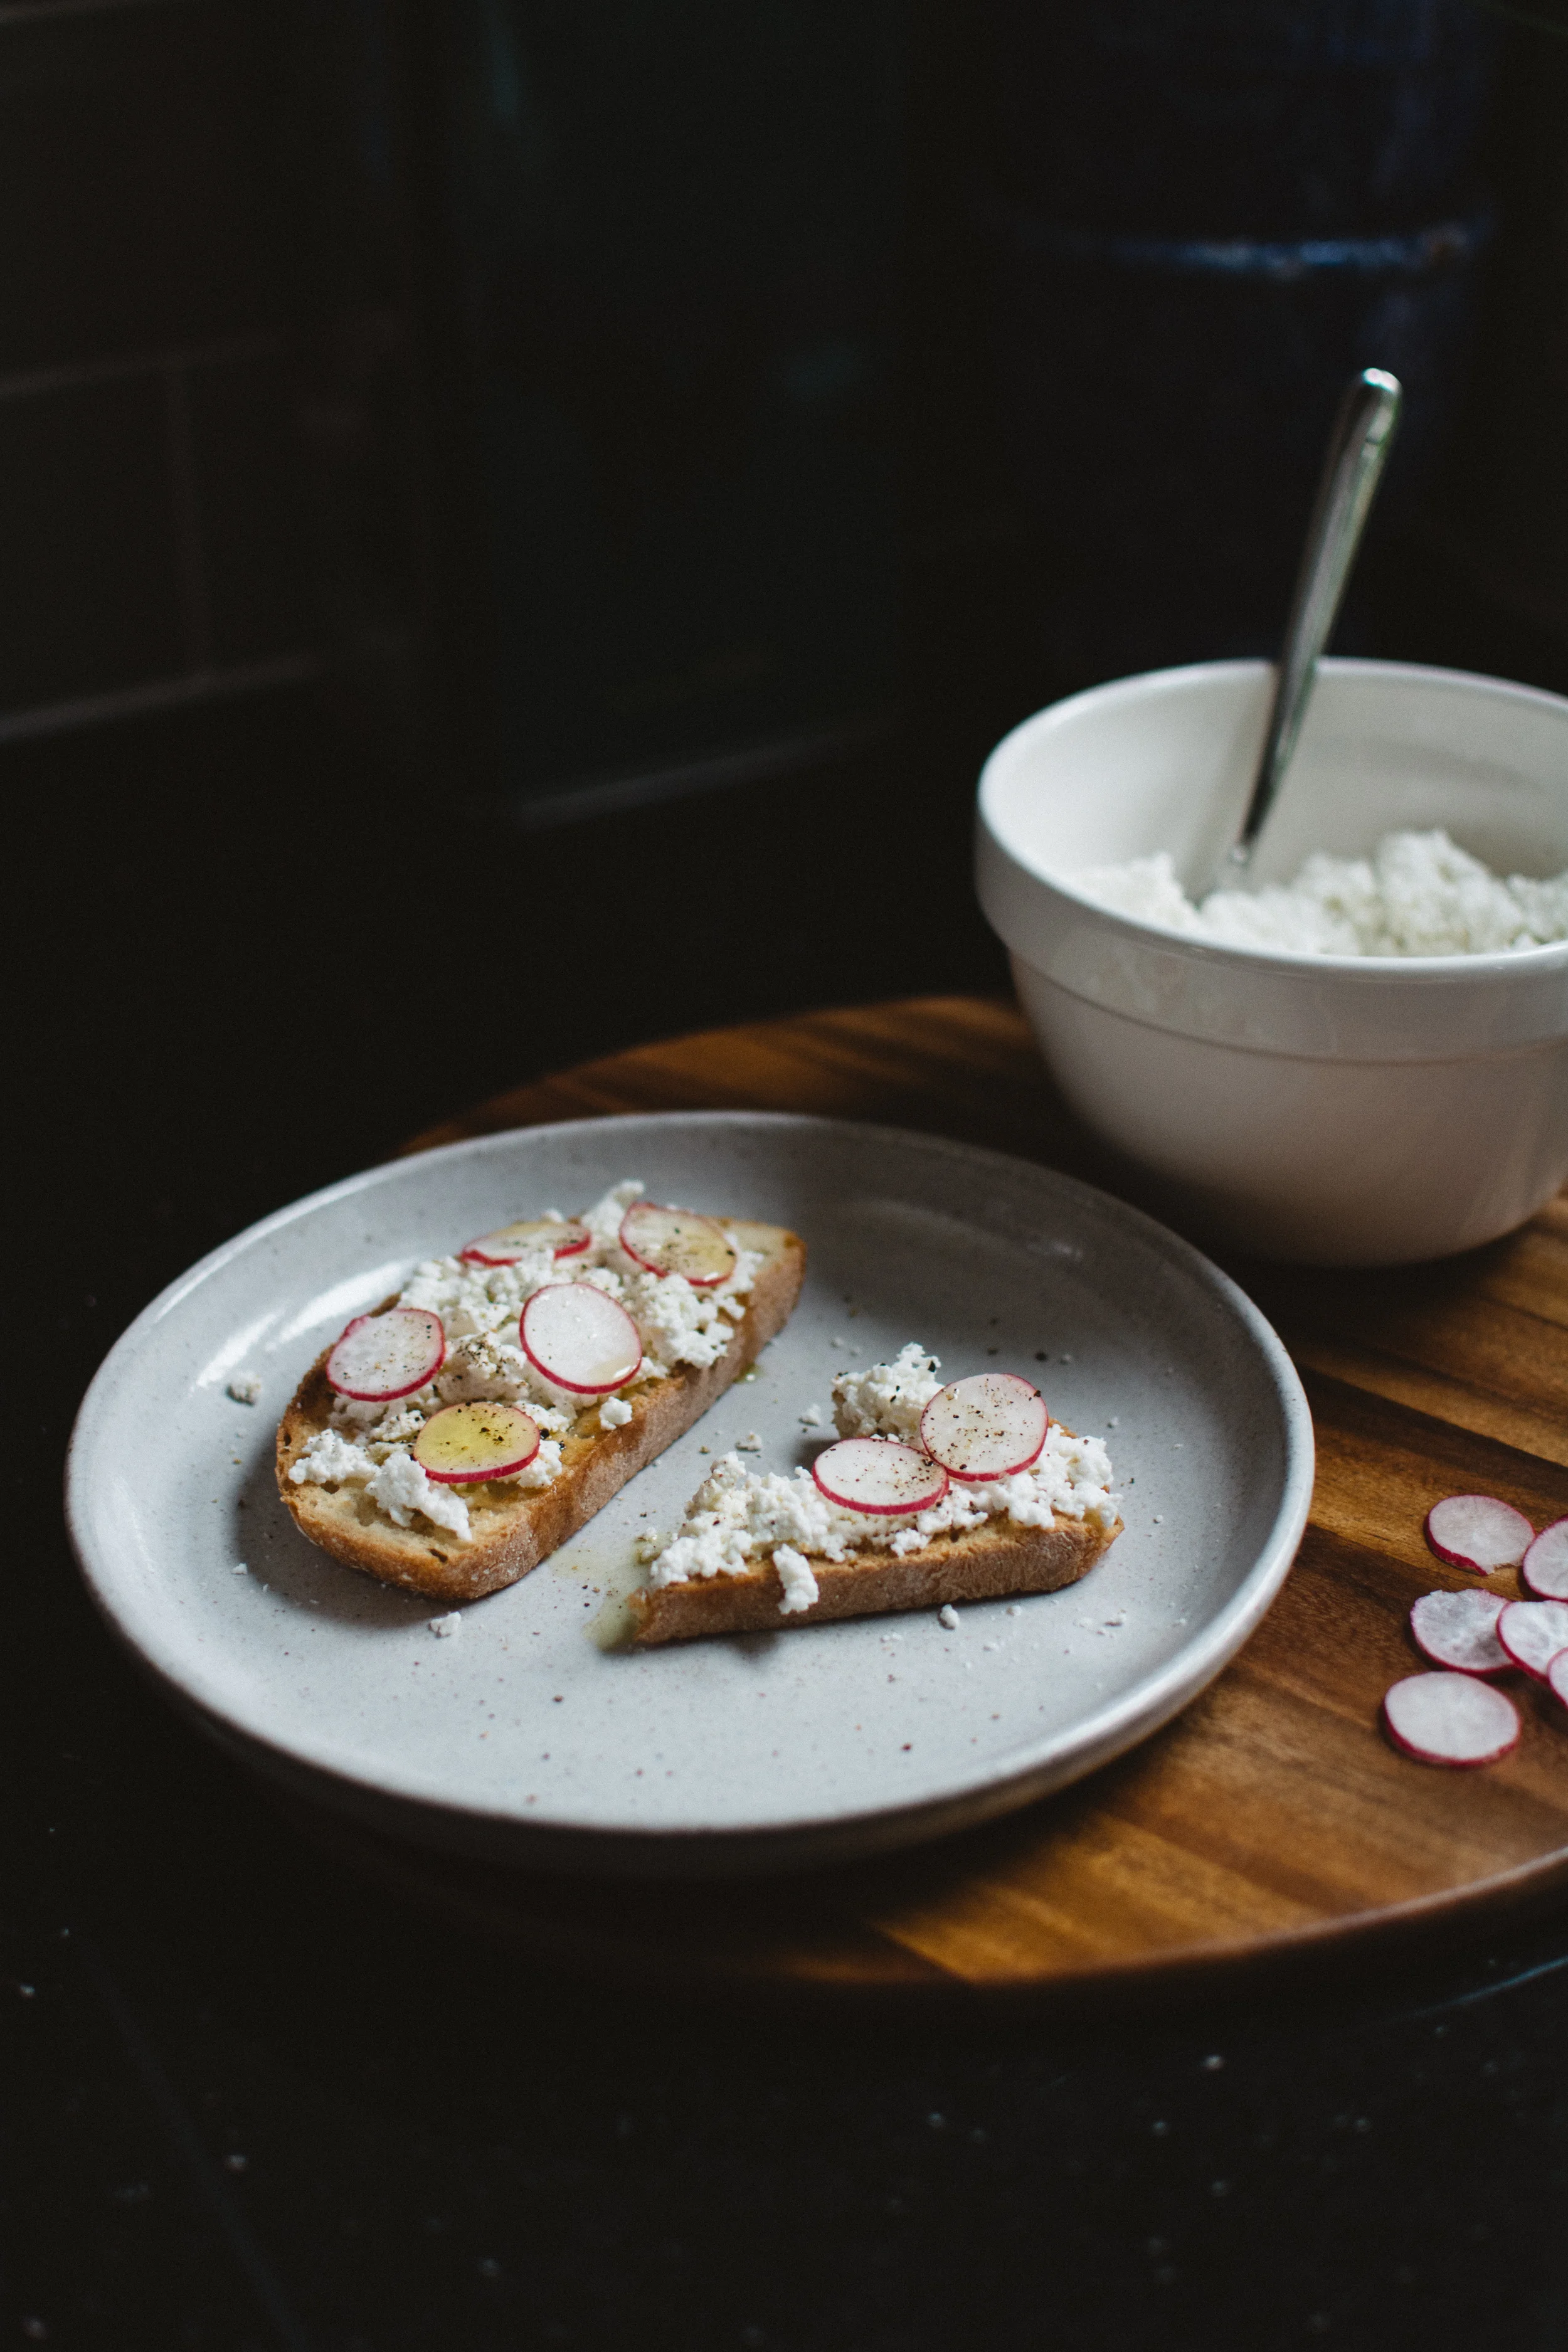
When it comes to cheese, ricotta is up there with halloumi (forever my undisputed favourite) and in my house it's spread on toast, stuffed into pasta shells or simply eaten with a spoon. Yes, I am one of those girls that eats cheese with a spoon. I HAVE NO SHAME. 

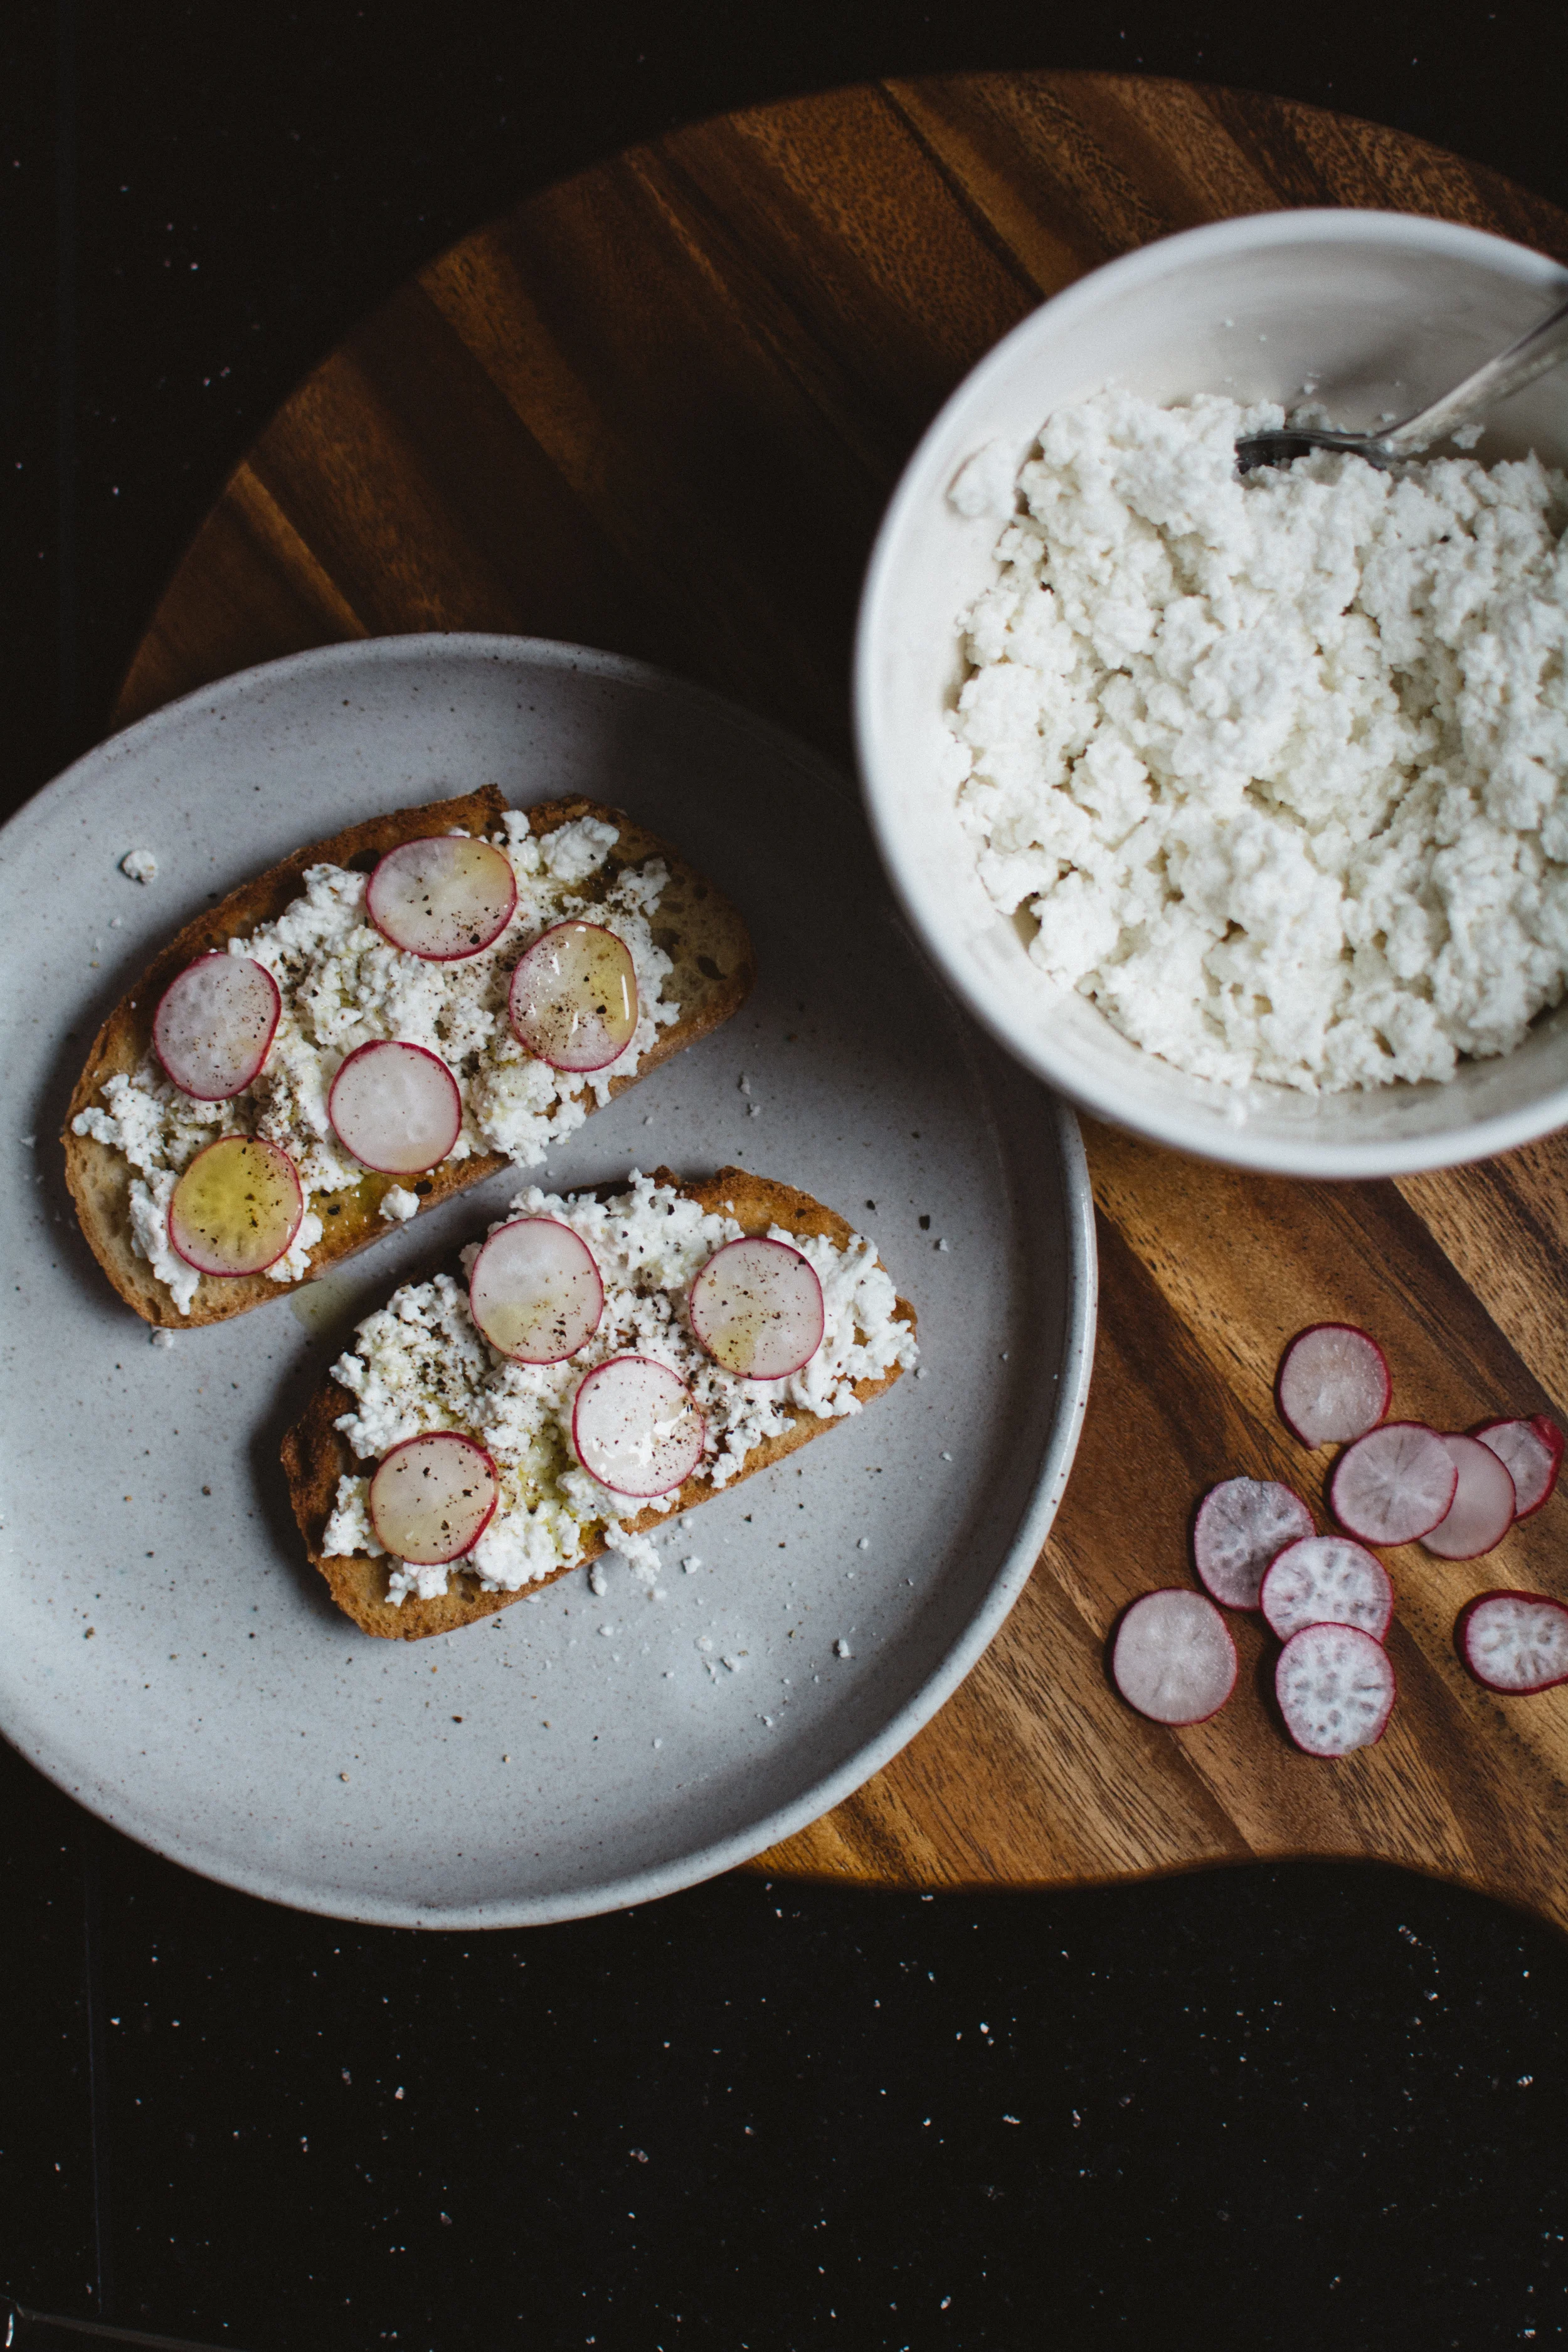
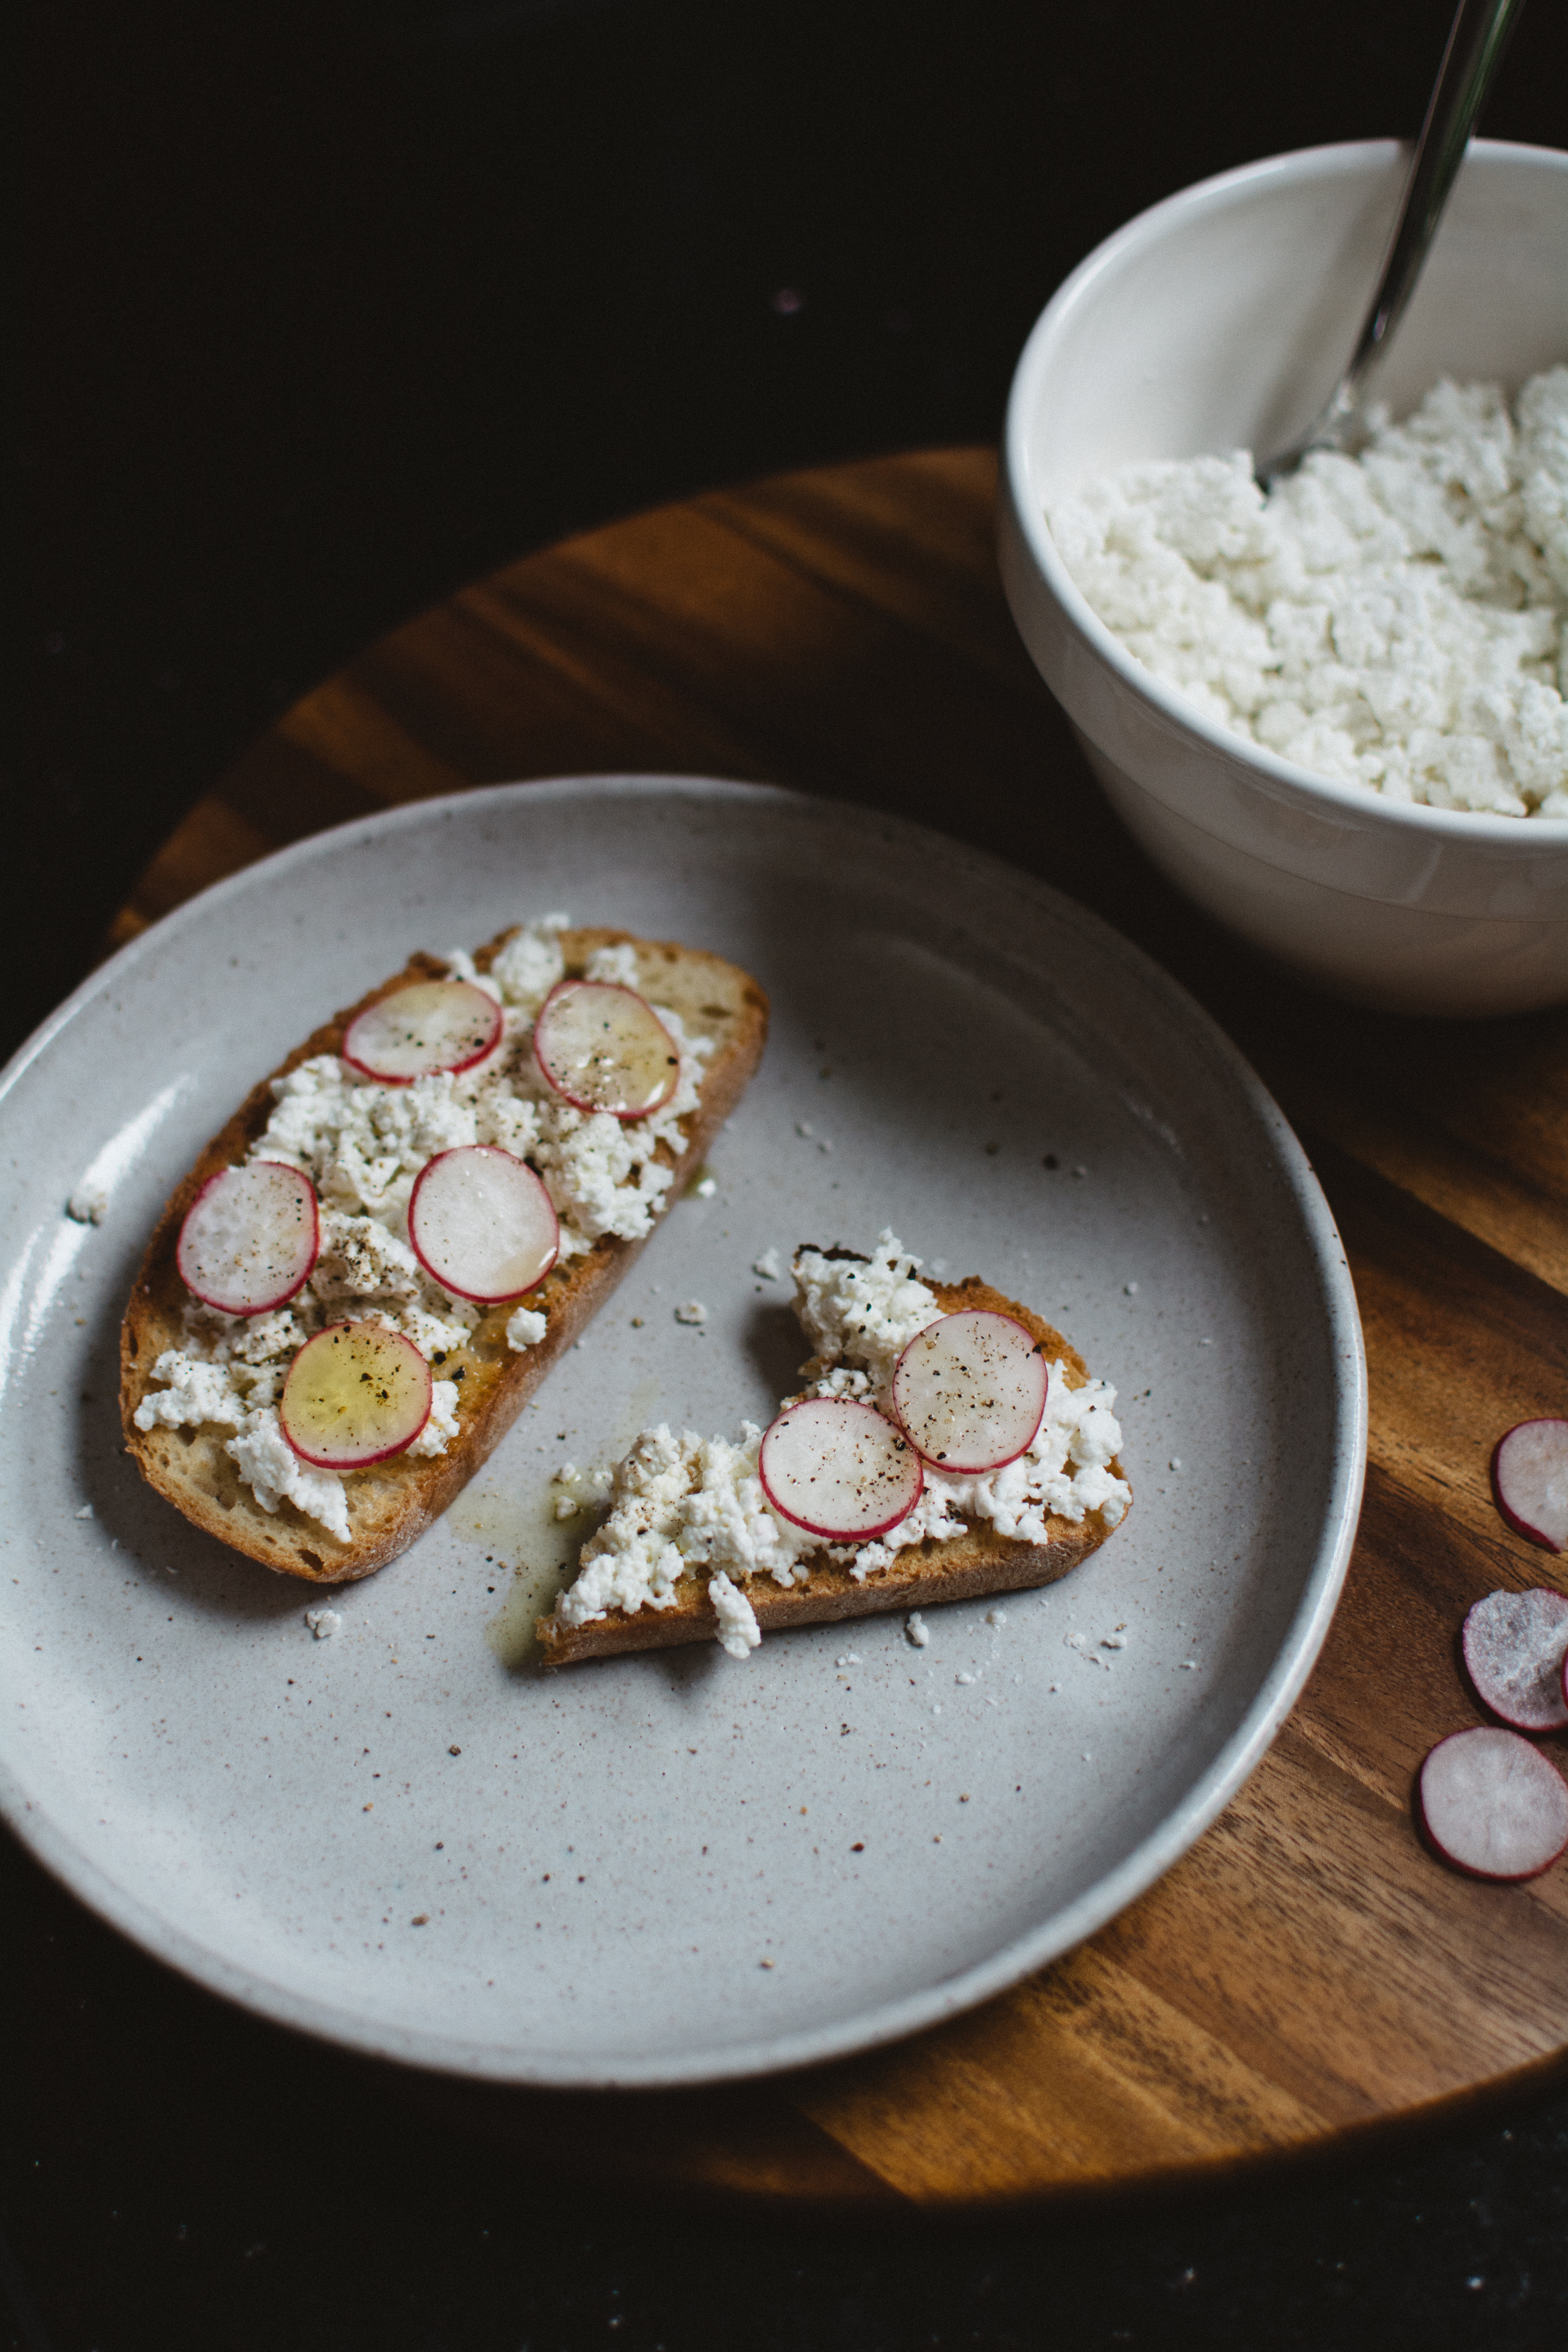
Luckily, when it comes to cheese, ricotta is probably the easiest to make at home. All it takes is three ingredients, a thermometer and a muslin cloth and pow, you've got the good stuff. How does it work I hear you say? Heat milk until scalding, pour in your acidity (white wine vinegar, lemon etc), add a pinch of salt and then leave it be before straining and slathering onto sourdough toast topped with radish slices and freshly cracked pepper. Or whatever else you fancy. 

This recipe uses goat's milk in place of regular cow's for a mild goat-y finish, and a consistency closer to a somewhat crumbly chèvre. Just like regular ricotta but with a bad ass attitude. 


Homemade Goat's Ricotta

Makes 500g

Ingredients

2 litres goat's milk

80ml white wine vinegar

1 teaspoon salt


Method

1. Add the goat's milk to a saucepan and heat on medium until it reaches 200°F.

2. Remove from the heat and stir in the white wine vinegar and the salt.

3. Leave undisturbed for 10 minutes in order for the curd to separate from the whey.

4. At this point, scoop the big curds using a slotted spoon and place in a fine mesh strainer lined with a cheese cloth. Then pour in the remaining whey and smaller bits of curd.

5. Leave to strain for 10-60 minutes depending on the desired consistency. I like mine relatively crumbly so I left it for around 20 minutes. If you strain the ricotta for longer than you'd like simply add a little of the whey back to the curds to make your ricotta more creamy.

Store refrigerated in an airtight container for up to one week. 

Dark Chocolate Covered Caramels

It’s officially that time of year again; the lights are up, the ads are out, the nights are getting boozier… it’s Christmas whether you like it or not.

Dark Chocolate Covered Caramels | Thyme & Honey

Sure, some might say it’s a bit early to get the Christmas paraphernalia out, but I for one am all over it – give me a gingerbread latte with a shot of whisky and I’ll be marvellously content cozied up in my Slanket* with Home Alone 2 on repeat.

(Also, December: the only month where you can get fat gracefully.)

You may remember last year I posted a similar recipe and moaned about how broke I tend to be at this time of year (I absolutely needed three of those cashmere jumpers, didn’t I), so it’s fair to say I get a little resourceful with my gift giving. Enter these beauties, chocolate covered and deliciously decadent. These really aren’t as daunting as they may seem, it’s more a case of patience and trying not to burn yourself, the caramel, or your pan.

So there you have it, I’ll leave you with this bomb recipe to add to your budget Christmas 101 repertoire – plus a pretty great soundtrack to go with it (courtesy of Cereal Magazine)

*the best gift ever received, not giving it up never ever ever

Dark Chocolate Covered Caramels | Thyme & Honey

Dark Chocolate Covered Caramels

Makes 60 caramels

Ingredients

150g soft light brown sugar

125g golden syrup

100g unsalted butter, cut into cubes

250ml thick double cream

150g caster sugar

200g dark chocolate

Decorative sugar pieces (if using)


Method

You’ll need a candy thermometer for this recipe.

  1. Firstly prepare a tin for your caramel to set in by lining it with parchment paper.
  2. In a pan add the brown sugar, golden syrup, butter and cream and place over a low heat. Heat the mixture until smooth and hot, stirring occasionally. Remove the pan from the heat and set aside.
  3. In a heavy duty pan add the caster sugar and 3 tablespoons of water, and start to dissolve over a low heat. Once dissolved you can bring the heat up a little, keep melting the sugar syrup until it caramelises and turns amber in colour. NOTE: You don’t want to stir the syrup unless there are specific spots where the sugar isn’t melting, rather whirl the pan.
  4. Once the sugar syrup has caramelised and turned a gorgeous dark amber colour, remove the pan from the heat and pour in the cream mixture, while exercising caution – this stuff is H O T.
  5. Put the pan back on the heat and pop your candy thermometer in. Bring the mixture up to 260°f and then immediately remove from the heat and pour into your prepared tin (if you fancy it you can sprinkle all or half with salt flakes).
  6. Leave (out of the fridge) for at least 5 hours or overnight before cutting into small squares.
  7. To chocolate coat the caramels, melt the dark chocolate in a glass bowl set above a pan of simmering water. Once melted, use a fork to dip a caramel square into the chocolate, then lift it out and let the excess chocolate drip off. Place the square on parchment paper to set, and decorate with sugar pieces if using. Continue with the rest of the caramels.

These will keep for a good 2 weeks stored in an air-tight container.