Posts tagged recipe
The perfect spaghetti carbonara
Gabriella Simonian - Classic Spaghetti Carbonara

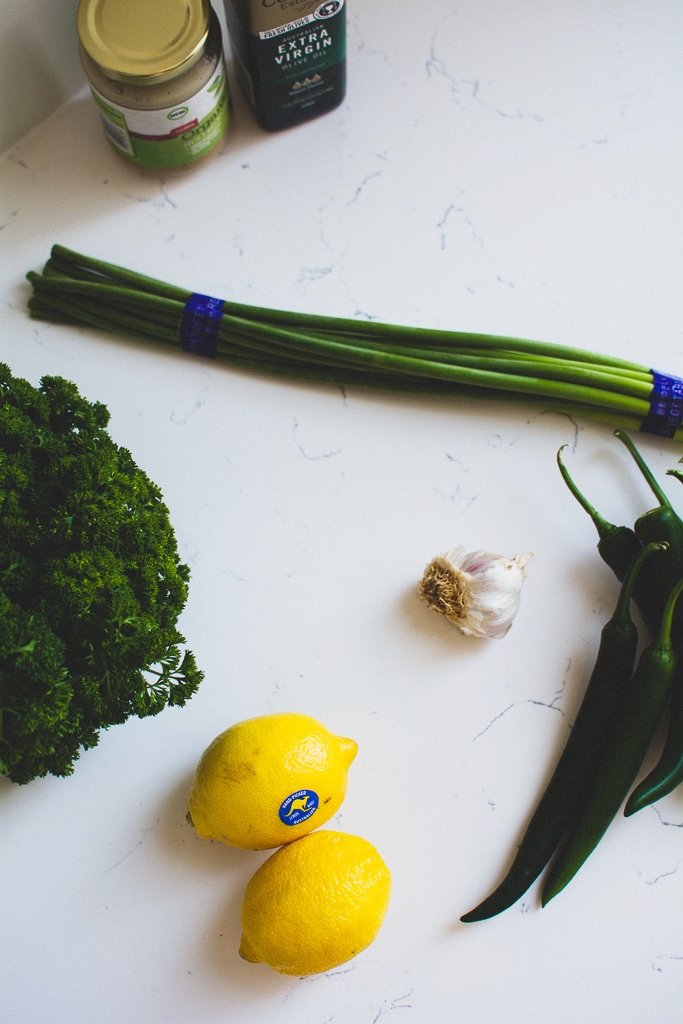
For anyone that has known me for even a small amount of time, they will know that carbonara is my death row dish. Salty, creamy, cheesy, carby goodness. You could say I am fanatic about carbonara. Which is why I have been heavily testing this recipe for the better part of 12 months.

There are some incredibly strong opinions on carbonara: ingredients, how to make it, the type of pasta etc etc. I could go on but honestly the longer I spend writing this the longer it will take for me to publish the actual recipe so I will cut it short and just note that you only need four - yes, four - ingredients to make a proper carbonara and no, none of them are cream.

Guanciale, eggs, Pecorino Romano, black pepper.

The key to creaminess is utilising the magic that is pasta water. Trust the process and trust your judgement. Although there are only a few ingredients, this is a somewhat technical dish, but an easy one once you’ve tried it.

Gabriella Simonian - Classic Spaghetti Carbonara
20211012-DSC_5387-2.jpg

Spaghetti Carbonara

Serves 2, generously

If you’ve not tackled a carbonara before, I recommend you read through the recipe thoroughly and the cook‘s notes before starting.


Ingredients

  • 300g pasta - spaghettoni is often the pasta of choice for carbonara, but spaghetti, bucatini or rigatoni will suffice
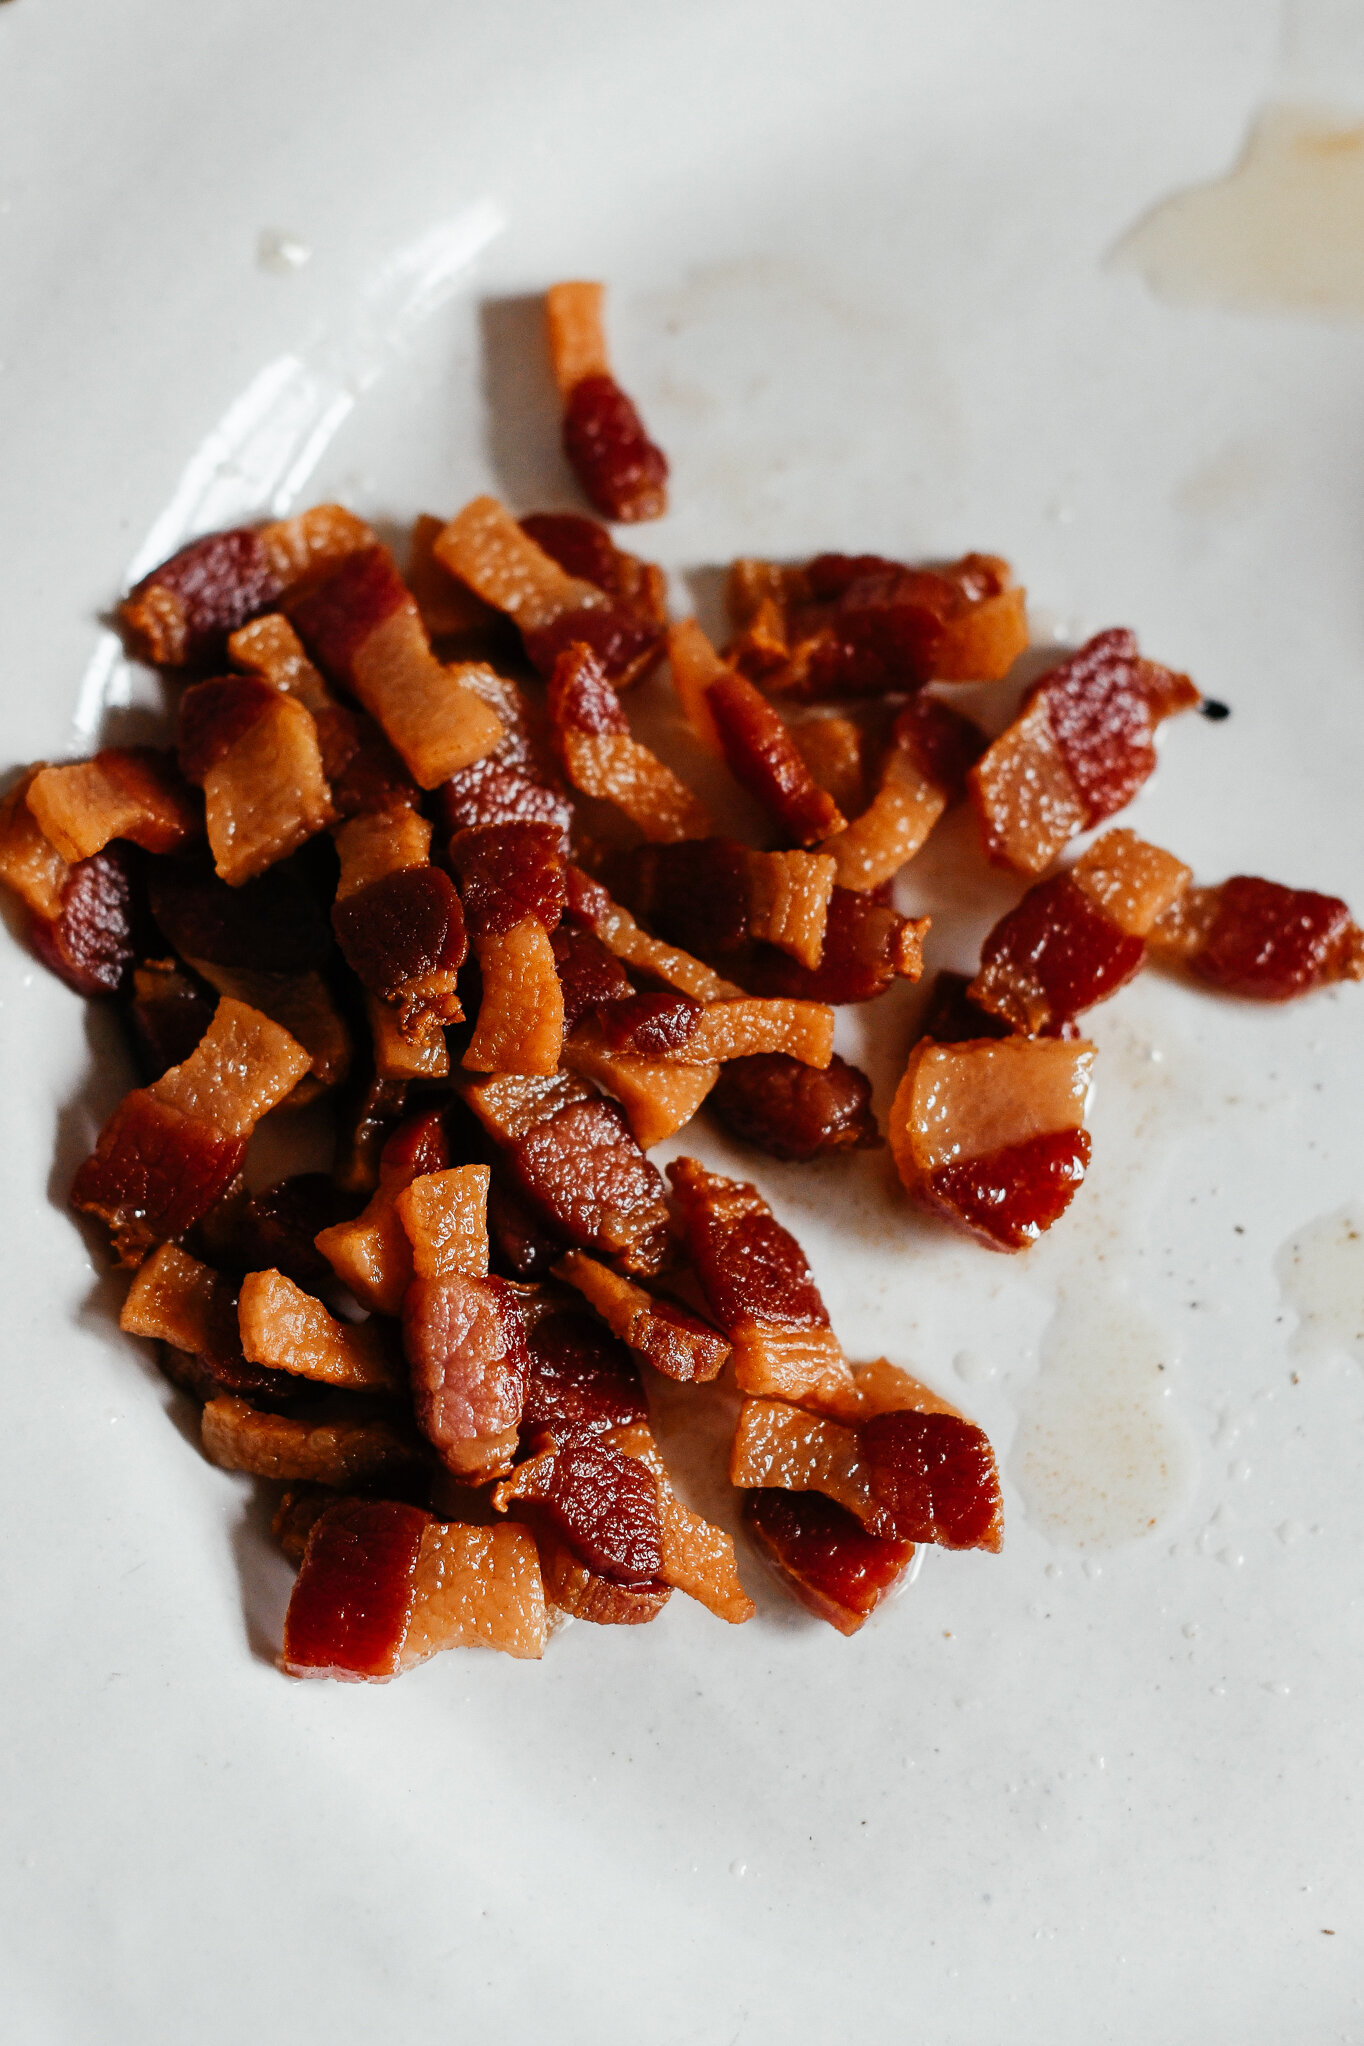
  • 100g guanciale

  • 2 whole eggs and 3 egg yolks

  • 150g Pecorino Romano - very finely grated

  • Lots of ground black pepper - quantities will be divulged in the method notes


Method

  1. Cut the hard skin off the guanciale, slice it lengthways into 1cm strips and then cut into 1 cm pieces.

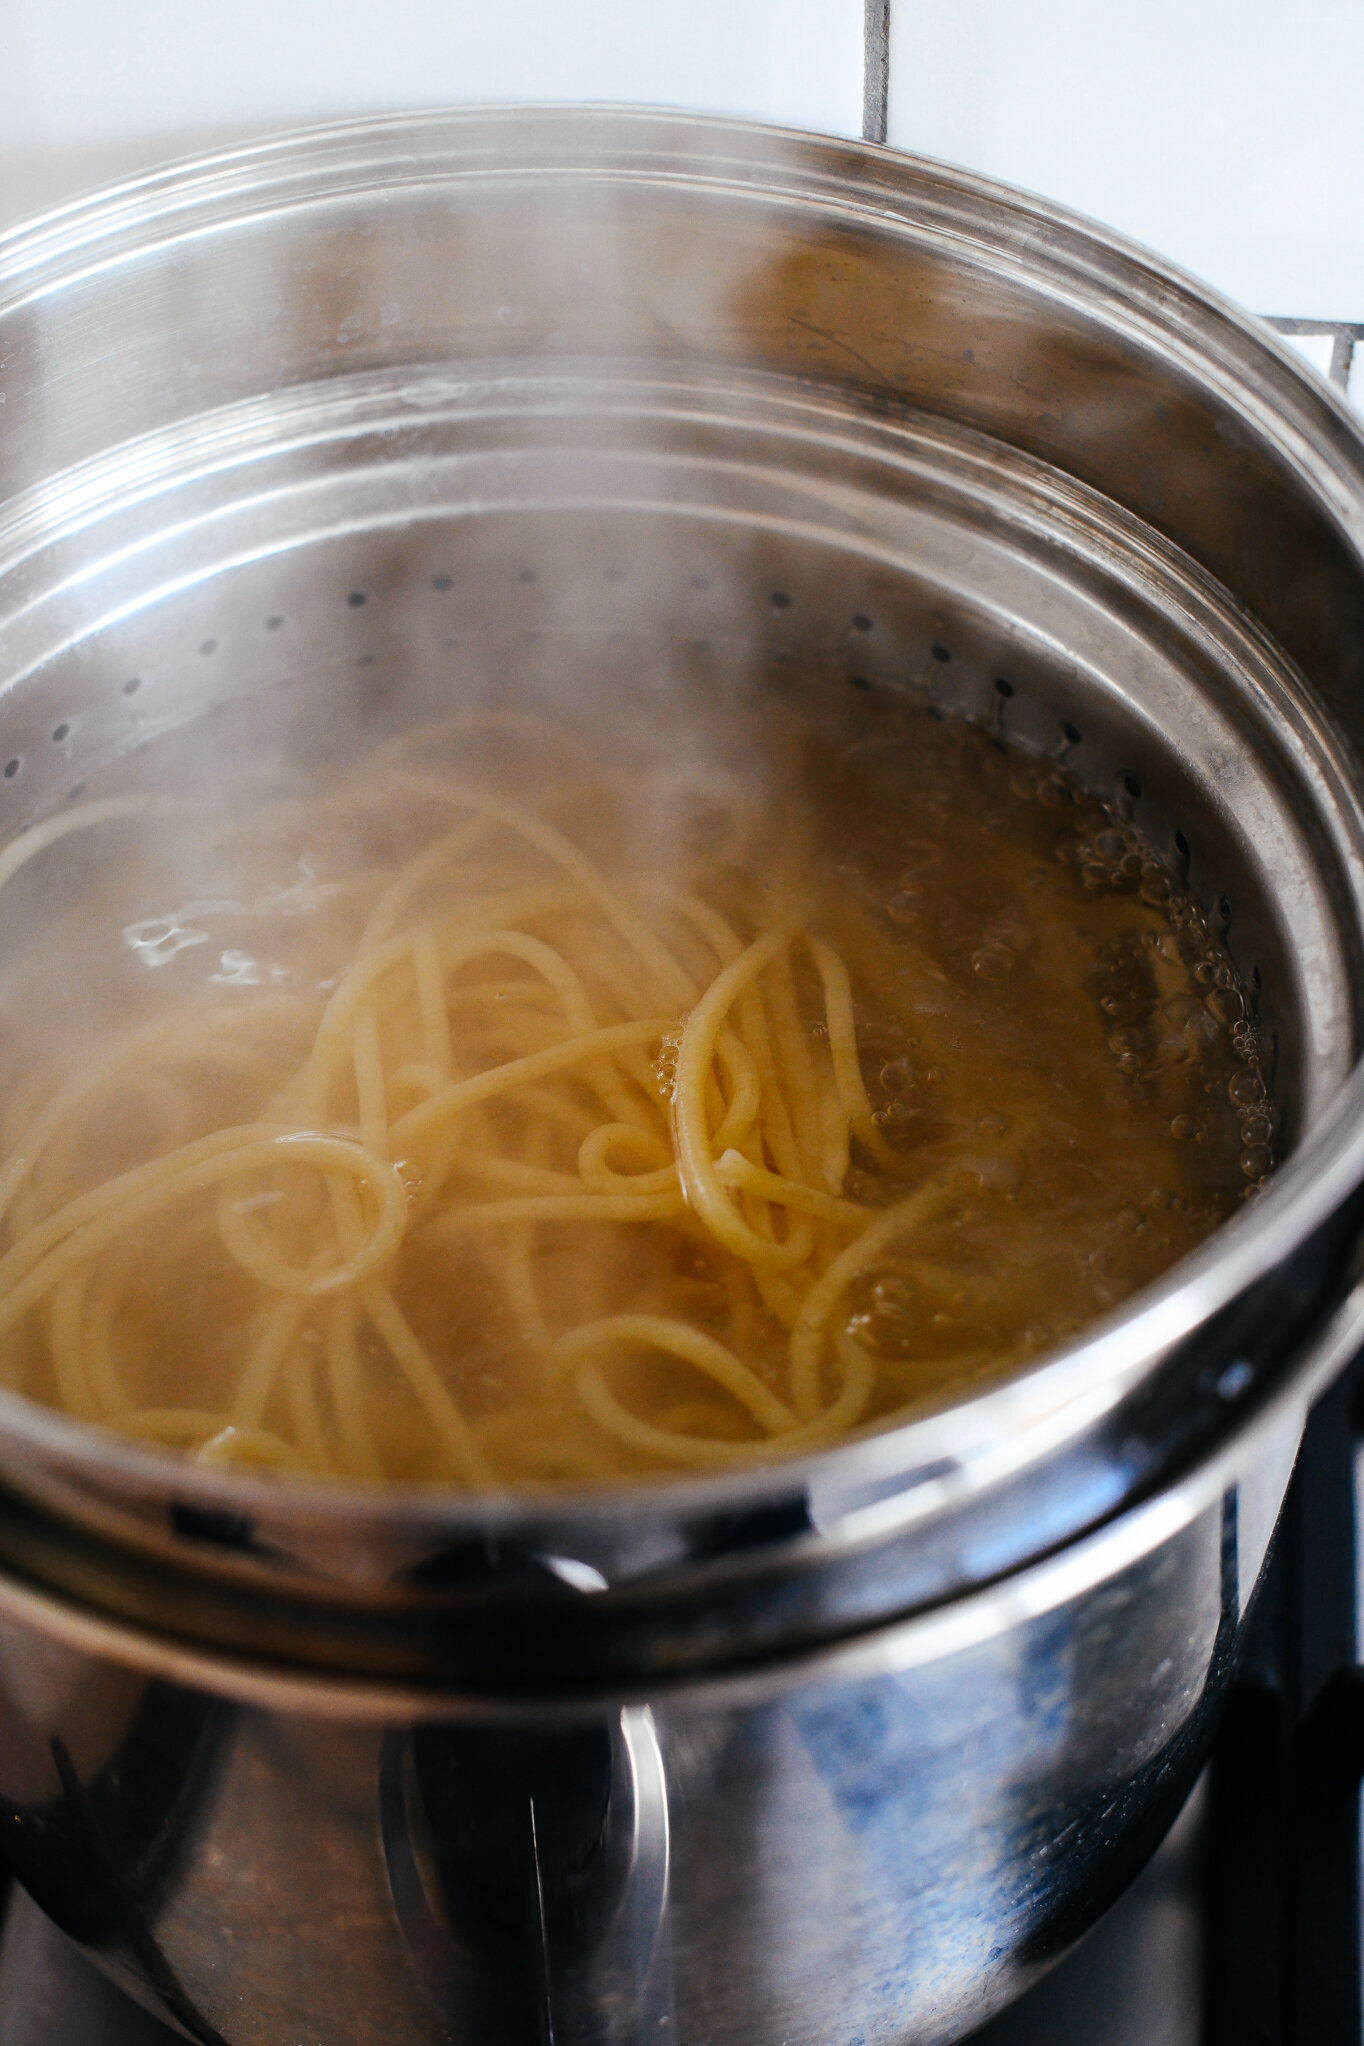
  2. Bring a large pot of salted water to boil for your pasta.

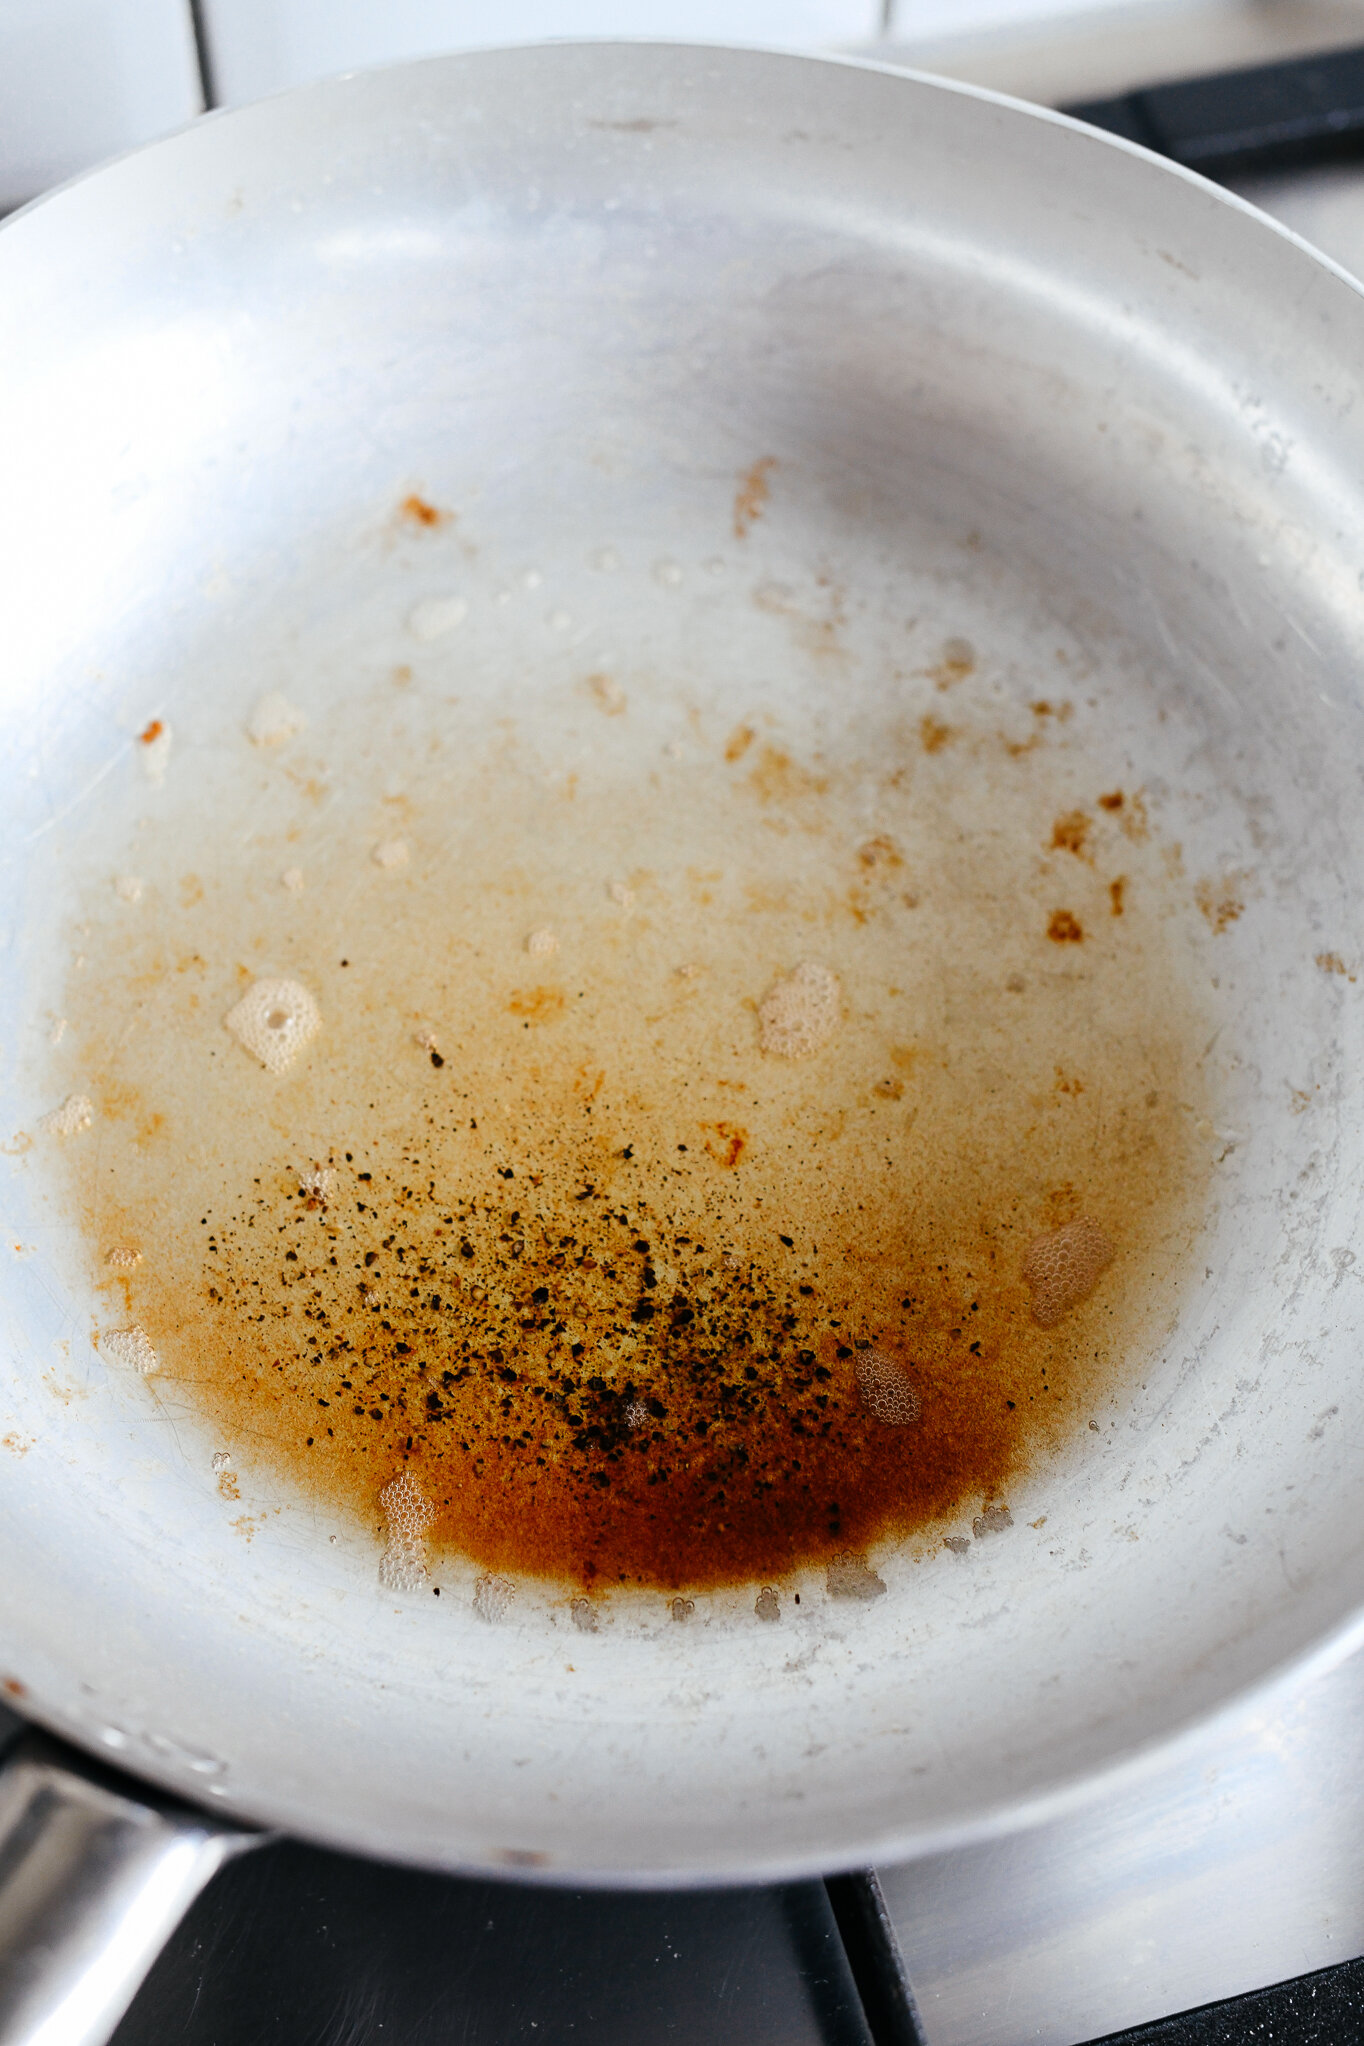
  3. In a separate pan start to fry off the guanciale on a gentle heat - no need to add any oil as its fat will melt.

  4. Meanwhile in a bowl add your eggs (whole and yolks) and beat well. Stir through the grated pecorino and a really decent amount of freshly cracked black pepper (about 1 heaped tbsp). Set aside. 

  5. When the guanciale is nice and crisp, turn off the heat and using a slotted spoon remove the guanciale from the pan and onto a plate - reserve the fat in the pan, and add another good crack of black pepper (1/2 tbsp).

  6. Add the pasta to your boiling water and cook for approx a minute under packet instructions (just before it’s al dente).

  7. Add the pasta directly to the pan with the guanciale fat (reserving the pasta water) and add a half ladle (roughly 45ml) of the water with it. Turn the heat back on the lowest flame, and allow the pasta to continue to gently cook, giving it a toss in the guanciale fat and pepper.

    THIS IS WHERE IT GETS INTERESTING! You will need to move relatively quickly.

  8. Add a ladle (roughly 90ml) of the pasta water to the egg mixture and stir well until the pecorino and egg mix is nice and smooth and quite liquid, like pouring cream.

  9. Take the pan with the pasta/guanciale off the heat, pour in the egg mix and stir, toss and mix continuously until it starts to thicken, similar to a béchamel sauce. If you feel it’s still a little too liquid after a minute or so, put the heat back on the lowest possible flame and keep stirring/moving constantly until you’ve worked the egg mixture into a beautiful crema. It’s important to keep the sauce moving constantly.

  10. Stir through the reserved guanciale before serving.

  11. Serve immediately!! With extra black pepper and a dusting of pecorino. 


Notes and troubleshooting

  • Guanciale is a cured meat made from pork jowl/cheeks. If you can’t get hold of any, substitute it for pancetta. However if you can find it at a local deli, it’s worth it.

  • Finely grating the cheese helps it melt deliciously smoothly with the eggs and avoids any stringy, melted cheese bits in your sauce. I used the finest, powder grade on a box grater.

  • Adding pasta water to the eggs before adding to the pan will essentially do the job of tempering and help you avoid a scrambled egg situation. I find this step is essential in carbonara making territory. Think of it as preparing your eggs for the heat of the pan, so they’re not “shocked” when added - effectively this helps stabilise them.

  • Carbonara is similar to an emulsion, where we’re combining water with fat and agitating it to form a stable sauce. And while there are a few different methods for bringing a carbonara sauce together, this is the most forgiving in my humble opinion. I prefer to add a bit more water to the eggs to create a loose cream-like consistency, before adding to the pasta, then coaxing it into a luscious crema. You can always thicken a sauce, but you can’t fix a scrambled one. This process is similar to thickening a custard or béchamel sauce, just to give you a visual.

  • Make sure you keep extra pasta water on hand to lend itself to the sauce as needed, if you find it’s too thick and need to loosen it.

  • Carbonara is best served immediately as the sauce will continue to thicken as it cools. If you are planning to serve this family style, I recommend taking it off the heat while it’s still just a touch too thin, so you don’t have a coagulated sauce when serving at the table.

Hot Green Tahini Sauce

While mindlessly scrolling through the digital equivalent of 500 tonnes worth of cat memes on Instagram, something stood out: a green chilli sauce. Usually, I'd slow clap the vibrant hue of green, give it a nod of approval and move on. But when I saw the word tahini in the ingredients let's just say my interest was piqued

Hot green tahini sauce | Gabriella Simonian

I absolutely love tahini and anything that it's in. I'm talking fan girl territory, a sweet ode to my Cypriot heritage with hummus being the obvious contender for most loved tahini recipe - until now. This sauce is capital letters LEGIT and I have been putting it on everything from steak to chicken, to mixing it into salad dressings and using it to add an extra dimension to the usual egg and avo combo. If you follow me on Instagram and have ever felt compelled enough to watch my stories, you may have noticed my new found obsession for this sauce because I have been preaching hard. 

The recipe comes from my all time favourite bon appétit and is another example of why they are IMO the best food magazine out there - they deliver the goods time and time again (and can we take a moment to applaud them for likening this sauce to the summer sandals you wear with everything? So true.). But of course it wouldn't be like me to ever really follow a recipe to the T, so my take on this punchy little number uses some garlic scapes I picked up from the market along with a single clove of garlic, a little less lemon and a touch more heat from an additional serrano pepper. I promise if you try this you will be just as obsessed as me. 

Hot green tahini sauce | Gabriella Simonian

HOT GREEN TAHINI SAUCE

Makes 2 cups, lightly adapted from here

Ingredients

2 lemons (zest of one, juice of 1.5)

3 serrano peppers 

1 garlic clove

2 garlic scapes, chopped (or just use an additional garlic clove)

3 cups curly leaf parsley, roughly chopped (discard stalks)

60ml extra virgin olive oil

120g tahini paste

Salt


Method

  1. In a blender, grate in the zest of a lemon and add the juice of 1.5 lemons, discarding any pips.
  2. Add the garlic, garlic scapes, serrano peppers, parsley, olive oil and roughly 75ml water and blend until you have a smooth sauce.
  3. Transfer the sauce to a bowl and stir in the tahini paste - season with salt to taste.
  4. That's it! Keep refrigerated in an airtight container. 


I think this tastes better the next day, when the tahini has thickened the sauce and the flavours have developed and settled. Keeps well for a week. Maybe longer but I wouldn't know because I eat it too quickly. 

Homemade Goat's Ricotta

Recently I've been trying my hand at making as much as I can from scratch. From nut milks and butters to jams, bread and pasta, I've been searching for ways to make the food that I cook more clean, economical and most importantly resulting in less wastage.  

Of course there is the added wow factor of a meal made in its entirety by your own hands, a certain smugness when telling those eating it how you spent time peeling the tomatoes that would come to be in the most delicious sauce, or kneading the dough that would eventually be the toast on their plate. Yes, a little bit of smugness might irritate even the politest of guests (read: live-in boyfriend), but you know - modesty is a virtue, right? 

When it comes to cheese, ricotta is up there with halloumi (forever my undisputed favourite) and in my house it's spread on toast, stuffed into pasta shells or simply eaten with a spoon. Yes, I am one of those girls that eats cheese with a spoon. I HAVE NO SHAME. 

Luckily, when it comes to cheese, ricotta is probably the easiest to make at home. All it takes is three ingredients, a thermometer and a muslin cloth and pow, you've got the good stuff. How does it work I hear you say? Heat milk until scalding, pour in your acidity (white wine vinegar, lemon etc), add a pinch of salt and then leave it be before straining and slathering onto sourdough toast topped with radish slices and freshly cracked pepper. Or whatever else you fancy. 

This recipe uses goat's milk in place of regular cow's for a mild goat-y finish, and a consistency closer to a somewhat crumbly chèvre. Just like regular ricotta but with a bad ass attitude. 


Homemade Goat's Ricotta

Makes 500g

Ingredients

2 litres goat's milk

80ml white wine vinegar

1 teaspoon salt


Method

1. Add the goat's milk to a saucepan and heat on medium until it reaches 200°F.

2. Remove from the heat and stir in the white wine vinegar and the salt.

3. Leave undisturbed for 10 minutes in order for the curd to separate from the whey.

4. At this point, scoop the big curds using a slotted spoon and place in a fine mesh strainer lined with a cheese cloth. Then pour in the remaining whey and smaller bits of curd.

5. Leave to strain for 10-60 minutes depending on the desired consistency. I like mine relatively crumbly so I left it for around 20 minutes. If you strain the ricotta for longer than you'd like simply add a little of the whey back to the curds to make your ricotta more creamy.

Store refrigerated in an airtight container for up to one week.